Thursday, October 4, 2012

Here comes the KING. Work in Progress


The King of Khand, thank you very much...

I had hoped to have him finished by today, but 5am came along much faster than anticipated!

At least he looks a lot more royal, and he no longer has tin foil banners.

It was nice to see him on the chariot for the first time, and to have a few of the initial designs painted on the banners.  The larger banners on the chariot will have designs similar to these.


The base is from DragonForge Designs, with a few Gondor severed heads added.  So far, The King has run down Gandalf, Legolas, Faramir (3 times)  and even Aragorn!


I still have at least 25% more work to do on the horses and chariot.  Then I can add the foliage.


I was really happy to see the extra banners flowing from the chariot.  I had to bend them back a bit more than when I first had them arranged, but that actually makes it look like it is goin' fasta!!

I have been jotting down notes for the fluff of the army.  My working title is "The Sun and the Serpent", and is told from the perspective of the King.  It offers his observations (and reservations) about the Easterlings, their relationship with Sauron, and the conflict with the elves (the Knights of the Blood Rose)


More from Dark Age...


Today we have some more Skarrd figures from Dark Age Games.  This is the Cult of Metamorphasis.  These are called Bolas.


Wednesday, October 3, 2012

Work in Progress... the Skink Tank


Today I finally remembered to take pictures of the big skink and kroxigor unit!  Here are a few of those WIP images...


Two of the kroxigors are Reaper figures, from the Reptus faction.  Those are a nice change from the usual GW variety.


This unit has my skink surprises in side, such as the priest, and the hero with the fencer's blades!


A number of the skinks are the old plastic archers.  Many of those were converted to have javelins in their hands, and shields as well.  I tended to use those in the interior, so that there was a better chance to rank them up.  Elevating the kroxigors was also very helpful.  I will be sure to include some breakout images of those as they are painted...


Here is a finished skink to show you what they will all eventually look like:


So you wanna be a mini painter...


Many people ask us what it is like to be a miniature painter, as they consider doing so themselves.  We try not to discourage or dissuade them, but we also don't want to delude them into thinking that it will be a magical world where everything is fun and easy :-)  I tell them that they will be constantly working 7 days a week, with perpetual deadlines and such.  To me, just another day at the office!  It also means another day of experimentation and learning new stuff!


As an example, I have 3 other "staging areas" like this one set up right now.  This represents about 5% of all the things I am working on at this time.  You don't see the 2 LOTR armies, 3 40k armies, and 3 WFB armies that are all under way.  Not to mention one last Storm eagle, all manner of monsters and other creatures that are too big to show here. :-)


What I really looking forward to is my first foray into using pastels on my miniatures.  Think weathering powders, but in color!  In fact, some of these figures will be part of the original beta test.  My 2 LOTR armies will be the biggest laboratory to start the process.  That should give me enough data to move on to the Dark Eldar army, which is the real target for this yet to be developed technique.

People also ask me why I don't get burned out after such a punishing pace for well over a decade.  It is this kind of development that keeps things as new as when Cathy and I first painted those Lizardman figures on the kitchen table that summer of 2001!


Tuesday, October 2, 2012

Setting the mood with your basing...


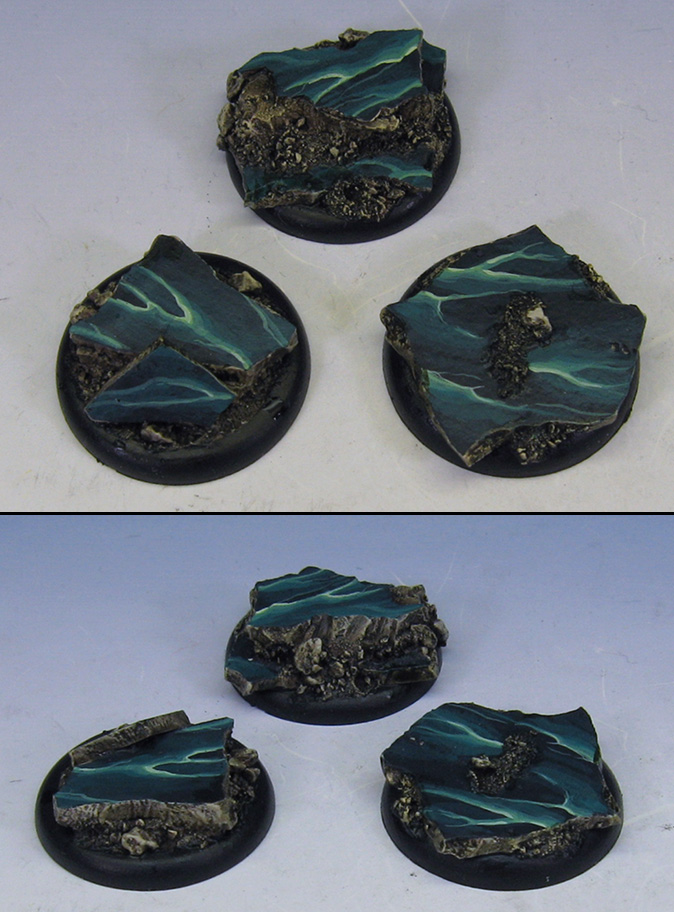
I have a few more examples of bases for you tonight.  These marble bases are done in the usual method of baked sculpey broken and carved into shape.


These bases are not all that different in shape and texture, but the colors can really give you a different feel, don't they?  Of course I always have fun painting marble, and do that any chance that I get! :-)  I guess that is what I like so much about this type of basing.  It allows me to turn each miniature into its own little diorama.


'Building' a better base...


 Today's base designs were created with two very different materials.  The first set, ruined buildings, was made with baked sculpey.  I took pieces of sculpey that were roughly 1/8th inches thick.  I carved the brick texture and the cracks to get the texture.  The free standing walls were made separately, so that I had the option of placing them where needed, or not at all if there was not enough space.  Some paper clips were used for rebar...

These images give you an idea of how they looked before they were cast..

Some painted views:


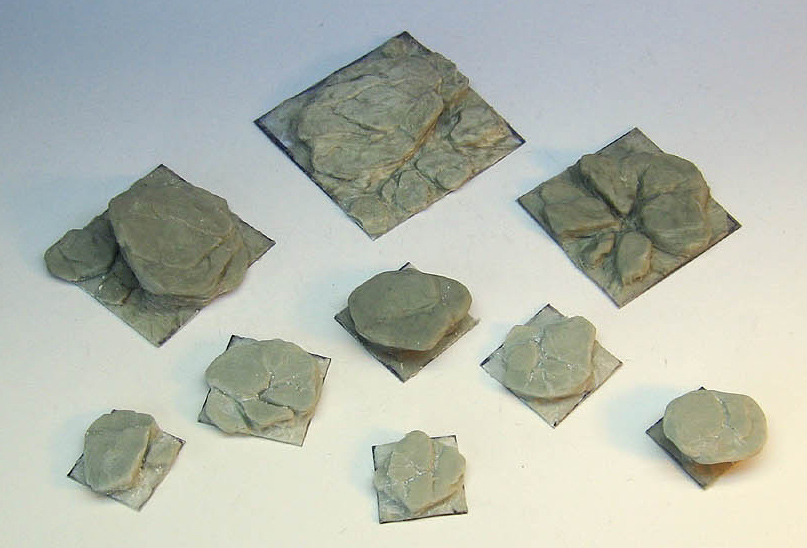
This set was sculpted using a 2 part clay called Apoxy sculpt..


So, we have some interesting bases with a very different look, using materials that are ideal for each situation.


The snakes from above...

Photobucket

Here we have some top views of the snake unit.  The two columns are magnetized, so that they can be removed and placed on the display board.
Photobucket


Photobucket

Photobucket