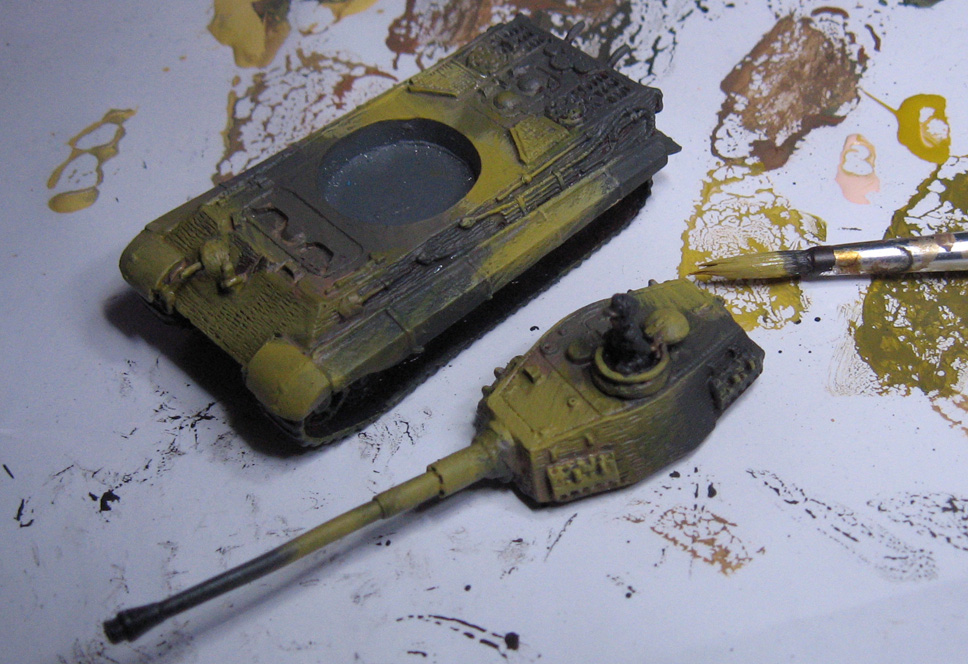
Once I was done with the shaded basecoat phase, utilizing the "Primer Painting" technique, I had both sections of the Tiger ready for glazing.
Several different glaze colors are out on the palette... black, blue, green sepia and a few others. These will be mixed together both on the palette and the miniature itself.
Another note: when I am glazing vehicles I don't exert as much control over the glazes, since I want more random color mixes to occur. This creates some interesting variations that I can then turn into some kind of weathering.

Over the greenish areas of the camo pattern, some darker green glaze is applied. I'm using the larger #8 round brushes, so it all happens very quickly.

In this image, you can see that an umber/sepia mix has been applied into the tan sections, but is allowed to mix in randomly with the previously applied greens.

The same concept works on the turret. There were a few times where more black was mixed in with the green, which is as much of a tint as it is a shade. It's an easy way to get some variety in the greens, instead of having to paint endless layers of lighter and lighter colors.

Just as I did with the hull, the glazes on the tan sections of the pattern are mixing with the greens.

Here's a quick view of the first layer of glazes. More can be added to make deeper darks, or tint colors further. This all takes a lot less time than all those layers of opaque colors, and there is less to remember in terms of "recipes".

I used one of the new Secret Weapon colors to apply some very dark shades, and begin to indicate where there might be paint chipping, stains, soot, and so forth.

I think you can see a lot of this on the rear of the hull, where I wanted oil stains and exhaust scorching.

I did the same process on the turret, using some of the pooled glazing colors as an indicator of where to 'build' on the staining and chipping.

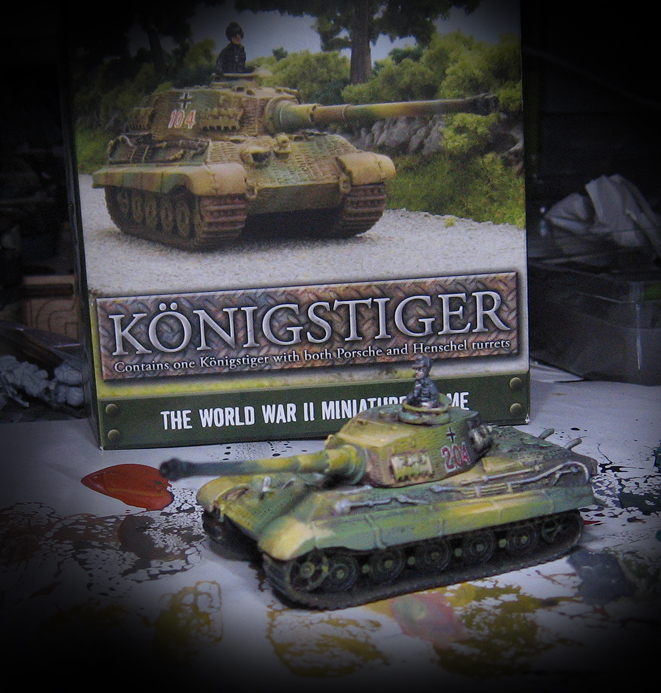
I also added more dark shades to the commander figure. This image shows how painting the insignia and number prior to glazing darkened those down nicely.

The view from above. From here, I will work those middle tones that I mentioned earlier.
I will also be adding some rust and other weathering effects. In fact, all that will be covered in the final exciting episode, so stay tuned!!!