Showing posts with label Warlord Games. Show all posts

Thursday, May 30, 2019

Cruel Seas: All ahead full


As I get the next few fleets ready for painting, I thought I would show some images of the Regia Marina from Cruel Seas!  This has been a lot of fun, since painting 1/300 scale ships is something I have wanted to do for a very long time.

I recently published a tutorial on the Gabbiano Class corvette of the Italian navy, and here's the link: https://youtu.be/gEnCenN6fjA


Painting the Dazzle camo and the weathering is a blast!


I just had to begin with the Italian fleet, because the Air Recognition markings are so much fun.


Here's some more of the fleet, much of which was painted at Little Wars in April.


I will be doing more tutorials on all the other fleets, as well as terrain demos and battle reports!


Each fleet has a very different look and personality to it, so I look forward to painting all of them.  The Kreigsmarine is being prepped right now...


I will also be doing some patron only videos, such as my series on the Winter Soviets.  That was part of my Army Painting pledge level, where I take on an entire unit, and show the complete process from basing to the final details of painting!  You can find that here: www.patreon.com/JamesWappel


Thursday, December 27, 2018

Heavy Hitter!


These massive heavy weapon teams always pose a lot of challenges.  Just assembling the artillery piece is difficult enough!


The next challenge is to get everything placed on a base and make it look like the team is actually interacting with the weapon.  Having the limber in as well means that even the largest bases can seem like a tight squeeze.


It can also depend on what poses you have on the miniatures.  On more than one occasion I have taken some of the plastic boxed set figures and converted them into a more useful pose.  Fortunately there were enough poses to choose from, including one that really looked like he was interacting with the limber.


I used a lot of my home made grass, shrub and flower tufts here.  Here's a link to a previous post showing how that was done:  https://wappellious.blogspot.com/2018/05/home-made-tufts-step-two-shrubs-and.html


I really enjoy these projects, as they are playable dioramas!  Positioning everything so that it looks good from any angle is another hidden challenge.


As I paint and flock these, I try to keep in mind the areas which would be trampled more, and the foliage worn away.


I also have a few other heavy artillery pieces under way... all for our early war games.  The German Heavy Howitzer is nearly complete.


This might be used in my next video battle report, where the town of Nouvion will be front and center!  You can check out some of the earlier video reports on the YouTube channel:  https://www.youtube.com/watch?v=2LgWEoymVQw


Monday, December 10, 2018

Final Report: Operation Sting 2018


Round 5 of Operation Sting was going to be unlike anything I had experienced before in all the years I had been doing tournaments.  When the table assignments were handed out, and I found myself on Table 2... I thought something was miscalculated at first!

I had a notion that completing those Secret Missions on top of draws would keep me at least in the upper 30%, I had no idea what 4 draws, mission points, Painting and Sportsmanship could lead to :-)

It was back to fighting Americans once again, this time an Airborne army. So, it would be a fight to the death between paratroopers!!!

This also meant that I would be facing the Rangers lead the way effect, and other army specific traits.  Also, a double air strike, which we will discuss later.


The Airborne troops did indeed try to utilize that pre game movement to get into better positions in and around the village square.  The Fallschirmjager established more of a defensive position, waiting for a potential preliminary bombardment.


That bombardment did hit both sides, dishing out plenty of pins!  Rally orders were the theme of turn one for sure...


With Paratroops already moved into the buildings in the main square, it forced me to bring in two of the Fallshirmjager units in to combat them... or at least pour in some pinning fire.


There were a few troublesome elements that the US forces had on this flank.  The light howitzer on ambush, as well as a few other units armed with bazookas meant that zooming down this road could be a wee bit hazardous.  It would create a traffic jam that ultimately meant major problems...


Things were going very well initially on this flank.  The combined firepower of these units, along with a well timed/placed artillery strike caused a LOT of pins and casualties among the US units.  It too Captain Spears himself to call on the troops and rally them back into the fight!


Here we see the intrepid general overseeing the US forces.  At this point, things looked very bleak for the Americans.  The only thing that stood in the path of German victory (or at least a draw)  was an American air strike.

Sadly for the Fallschirmjagers, the angle of attack prevented the transports from adding their defensive fire to the mix.  That would spell disaster, because all of my waiting anti aircraft guns missed horribly, and the plane survived!

This lead to the destruction of the transports, and pinning the infantry units to ineffectiveness.  

While the last submachine gun squad were lead in a heroic charge by the German officer, killing a few Airborne survivors in the central square, it all came down to one mortar blast on Captain Spears himself.

Lo and behold, he would survive, and the US forces would be victorious!


There were a lot of magnificently painted and researched armies at this tournament, which is one of Sting's trademarks.  Sportsmanship, terrain, and painting are held to high standards, which made me very happy to be awarded Best Axis Appearance!


I learned a lot of new techniques painting this army, and building the terrain board.  There is a 5 part series that shows how that was created.  I will also be adding more units to this army, so stay tuned for more articles and painting videos!


This made me had to rethink the entire game, as up until now everything I've played has been VERY early war.  Going from mid 1941 to 1944 was like heading into outer space, and adapting to that kind of weaponry and special rules on the fly was a monster challenge!


I mentioned those "soft scores" earlier in regards to painting, sportsmanship, theme, etc.  A major part of your overall score was determined by those factors, and I was quite surprised to hear that they had carried me to a 6th place finish out of 29 players!

While I had a suspicion that winning that last game might lead to something interesting, I was still very happy to be in the top 10.  The effort was really exhausting, to be honest.  The stress of bringing a totally untested army to a major event like this was heavy on my mind for months leading up to it.

The other players at the event made it all worthwhile, as did the equally exhausting efforts of the tournament organizers.  Those efforts are much appreciated, and it is an experience that will stay with me for many years to come.

Thanks to everyone for a great Operation Sting!!


Monday, December 3, 2018

Winter vs Summer


As I prepared for Round 3 at Operation Sting, I could not be truly prepared for the unusual list that stood on the opposite side of the table!  It was the very unique Anti-Tank platoon list in the Battle of the Bulge campaign book.  This meant all kinds of heavy weaponry, but not much in the way of infantry.


Once again, finding a match between the actual scenario and the Secret Mission was going to be tough.  Actually, I probably should have labeled this episode as "Ambush Alley", because both of us had to resort to dueling ambushes all game long!

This had to do with the terrain, which did create a lot of blind alleys.  While the anti-tank guns would be overkill against the transports that I had, the vast numbers of medium and heavy machine guns on the tows presented a major issue!

Not only could they dish out plenty of pins... those HMG's can also take out light vehicles.


You can see these very tempting roads.  Since my Secret Mission involved getting infantry units off the opponent's board edge (however, they had to be intact!), utilizing these could facilitate such a task.

This was not going to be the case once all those AT guns and Machine Gun tows started waiting in ambush.


This forced me to bring in some elements far to the left flank, where certain parts of the road could not be covered by those ambushes.  

While we also had the Ambush game going on, there were plenty of Down orders being issued as well.  The idea was to force the opponent to commit those final reserves early.

I was able to get a decent series of order dice draws, and some of the US equipment had to emerge early.  Those ended up in some less than ideal locations.


Here you see the lone US infantry unit.  They are taking up a position in the central square, which was the the objective of the primary mission.


The dueling ambushes did yield some casualties, and this destroyed tow was the first.  This left an Anti-tank gun and its crew stranded well out in the open.  While I fired at it quite often, I didn't actually want to kill it off completely.

You can see those American units in the distance, which sat in place for several turns, as their line of sight was completely blocked by that rather large gun!!


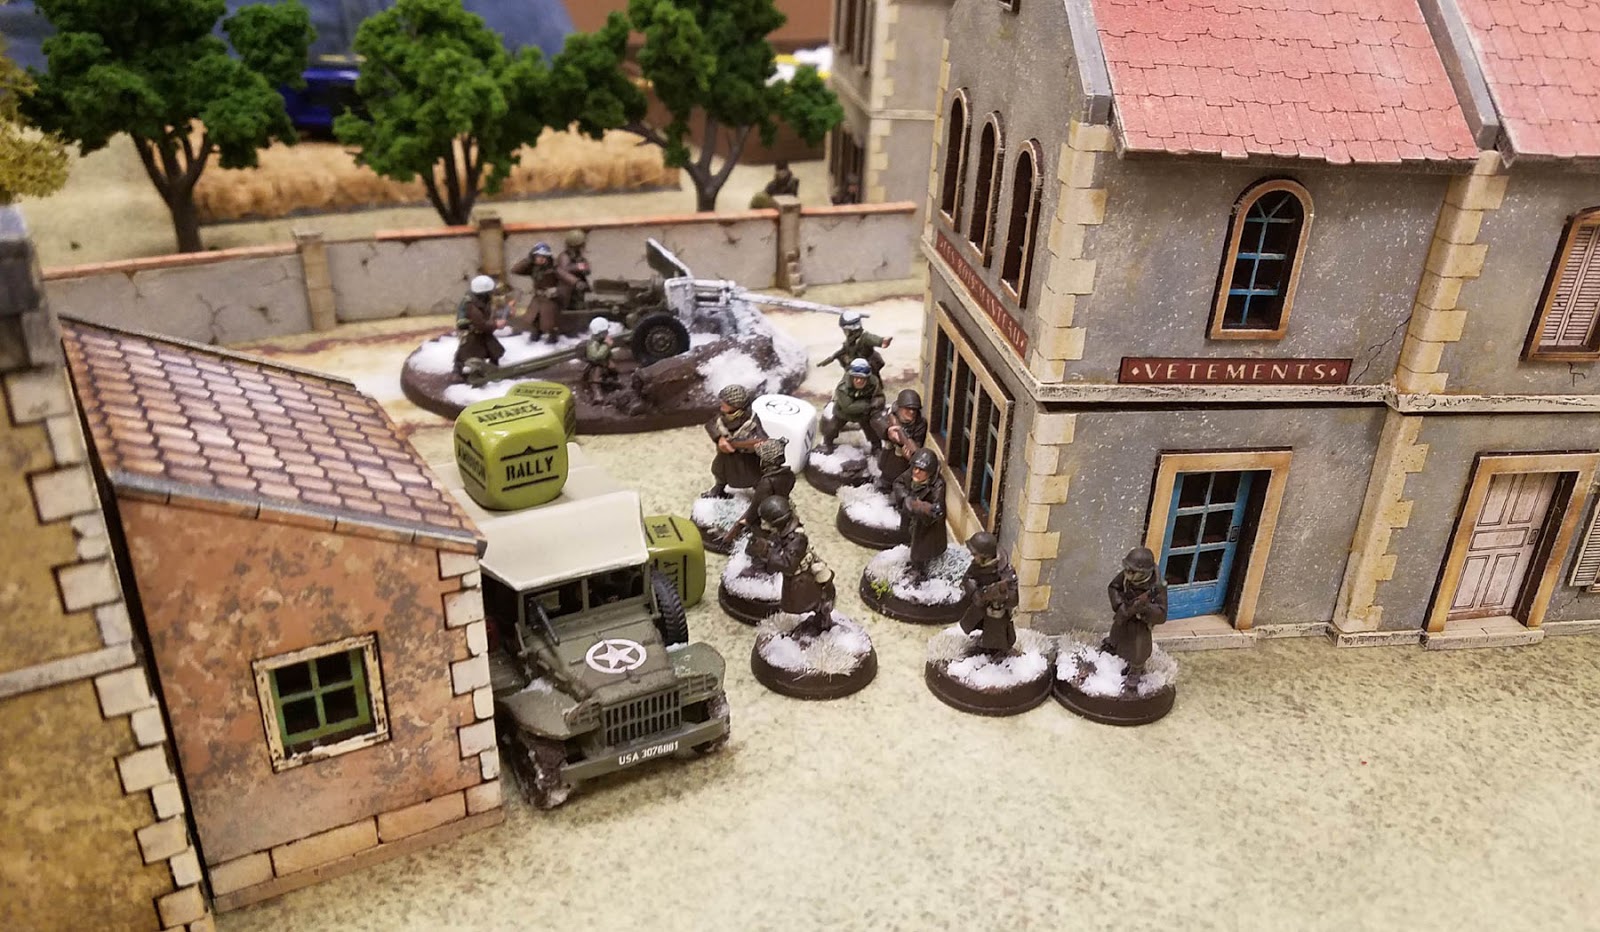
The few US infantry units present took up positions around that central building.


Even one of the AT guns was set in that central zone to block certain back alley approaches.


The building closest to the German deployment zone had the forward artillery observer and the officer inside.  Fortunately I was able to keep the artillery pieces rather busy, so they could not blast the building out from under them!


At a certain point, however, I was going to have to make a move against this central structure.  I brought up the sub machine gun armed unit, along with the officer, and anything else that could move.

I also fired my mortar into this area to grind down the artillery crew and force the transport out of the area.


My Secret Mission on the left flank ran into a Quad MMG halftrack, and it did not take long before pins and casualties started to rack up.  Had I known that even getting 1 man to that board edge would have gotten me 1 point, I might have taken an even more aggressive approach.

All this time, I had to avoid many ambushes from beyond the tree line.


Pins and casualties begin to mount from repeated mortar strikes, and pot shots from the MMG team and other units.


The lone US infantry unit spent the entire game taking cover behind the central building, but enough of them would survive to contest the center, yielding yet another draw!

Sadly, I was not able to accomplish the Secret Mission, so I was left with the 12 points, and not the 17 I had played for.

Stay tuned for the final day, and Round 4!!


Saturday, December 1, 2018

Incoming!!!


The second round of Operation Sting saw all kinds of mayhem!  The mission was fairly straightforward, focusing on objectives, but the "Secret Missions" added an extra layer of madness.

Mine happened to be holding a specific piece of terrain, and keeping the enemy a certain distance from it.


As you might recall from the first post, you had 8 of those Secret Missions to choose from for the 5 rounds.  Once you used one, it was not available for future rounds.  I thought this scenario would mesh with that mission very well, since I had to keep the enemy away from an objective located near that structure.


Here's my scratch sculpted objective marker, which was one of those objectives that needed to be held.


As usual, the static quad AAA launcher sat there and did nothing the entire game.


The mobile version was a little more active, although it had a lot of trouble hitting anything!


Just as I did in round 1, all of my Fallschirmjager squads were left in reserve, so that I could react to the US moves towards my objectives.  Yes, it was another game against US forces.

I will mention once again that it was really nice to have Axis vs Allied match ups in every round.  It is really odd and disappointing to have US vs US, or Brits vs French, etc.


This little bit of action here was a result of the primary mission being mixed with the secret mission.  That red counter is the objective which the US player was after.  However, that was also the marker that I needed to keep free of enemy encroachment!

My artillery strike had wandered just a bit, and of course it went off right in the middle of all these units.  As you might expect, I rolled one 6 after another on my own units, which is why you see all these blast markers.  I destroyed both of my transports, and piled up pins on my own infantry.

It was a complete mess!  The forward artillery observer has since been recalled to headquarters where Smiling Kesselring is not smiling too much...


This was not the only mayhem that went on in Round 2.  I don't have any photos of it, but on the opposite side of the board, a full unit of Submachine gun armed Fallschirmjager nearly lost to an isolated mortar spotter team!

This would prove to be crucial, because that unit would be slowed down in its approach to the vital "swing" objective.


Also, Gene was trying to accomplish his Secret Mission, which was to have his medic heal one wound.  As it happens, that finally occurred on one of the last rolls of the game.  I was trying to kill off the officer team which was holding the "Swing" objective, and had gotten the two wounds that I needed!  However... the medic healed at least one of them, and that objective would still count for the Allies.

The final result of that game was a draw, since the lone US unit in the blast zone was pinned out of existence.  Otherwise, I would not have been able to move them from that objective.

That's what I like about Bolt Action... you don't have to kill things to make them useless or leave the board all together.  I think there were at least 2 occasions where units were destroyed by pins in my 5 games.

Stay tuned for Round 3, where we see the most unusual opponent list imaginable!