Showing posts with label AMMO MIG. Show all posts

Friday, March 22, 2019

Army Painting... a New Series!


The latest Army Painting series has been completed for the Patreon Page!  I have been eagerly awaiting this Morghul Knights unit for my Middle Earth SBG collection, and now it is well under way to the table.

My next Lord of the Rings series will feature my new Rohan army!


I used the Mig Ammo Oilbrushers as well as standard oil paints throughout the process.  These have a number of advantages, as the consistency is the same as acrylic miniature paints right out of the container.  They also have an unbreakable container, and a handy brush to get that out on to the palette.


I used a number of Green Stuff World products on the bases, which were also covered in Episode 1.  The new Texture Sheets were outstanding, and I also created a few flagstone bases.  

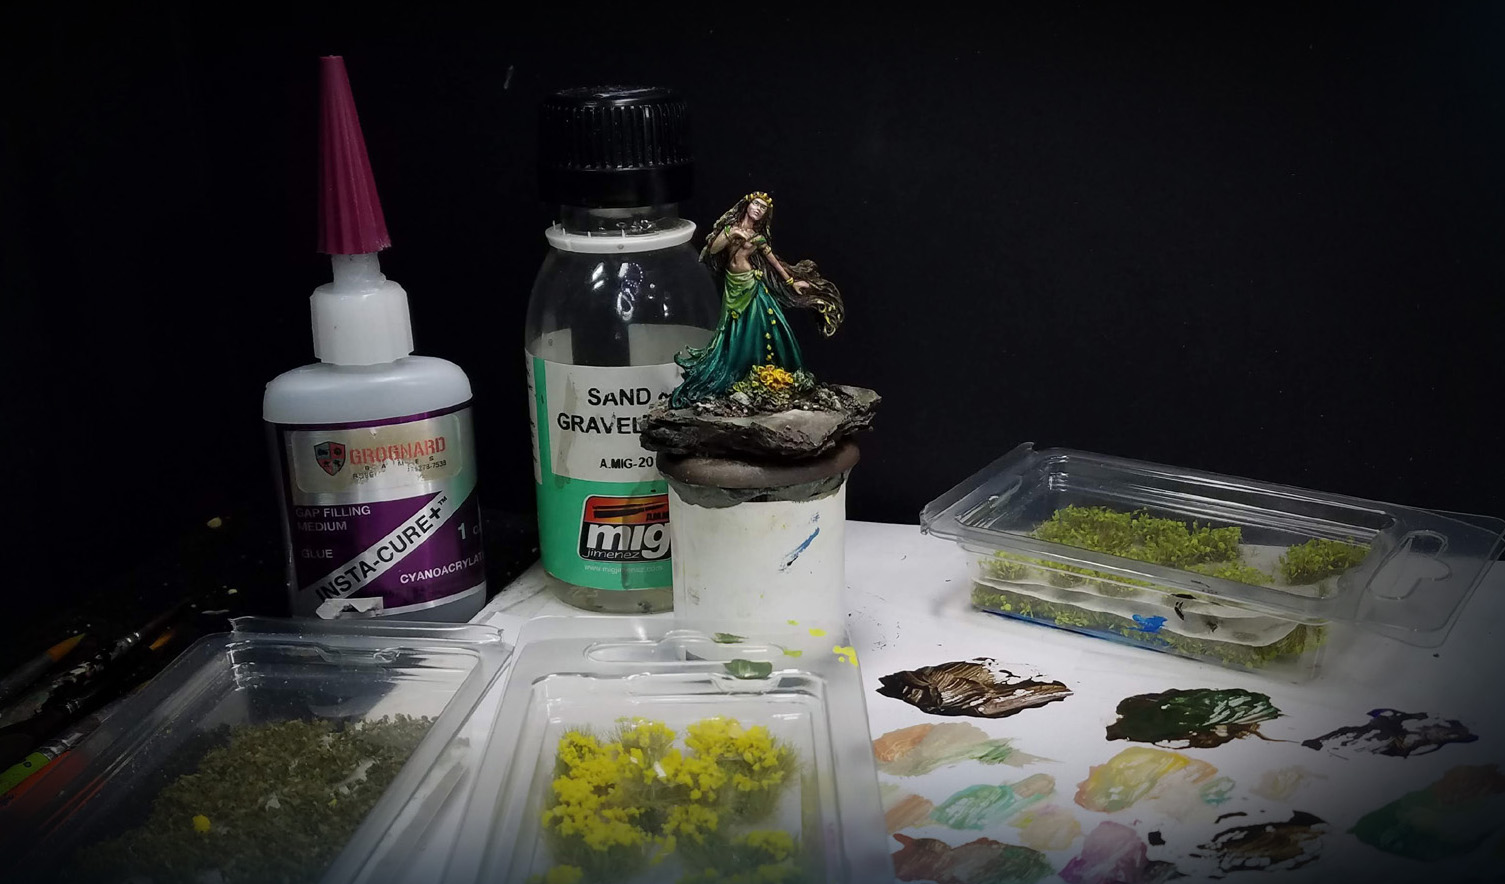
Once the figures were painted, I concluded the series with adding static grass and cut leaves.  You can see the Green Stuff World leaf cutters in the image.  They are really amazing!


I tried to cover a number of topics during the 4 part series, including weathering, NMM, and how to get as much color variety in "black" as possible.  This series allowed me to do a lot more glazing of the oil paints, since I was able to let some layers partially or completely dry.

This is something I have not done very often, and never had a chance to capture on camera.


The Army Painting tutorials are only a part of what is offered on my Patreon Page.  I also have a number of basing tutorials, terrain, and other "general techniques".  I am now filming the 14th Painting Dark Sword episode!  All of these are available for you to see when you sign up for that pledge level.


I have a few live sessions that are more of a conversation about the approach to using the oils, including this recent episode on the Song of Ice and Fire Flayed Men:  https://youtu.be/IkrM2b7xl7E


When you look at the cloaks, metals and horses, you will see that each one is a slightly different shade.  Some have more of a greenish tint, others more red or even turquoise.   These subtle differences create a much more interesting unit, and the oil paints make it a LOT easier to create those kinds of gentle shifts in color.

Even over a layer of dried oil paints, it is still easier to blend in a fresh layer of oils than to do so in acrylics.

Series 8 will also feature some brand new elements, as I work on the Mountain's Men.


The Army Painting series is available at the $15 pledge level, and all previous series can be viewed.  Many more are already in the works!

Here's a link to the page: www.patreon.com/JamesWappel


Thursday, March 14, 2019

Bloody Knights


One of the units that I want to have for my Adpeticon tournament army is the Flayed Men, and I have been working on them along with the rest of the Lannisters.  I am painting the unit using oil paints, and the Mig Ammo Oilbrushers.


Those are especially helpful in working on units like this, where there are a lot of muted colors, but you are still trying to get a lot of variation in those tones.  For instance, all the 'skin' they are wearing can be made a wider variety of tones, instead of just one level of 'pink' or red.

I was able to have a wide range of cooler reds, lighter tans, and everything in between, because the oil paints let me blend colors together in a very simple way.  Just place a few blobs of paint on the surface, grab a fresh brush, and blend them together!


I also added some blood effects using the Badger Airbrush Fresh Blood Ghost Tint.  It is very glossy, translucent and extremely vibrant.  You can see that I also added a few drops to the snow, which I was really looking forward to doing.


I am also recording a "hard copy" tutorial video for the Patreon Page.  This will show how the process plays out, including the snow and blood effects.  That should be up before we head off to Adepticon:  www.patreon.com/JamesWappel


Here's a link to the live session!  Be sure to subscribe so that you get notifications the next time I do an At the Workbench live tutorial... https://youtu.be/IkrM2b7xl7E


Tuesday, March 12, 2019

The Making of a Tutorial series


I am returning to Middle Earth once again for Series 7 in my Army Painting tutorials with some Morghul Knights!  This is the first Lord of the Rings unit that I have painted with the Mig Ammo Oilbrushers, and it has been a lot of fun!


As I have mentioned many times, oils really excel at painting multiple figure all at once, because the miniatures themselves become the wet palette.  It can be as simple as placing a color onto some wet paint, grabbing another fresh brush, and blending all those tones together.  There is no such thing as "layering up", or even basecoats.  You are working on all surfaces at once.


Episode 1 of the series focused on basing, as usual, so once the Color Test figure was completed, I could put that on the base and do a quick little demonstration on the Green Stuff World leaf cutters.

These bases were also a first time experiment, where I used those resin texture sheets along with my normal tree bark.  I loved them so much, I went on to use them for my Song of Ice and Fire Free Folk.


Here's the result of Episode 2.  Keep in mind that all the weathering, NMM, and so on was done in one sitting, while the paint was still wet.  Yes, it can be done, and it is not very difficult.  Keeping that advantage of the wet paint going can really help you get all those nifty color variations which will take a lot of glazing and other extra effort with acrylics.


Of course, the drawback is that the paint does not dry quickly when you need it to.  As I say in the videos, I do not try to make it dry faster by any of the means suggested, since it runs counter to the whole purpose.  It just means that I have to plan a few moves in advance just as you would in any tabletop wargame ;-)


If you want to see some examples of oil painting in action, I have a few YouTube live sessions that can give you an idea of how it works, like this one:https://youtu.be/IkrM2b7xl7E


With each Amy Painting series, I try to tackle as many new techniques, mediums and basing themes as possible.  I also vary the genre as much as I can.  Each series is usually 5 episodes, and runs 10-12 hours total.  All stages of the process are covered, from the initial unit basing to the color test figure (such as this one), and then to the rest of the unit.  Any special added effects such as freehand, flock, snow, ices, etc are usually covered in the final episode.


The Army Painter pledge level is $15 per month, and it gets you more than just the Army Painting series.  You also have access to the rest of the videos made that month, such as the Dark Sword Videos, Basing and other general techniques.  You can check that out here:  www.patreon.com/JamesWappel


Friday, February 22, 2019

Chaos in Oils!


Something old and something new.  In oils. Here we have some old timey Chaos Nights which were painted with oils, which is relatively new for me.


It was really interesting to work on figures which are this old, utilizing a very new product such as the Mig Ammo Oilbrushers!  I had a lot of fun taking advantage of the extended drying times to be able to create various blends without having to rush around in a frenzy.


There are also a number of muted tones here, and being able to pull the oils from one area into another keeps things in line color wise.  All it takes to shift a color more towards the cool range is to slap a little blue or green, and mix it right into those wet oils!


At first I thought the oils would mostly work for painting historical figures such as my Bolt Action armies, but I have been so pleasantly surprised that they have worked for everything else as well, even figures with much brighter and saturated colors.


Here's a recent YouTube live session where I work with the Oilbrushers and traditional oils: https://www.youtube.com/watch?v=HB-nhuTmNbQ


Friday, February 15, 2019

Massive Metals 2


Here's a massive example of a figure painted with oil paints, especially the Mig Ammo Oilbrushers.  To give you an idea of size and scale, that base is 60mm!  To work on such large surfaces, using oil paints makes creating subtle blends much easier, as that paint has a much longer working time.


I was even able to "glaze" the rust effects onto the weapons while the other layers were still wet!  Yes, you can do that with oil paint.  You can wait for layers to dry if you want first, but the key principle I mention over and over and over is the idea that thick paint will always stick to thinner paint, and vice versa.

I learned that when I was 11 or 12 years old watching Bill Alexander doing his oil paintings.  He must have said that same phrase a hundred times... just in his thick German accent.


As most of you already know, I LOVE to get a huge variety of shades and tones in my metals... turquoise, purple, reds, blues, etc.  Since puple and green mixed together make gray, it makes sense that placing those colors next to each other here and there will trick the eye into believing it is all gray.

This video shows the Mig Ammo Oilbrushers in action!  https://www.youtube.com/watch?v=HB-nhuTmNbQ


There are already several Non Metallic Metal videos on the Patreon Page, covering several miniature ranges, and even entire units!

I will also be doing more videos on large creatures for the Patreon Page.  The $15 Army Painter pledge level will provide access to all videos made over the course of the month, which is usually 12-20 hours of content!


Sunday, December 16, 2018

The Dancer: Part 2


As most of you know, I have been working with oil paints over the last few years, and the Mig Ammo Oilbrushers in particular.  Those offer some interesting options over the standard oil paints which I also use.


The Oilbrushers have the same consistency as "regular" acrylic paints, have a matte finish and also dry more rapidly than something along the lines of Windsor Newton oil paints.  While I normally use the oils on large amounts of figures, it is still possible to use them on an individual figures.


The primary advantage of oils is that you can mix your paints right on the figure... almost as if the miniature were now the palette!  You also don't have to rush to wet blend, as you will have several hours, if not a day or two to continue that work.


In my last Painting Dark Sword video, I worked on the same figure, but with those acrylic paints.  The emphasis was on exploring the full range of greens.  However, in this oil painting version, the emphasis is on taking advantage of that wet blending.

This was done on the skin tones, where I could easily incorporate the teals and greens by blending the wet colors together.


I have a number of oil painting tutorials now on the Patreon page.  Here's a facebook live session from a while back that gives you an idea of how I approach the oil painting:  https://www.facebook.com/james.wappel/videos/vb.1056181987/10212698297826442/?type=2&video_source=user_video_tab


The Dark Sword painting tutorials are available along with the Black Heart Models videos on the Patreon Page at the $10 level.  This also includes the other individual episodes contained at the $5 pledge, so that is quite a lot of tutorials!

That is available here: www.patreon.com/JamesWappel


Wednesday, December 5, 2018

Heavy AAA: Scratch Build!


I think most of you have been seeing this Anti-Aircraft support vehicle appearing in the Round by Round posts for the Operation Sting tournament.

To try and accentuate the Anti-Aircraft theme of the Fallschirmjagers at Monte Cassino, I wanted to have something like this in the tank slot.  While there were many SPG's available (and certainly better all around choices), I went with this.

There were a few minor details, however.  Foremost among them was my lack of having one!

A few mix ups in timing meant that I would not have one in time for the tournament... which meant a final alternative...


I would have to build one from scratch!  Yes, that's right.  After gathering as many reference images as possible (and I mean several dozen!), I decided to give it a go.  Sculpey, plasticard and other random bits of junk were going to be utilized as rapidly as possible.


Here you go, and it certainly looks like a right mess indeed.  There's plasticard, resin sprues, Sculpey, Apoxy Sculpt, Green Stuff, plastic brush protectors, and even a left over metal chunk from a Gates of Antares kit!

This is certainly not the first time I have scratch built vehicles and monsters.  I have a video showing how I painted a few scratch built objective markers on my YouTube channel.  Here's a link for you!  https://www.youtube.com/watch?v=F2GrlbpDT0o


All of the crew for my artillery support teams were made using the figures from the boxed set.  I accidentally used the second crew member here for something else, which is why you see the kneeling figure behind the gun.

As you can see, the gun was removeable so that I could paint it and the crew.  It was also pinned, so that it could rotate.  I had to choose from a number of different reference images, since there was no definitive version of this. No manufacturer produces this exact vehicle anyway, which meant I was going to have to go this route.


I will be doing more late war vehicle painting videos now that I have a late war army.  Up until now, I have been focused on France 1940, which you can see in my battle report videos:  https://www.youtube.com/watch?v=2LgWEoymVQw


I also have a number of painting videos on my Patreon Page, including a 12 hour, 5 part series on painting my Winter Soviets.  This is something I will do for my Italians, DAK and Desert Rats.  Here's a link to the page: www.patreon.com/JamesWappel


Tuesday, October 9, 2018

A Date With Morticia


Here are a few scenes from filming the latest Black Heart bust tutorial video for the Patreon Page!  I love using the Mig Ammo Oilbrushers for these busts... here you see things set up along with the primed Morticia...


While I always have fun doing miniature painting videos with the oil paints, busts are a special treat with their relative size.  This means I can do much more on areas such as the eyes!


This is a facebook live session that I did a while back on a different bust, just to give you a sense of how I approach these in the tutorial videos:


I also had some fun painting a little landscape on the plinth, and it seemed to be a fun way to introduce people to oils in 2D as well.  

As you can see, I tried to use all the same colors which were used on the bust itself so that it would be cohesive, and not overpower the main interest of the face.


I am thinking of creating a pledge level that would provide a "hard copy" version of the tutorial on a USB drive, and an unpainted version of the bust itself.  This would be an all in one level where you could get started with your painting even sooner!

I already have a pledge level that gets you the hard copy video, and the painted bust too!


If you want to see even more of these tutorials, you can check out the Darkest Hearts pledge on the Patreon Page here: