Saturday, July 19, 2014

The constructs of Pseusenes


These are among my more eagerly awaited new photographs using the Hangar 18 backdrops... my scratch sculpted Tomb Kings constructs!

We start out with the Hierotitan.  I had a blast making this guy.  A tin foil armature, wrapped in layers of Apoxy sculpt, and finished with some green stuff details.


There are a number of WIP posts showing the process of building this guy, along with the painting.


Next up is the Colossus.  I used the same methods to sculpt him as well.


These are both quite large, when you consider that they are standing on 50mm bases!


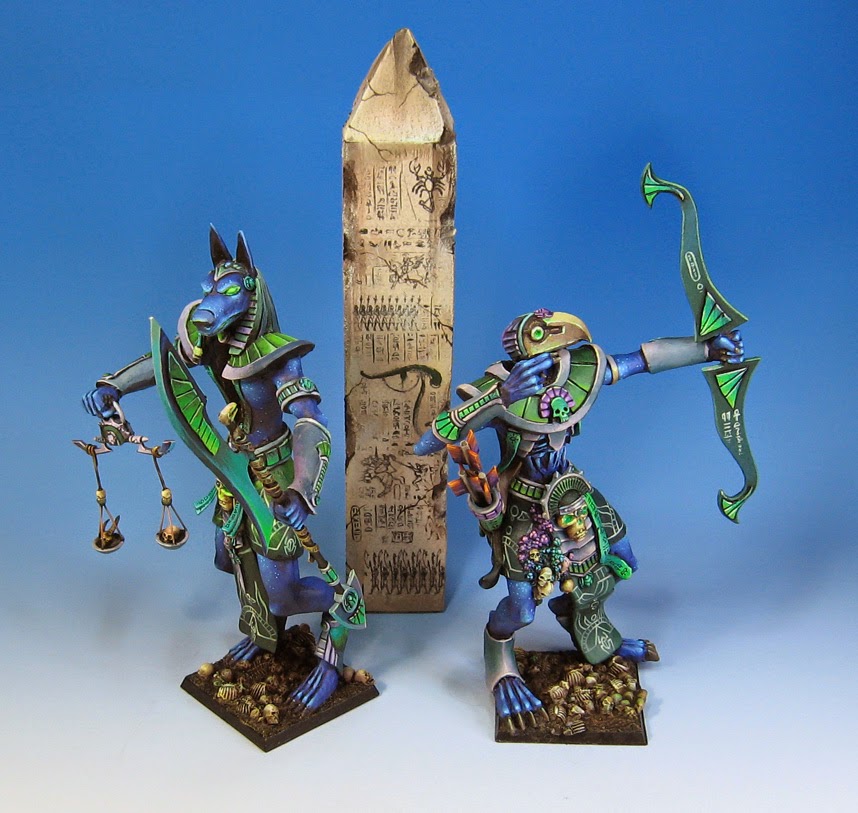
Here they are on the large blue/white fade, along with one piece of the display board.  That obelisk tells the story of the first corruption of Pseusenes, followed by the second fall to the Tzeentch god.


One more on the 'regular' backdrop...


And now on the brown backdrop.  A very different look!


This is actually very similar to how they appear on the top level of the army board.


They are standing above the underground Temple Complex, guarding the entrance.


Hapless artifact looters dismiss them as statues, only to find the error of their ways in a very bloody fashion!


One more image of the big guys.  I think I will do the Necrosphinx and Warsphinx next...


Among other things...


Well, there's a million and one things going on here right now, but here are some pics I snapped the other day.  This is the caboose of the Siege Train from Wild West Exodus.

It's got a few turrets, which I wanted to pin so that they could turn in place.


Out came the pin vise, and I drilled away!


Then to glue the main guns in place... which means it's time for the "glue/green stuff/glue" option.


You put glue on each area that you are going to attach, and then put green stuff in between them.

The fills in any gaps, and forms a better attachment.  It also means that you don't have to sit there holding the parts together... waiting forever for them to stick :-)


Gun in place!


There's a bit more of the lighter blueish gray color on this part of the train, according to the concept art.


There's many ways you could make this color.  You could even mix a blue/white with a black.  In this case, I used a fun Reaper color... can't quite remember just now.


I marked the areas that are supposed to be brass as well.


Getting some lighter shades on the turrets...


Most of this was done with the filbert brush, shaded basecoat style.


The brass is also lightened.  As always, this will be shaded and tinted later with glazes!


Seeing what the turret looks like.


I also worked on the secondary armament for a bit.  Next up, some more glowing stuff and freehand!  Stay tuned.