
As I prepared for Round 3 at Operation Sting, I could not be truly prepared for the unusual list that stood on the opposite side of the table! It was the very unique Anti-Tank platoon list in the Battle of the Bulge campaign book. This meant all kinds of heavy weaponry, but not much in the way of infantry.

Once again, finding a match between the actual scenario and the Secret Mission was going to be tough. Actually, I probably should have labeled this episode as "Ambush Alley", because both of us had to resort to dueling ambushes all game long!
This had to do with the terrain, which did create a lot of blind alleys. While the anti-tank guns would be overkill against the transports that I had, the vast numbers of medium and heavy machine guns on the tows presented a major issue!
Not only could they dish out plenty of pins... those HMG's can also take out light vehicles.

You can see these very tempting roads. Since my Secret Mission involved getting infantry units off the opponent's board edge (however, they had to be intact!), utilizing these could facilitate such a task.
This was not going to be the case once all those AT guns and Machine Gun tows started waiting in ambush.

This forced me to bring in some elements far to the left flank, where certain parts of the road could not be covered by those ambushes.
While we also had the Ambush game going on, there were plenty of Down orders being issued as well. The idea was to force the opponent to commit those final reserves early.
I was able to get a decent series of order dice draws, and some of the US equipment had to emerge early. Those ended up in some less than ideal locations.

Here you see the lone US infantry unit. They are taking up a position in the central square, which was the the objective of the primary mission.
The dueling ambushes did yield some casualties, and this destroyed tow was the first. This left an Anti-tank gun and its crew stranded well out in the open. While I fired at it quite often, I didn't actually want to kill it off completely.
You can see those American units in the distance, which sat in place for several turns, as their line of sight was completely blocked by that rather large gun!!

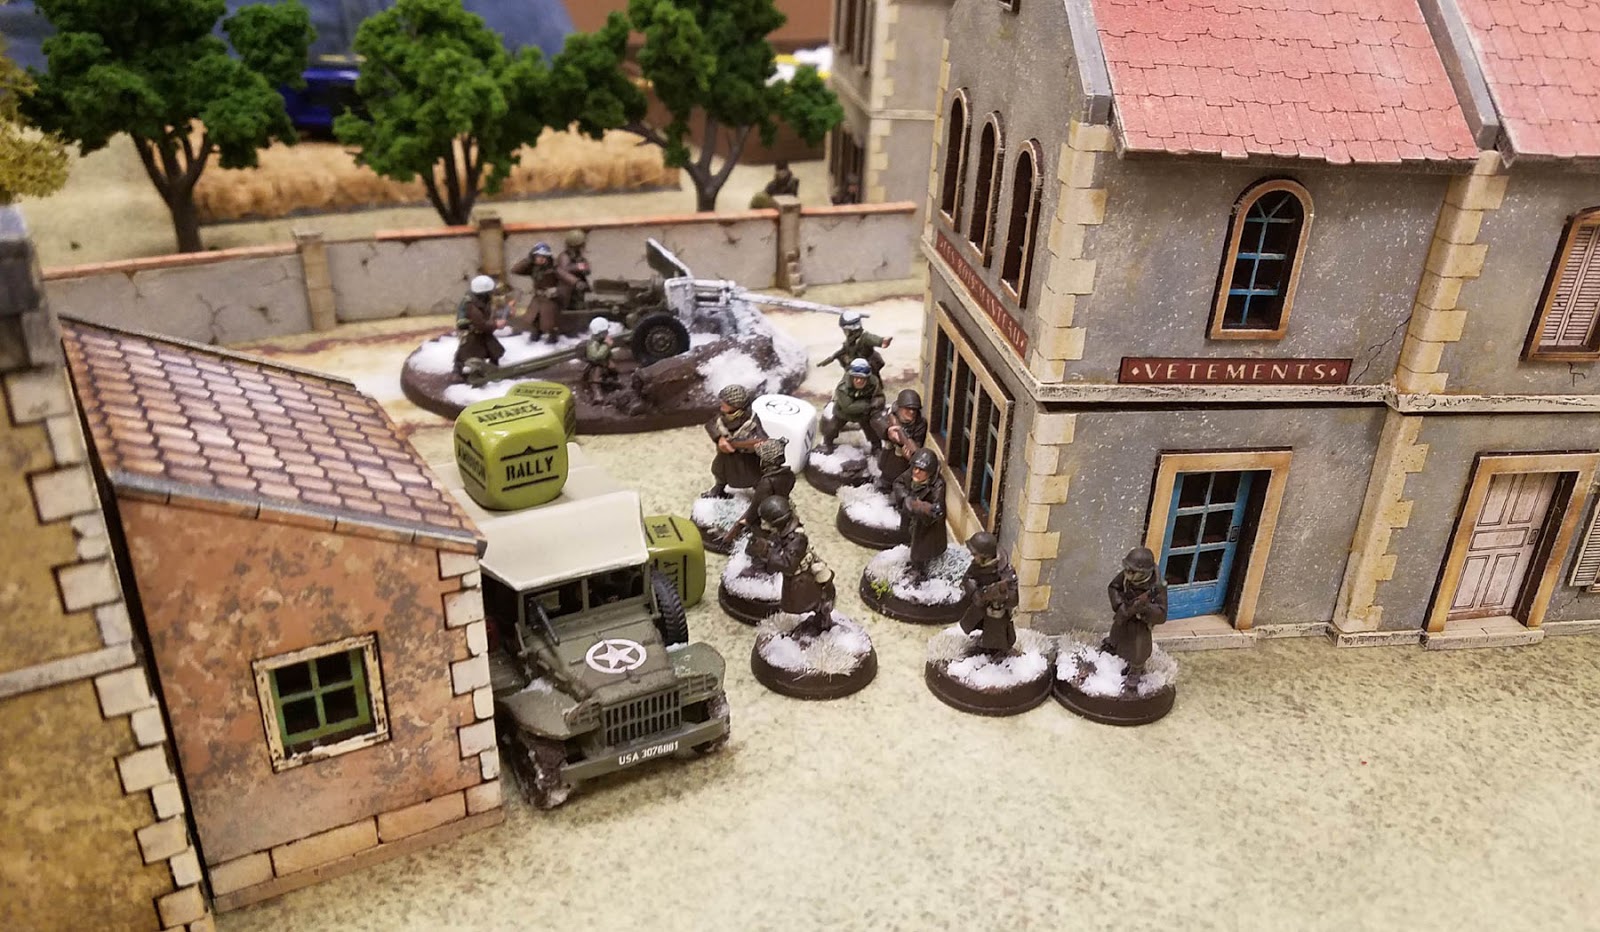
The few US infantry units present took up positions around that central building.

Even one of the AT guns was set in that central zone to block certain back alley approaches.

The building closest to the German deployment zone had the forward artillery observer and the officer inside. Fortunately I was able to keep the artillery pieces rather busy, so they could not blast the building out from under them!

At a certain point, however, I was going to have to make a move against this central structure. I brought up the sub machine gun armed unit, along with the officer, and anything else that could move.
I also fired my mortar into this area to grind down the artillery crew and force the transport out of the area.

My Secret Mission on the left flank ran into a Quad MMG halftrack, and it did not take long before pins and casualties started to rack up. Had I known that even getting 1 man to that board edge would have gotten me 1 point, I might have taken an even more aggressive approach.
All this time, I had to avoid many ambushes from beyond the tree line.

Pins and casualties begin to mount from repeated mortar strikes, and pot shots from the MMG team and other units.

The lone US infantry unit spent the entire game taking cover behind the central building, but enough of them would survive to contest the center, yielding yet another draw!
Sadly, I was not able to accomplish the Secret Mission, so I was left with the 12 points, and not the 17 I had played for.
Stay tuned for the final day, and Round 4!!
