
With the "primer painting" and initial shading complete, it is time to move on to a more complex phase, and that is the shading and glazing.
You can see that I have a line up of oil based products by Mig AMMO. I have been enjoying these so much the last 6 months!

If you recall part two of this series, I had left some of the colors a bit lighter, in order to leave some room for me to make them darker. In addition to that, I have learned that the AMMO filters are quite good at tinting and tying together your colors, especially when doing this kind of tri-color camo scheme.
These are supposed to be applied evenly across the entire surface, and not allowed to pool. The idea is not to make things darker, but the help blend the camo colors together slightly, making them less "factory fresh".

You can see how they give a slight tint, which is easiest to see in the yellow range. However, they also make a difference in the darker brown and green. Again, it is a bit like leveling off extra mortar that's been placed between a layer of bricks.

The tanks on the left have this treatment, those on the right do not. You can really see how the yellow part of the camo has turned warmer, and more like Dunkelgelb.

The excess can be sponged or wiped away in a few methods. I often use a larger, soft brush, but these makeup sponges are also handy. You can go through a lot of them when you are doing this many tanks!

One last reminder, this is not a wash that will shade things or make them darker. It is more about tinting and softening edges.

One last look at the "filtered" vehicles... not it's on to that darker shading!

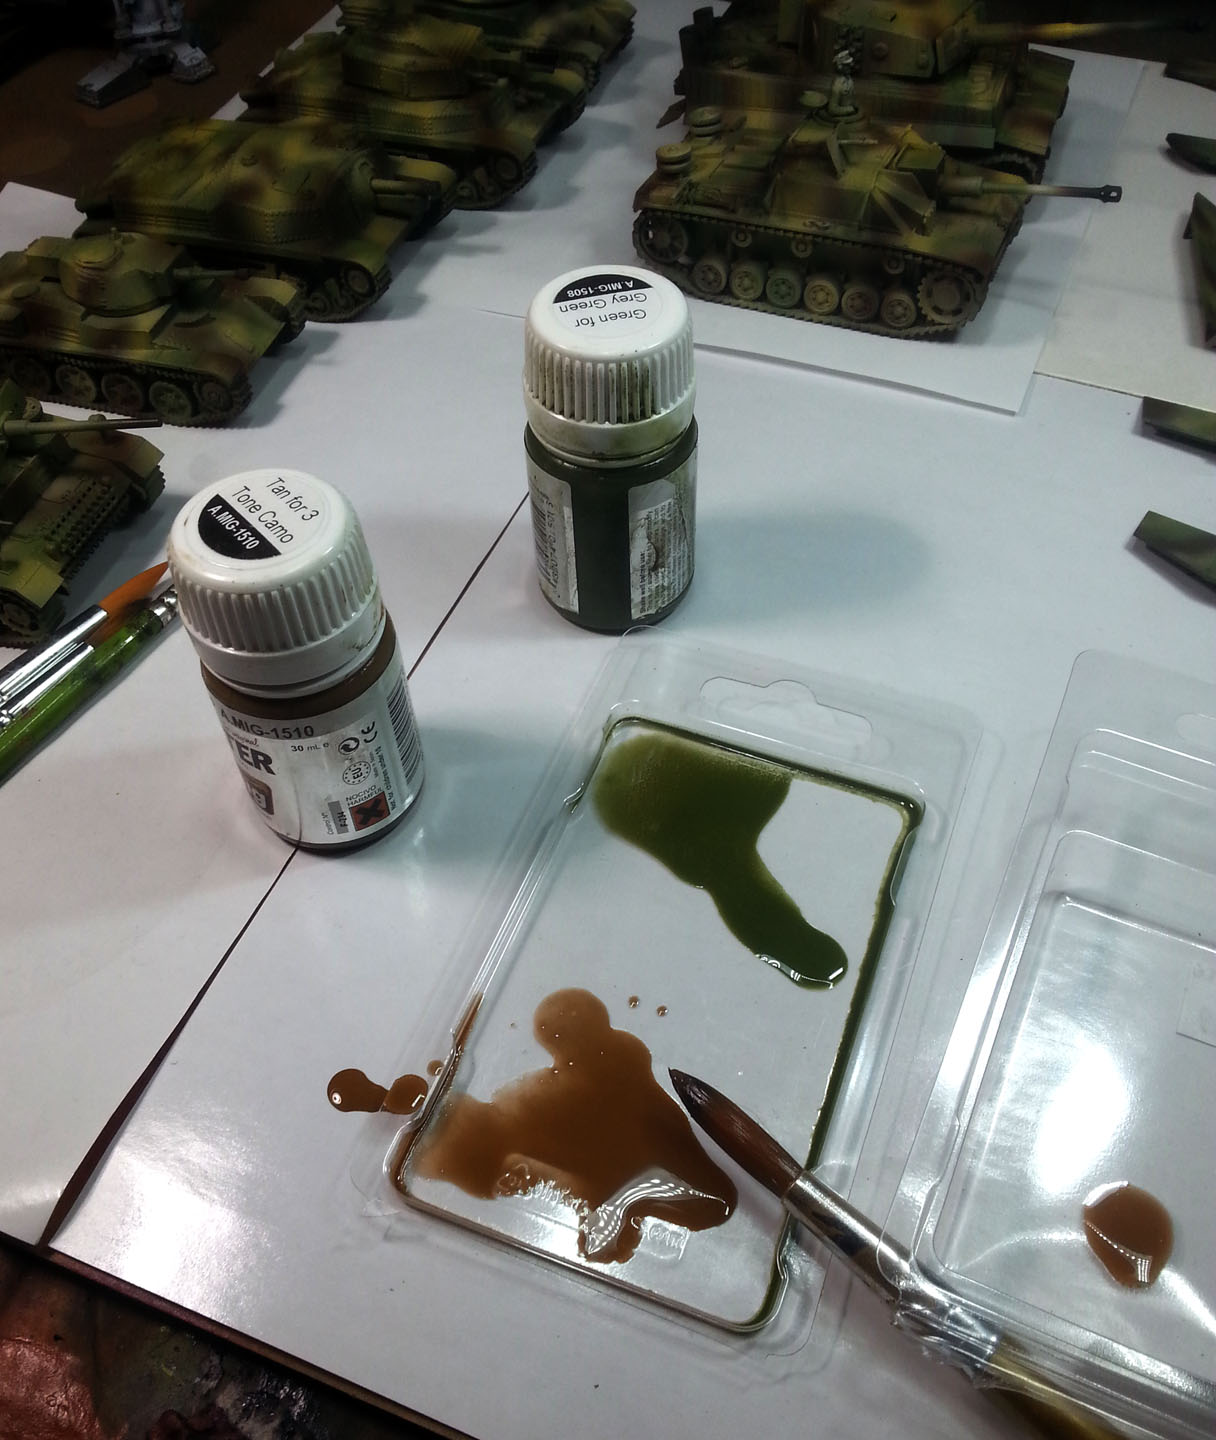
I chose a few washes that echoed the camo... a dark green and a brown. Those will shade the other two parts of the camo, while a third filter will be used to blend those as well.

The green and brown washes will be applied over the corresponding color of the camo. Beware, this will get a tiny bit messy, so don't panic!

This Filter color will be used to blend these and shade the yellow part of the pattern.

The messy part! Letting all these things mix together on the tank.
Again, you have to keep your wits about you, but the extended drying time means that you don't have to rush into anything. I have to remind myself that these are not acrylics, and will not set up in a few seconds or minutes.
The insert shows how easily the excess can be removed, which leaves behind a nicely shaded set of camo colors!

A quick comparison of the tanks in the top image is an example of how much more depth has been gained in the shadow areas without the need for laborious shading.
The lower image gives you a peek at how the process of removing that excess keeps the lightest colors intact, but now gives you a good foundation on which to build the darkest shading and even your weathering.

Stage Four of this series will cover the additional shading and initial weathering, focusing on the Tiger 1 and the Stug. There's a lot of complex procedures happening, and it thought it would be too confusing to have all of the vehicle horde shown all at once.
Separate articles will be done on those too, so stay tuned!
