
We proceed with the Fiery Golem! At this point, we have gone through all the stages that involved the fluorescent paints.

Abima, Master of Fire, has led you well thus far!

The next color applied is Vallejo Cavalry Red. Just as with the other layers, this one is placed with the large filbert brush, and allowed to mix a bit with the previous layers.

The entire miniature gets this treatment...

Next, I mixed a chocolate brown color with a blue-green so that we can start to cool down this lava! The brown keeps the mixture from getting too grey too quickly.
You can see how this is not just darkening the non-hot lava areas. It really does cool down the surfaces that are in contact with the air...

Once that is applied everywhere, we have to think about our darkest shadows.

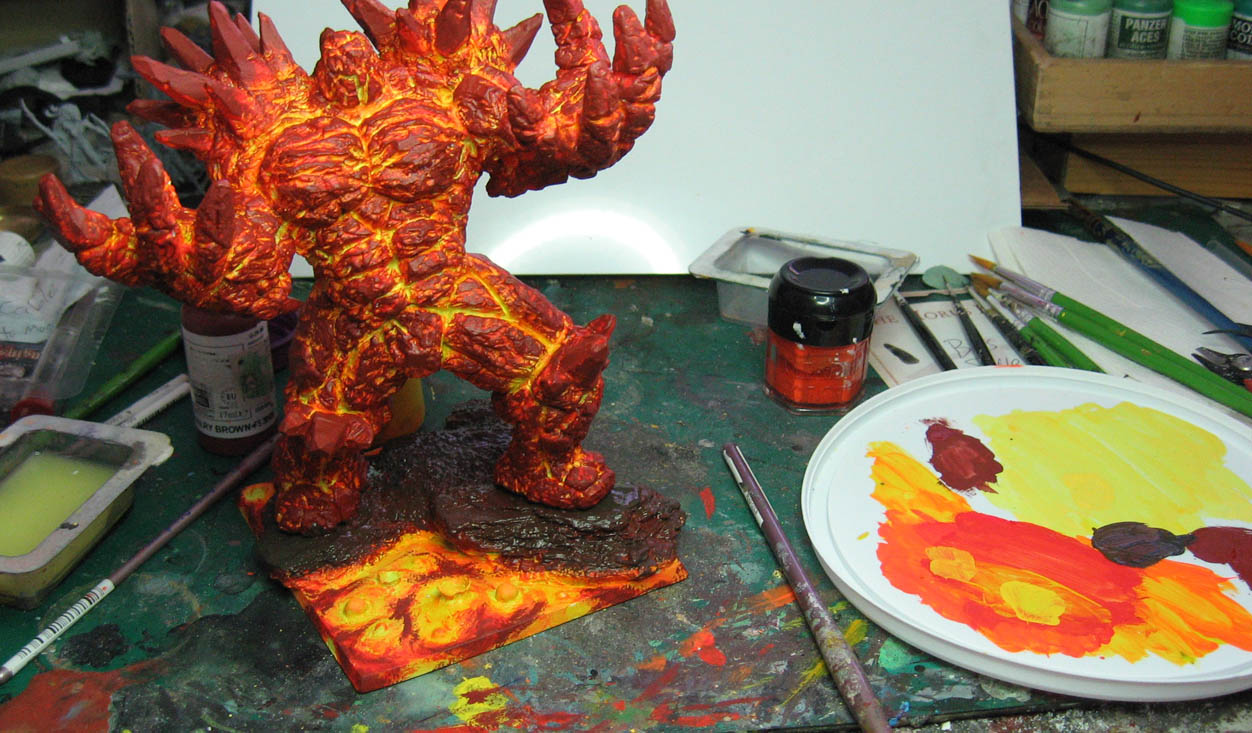
Here is a closer view...

And from another angle. I also took some orange glaze and toned down some of the brighter underlying yellows here and there, so that certain sections would stand out more, instead of everything being equally bright!

I used some dark washes of hard body black and blue-black, especially on the base and the biggest chunks of "cooled lava".

The end result of that series of washes and glazes...

At this point, I start to mix in a seafoam green color with some black in order to get a cool grey. I concentrate most of the lightest lights on the base, the fingers, and the shoulders.

Stay tuned for the final conclusion!!!
And to the Indegogo campaign:
These lava WIPS are awesome. Seeing you break it down makes it so much easier to understand how it works. What would be you biggest tip for people looking to learn NMM and how would you break that down?
ReplyDeleteI think that I have a few different NMM breakdowns scattered around the blog. The most important things to consider is what the metal is reflecting, and having the right contrast.
DeleteI have a Medieval armor book that I use as reference all the time.
When you paint the metals, be sure to reflect sky colors on surfaces facing up, and the ground as well, which means more browns, etc.
Also, keep in mind that the metal might also reflect robes or other clothing the character might be wearing!
Wow, this looks incredible. That paint job looks great on that mini. This really makes me want to try painting something like it. Nice work.
ReplyDeleteThanks for the kind words! This like this guy have their own set of challenges!
DeleteGreat stuff, thanks for this heads up on painting fire.
ReplyDeleteI'd like to see hat you would do with a Balrog...
Many thanks! Ironically, my wife painted a Balrog years ago with this same principle in mind... there were no fluorescent paints back then, of course :-)
DeleteWOOOOW! Thank you James - as always your work is awesome! Do you have in your plans to paint also treeman? :)
ReplyDeleteI have been prepping him too :-)
Delete