Wednesday, October 24, 2018

Wild Water


Next up from the Wild Assent kickstarter campaign, we have the River Guardian.  Here's a little on his profile from the Wild Assent webpage:


To try an make him look more like the artwork, I put several layers of the Liquitex Heavy Gel over the flowing water sections.  The idea was to have a tint of color in the gel, which would make it seem like water was splashing, especially off the end of the fingers.


I also added some Secret Weapon water effects over the top  of this to level things out, and get one more layer of shiny!  


Here's a link to the kickstarter campaign so that you can check it out!!


Monday, October 22, 2018

Army on the March!


It is amazing to realize that the third Army Painting series is completed, and Series 4 is well under way!  As I have mentioned several times, this one in particular was very gratifying, as I am replacing my beloved Easterling Army, which I had to sell off years ago.

Since then, I have been trying to recover as many figures as possible, and rebuild it.


I thought it would be a very good set of tutorial episodes, since it would tackle a number of things people might run into as well... like replacing an army, matching old color schemes and so on.


Another potential benefit would be watching me negotiate several different types of figures at once.  That is, very old metal figures and newer plastics.  Also, working with archers, pikemen, sword wielding champions and special characters.


This was one of several conversions I made for the project, taking one of my very old plastic figures and putting a more recent banner on it.


I even tried to cover painting cavalry figures, so a few of them are shown in the basing and painting process.  Most armies involve figures of radically different types and sizes, unlike single figures.  The vast majority of painting tutorials only show one figure being painted... or sometimes just a portion of 1 figure.

It seemed this left a lot of people out in the cold when it came to approaching an army.  How do you decide on a color scheme, a basing scheme, freehand and other details?  How do you figure out if these desired elements will make the project take 100 years before you get stuck in?


In each series, I make a lot of alterations and course corrections that involve the "currency of time".  It is always in short supply, and I have very little time to work on my own armies.  So, I also need to figure out what is possible in that small amount of time, but maximize the results!


I try to present as many options as possible... and in future series I will be showing how to do the same unit with metallics, in case you are not comfortable doing the Non Metallic technique.

There's a series that was done entirely with oil paints!  Again, the idea is to present you with as many options as I can.


The standard Army Painter pledge is $15.  There is also a $50 version which will get you high resolution copies of all the videos on a USB drive.  You can find that on my Patreon Page here:


Saturday, October 20, 2018

Get to the Point!


I am getting more and more excited about painting the Song of Ice and Fire miniatures the more I work on them!  I have been painting several of the character figures for tutorial videos, and now I am getting ready to film the first Unit Painting video.  This will feature the Lannister Halberds.


The first episode will focus on basing and integrating the movement tray into the basing... similar to this:


I have a few tutorial videos on Sky Earth Non Metallic Metals already available through the Patreon Page, but this will be the first time I try it on an entire unit!  

Should you be more interested in seeing how to do this with metallics, never fear, as I will be making another series showing how to do that as well!  There are 2 units of swordsmen in the starter box, so I will be painting one in each style, to maximize options for you.


Filming has started for this new series, and I am very excited!  It is part of the Army Painter pledge level, which is $15.  A series is usually 4-5 episodes, and 10-13 hours of tutorials!

You can check that out on the Patreon Page:


Thursday, October 18, 2018

Girl Power


This unit is from Victoria Miniatures, called the Rausenbergs siege corps.  Some of you might recognize the uniforms, as they are the same ones provided with the large cannon unit from the BONES 4 kickstarter campaign!


One of the most unique features of Victoria's line is that you can field female troops such as these.  You can mix and match them with their male counterparts or just go with an all female Guard army!


Here's a link to the site, and the Rausenbergs:


It was interesting to use much of the Field Green colors from my early war German forces on the great coats.  That very distinctive greenish gray...


You can mix and match the torsos and arms, like the good old days!  This means that you can use these as tank commanders, rough riders, just about anything you need.


The arms and weapons swap out easily, and there are loads of extra hands, grenades, packs and other gear as well.  I am filming some how to tutorials on the next army, the Svargan Shock Soldats!

That will be posted to the YouTube channel soon... so stay tuned!


Tuesday, October 16, 2018

Wild Fire


Here's another fun figure from Wild Assent, a Kickstarter Campaign that is just under way!

Here's a peek at their website to give you a sense of the game and the figures:


This Phoenix was painted in the usual manner, working with the Vallejo Fluorescent paints and the Reaper Clear and liner paints.  I have a Facebook live session that shows something similar in action:


And now for a link to the campaign:


Monday, October 15, 2018

Monte Cassino Basing


Operation Sting is fast approaching, and I needed a brand new army to fit the era of the tournament.  

This is an army that I have thought about creating since I first started playing Bolt Action, and that is a Monte Cassino Fallschirmjager army!

I visualized a force well entrenched in the ruins of the abbey, which would let me combine some classic sculpey carved bases and a late war Bolt Action army.  Yes, that is right... and army that is post 1940... ;-)


I gathered together as many reference images as I could find, including several of the Abbey.  The display board will be made to appear as close as possible to the lower right image.  Obviously things will have to be tweaked a bit to make room for the actual units themselves.

Much research has been done on the uniforms worn, and it has revealed a mix of gear.  In fact, that image in the upper right may reflect the variety which I will include.  It is late war after all, and by this time, equipment replacements were erratic at best.

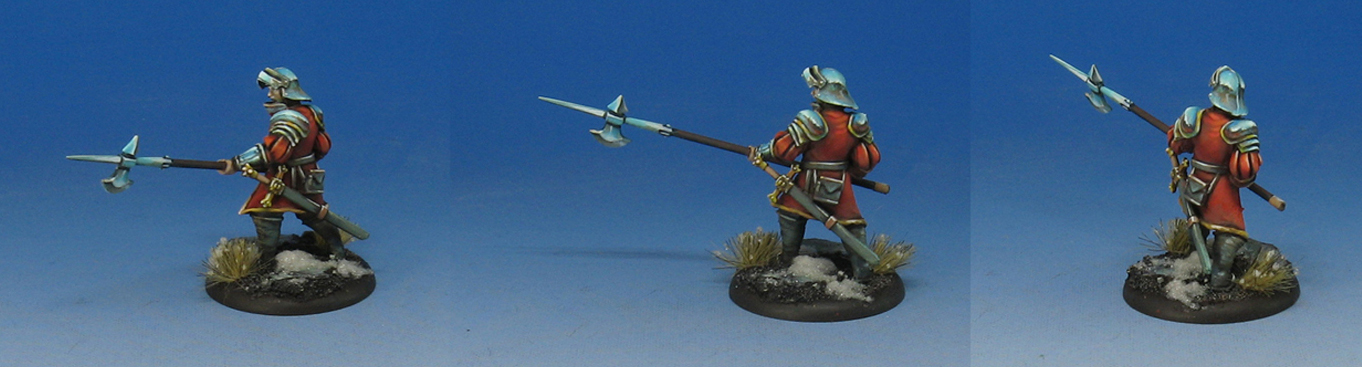
I do think it will be interesting to see the Mediterranean style helmet and trouser color, however!


Many of the poses were of the kneeling variety, which meant that I could have a lot of fun creating bases for them to hide behind.


The plain white Sculpey is very easy to break and carve.  When you break the rolled out pieces, it gives a fantastic texture, and sometimes all you have to do is chip away at some of the edges to complete the look.

You can also use all those smaller chunks as additional rubble, which helps to achieve the effect of ruins.


I also tried to utilize some of my Secret Weapon Miniatures resin basing pieces like the broken pillar that you see on the figure to the right.  Eventually I would start making my own smaller pieces of broken pillar, which you can see a little later in this post. 


I have a number of basing exercises on the patreon page that show urban rubble style bases, such as the Army Painter Series 2.  In that set of tutorial videos, I tackle my winter Soviet army, all of which are based on rubble (including weapon teams, etc.)

You can check that out here:


On this base, I was able to match the chunk of resin pillar by carving a larger piece of Sculpey.  This is part of my Sniper team... and he has a buddy in a similar type of base.


Sunday, October 14, 2018

The Great Stag


This Reaper Miniatures Great Stag gave me a chance to balance cooler grayish browns against more saturated, warmer browns.


You can see this in the shadow areas of the fur. I believe the color in question is Secret Weapon Miniatures Woodland Brown.  This same color was used in the 'mane', so it made sense to carry that through the rest of the figure.


It is even more important to have this kind of variety on a figure which could potentially get very boring to look at if you stayed with simple variations on one tone of brown.  While the shading from light to dark would still be interesting, it would still appear somewhat artificial and static.

While the shadow colors are still brown, the warmth and intensity of the mid tones make the color appear more greenish.

These are the kind of subtleties that are discussed very frequently in my tutorial videos.  There are a few different pledge levels available on my Patreon Page, even a basic $5 pledge that gives you a chance to check out the Painting Pyramid episodes, as well as a large portion of the new content being created!

You can see that here: