Saturday, February 20, 2016

Locked and Loaded


After the experiment basing the French anti-air 75mm gun unit, it was time to apply those lessons to artillery pieces, such as this howitzer. 

Bulletin board cork, oxide paste and gravel will feature prominently once again.


I knew these would me much more tricky than the AA, as the footprint of the gun was larger, and then I would have to deal with the crew!


I tried to make the cork piece large enough that I could fit all of them easily.  On other stands, I will vary the height on some of those crew members.  I also need to space them just far enough apart so that I can still get paint on those little buggers!!


Just as with the previous step by step, Oxide paste and glue are put down before the cork, with gravel added from course down to fine sand.

The last bit to be added is the tree roots, so this looks like an eroded hillside or something similar.


A dab of Oxide Paste is applied where the crew will stand, as well as a dot of super glue.


On subsequent stands, I clipped off most of the round metal base on the crew.


The crew is added, and now the gun can be removed in order to fill in all the gaps around the crew member's bases with paste and gravel.


I added some elmer's glue to the paste so that the gravel would adhere more firmly.


I was careful not to add too many heavy gravel pieces, since at this 1/100 scale, they would be massive boulders.


Near the ends of the stabilizers, I made small mounds to make it appear as if the gun was pushing itself into the dirt with the recoil of firing.


Fine sand and roots added, so that once painted, it will appear as a dug in position.


This stand is left to dry (along with many others!) and awaits painting and flock.


Here's a sneak peek at one of those bases with all the finishing touches.  Stay tuned for much more on the French artillery!!


Friday, February 19, 2016

Secrets of War


Fresh from Secret Weapon Miniatures, we have some wonderful new paint colors!

These are multi-purpose, with strong pigmentation which makes them great for many techniques.


Here's a peek at the colors.  Some are obviously meant as rust, others for oil stains and streaks.


I was able to mix them with the rest of my paints and glazes very nicely, creating the colors that you will see on this Flames of War Souma 35 tank.


The reddish color you see on the palette was mixed with the Vallejo Flesh shade (wash), which created a fantastic 'sedimentation' effect that looked very similar to weathering powders!

Anywhere I painted this mixture, I got instant rust!  Not just the color, but the texture as well.  This effect even translated to the steel helmets of some French artillery crew, but that's for another article. :-)

The darker color (SW 1), was excellent for oil stains, streaking and chipping.


Here are some shots of the finished results.  Penny for scale!


I wanted to see if I could push the limits of the colors on something very tiny, and they stood up perfectly!


When painting at 15mm, you need quality paints that have strong pigmentation.  I have also been mixing these in with some of my basing colors, flesh tones, and more!  Stay tuned...


Thursday, February 18, 2016

New Beasties!!


Earlier this week, I was fortunate enough to see a post on Facebook from Blood Keep Miniatures, announcing their pre-order sale.  I was intrigued with the images that I saw on the post, but then truly stunned when I visited their webpage, because I saw things like this!

First... wow.  Stunning in so many ways, composition, originality, and the intricacies of the details.


Not only do all of the creatures have a wonderful flow to the poses, they also have some unique treatments or even concepts, such as this Maara.


I have never seen anything quite like this, so it's definitely a must have for me!  I believe this is a physical rendition, not a digital render.


The scale is listed as: Height 160mm, Length 210mm and Width 60mm.


As I said, each of the figures is truly amazing.  I thought this was a spectacular rendition of a Greater Fire Demon/Elemental.


I thought they handled the flames and skin texture perfectly.


And then there's the base!  I absolutely love that!


It is very beautiful, but also practical.  You still get the dramatic posing of the demon, but also the very handy base size.  This means it will fit into those wargaming situations when you have to make contact with a unit in combat.  No need to worry about getting poked with plastic spears here, since he is above the fray! :-)


Here he is in another context...


Some closer views of the details...


This is not my paint job, but certainly along the lines of what I'd like to do with it!

Here's the website!


The Star that Bleeds


We are nearly at the end of the Reaver Jetbike series for the Dark Eldar.  Where possible, I tried to incorporate the symbol of the Blood Star into the freehand designs.


This was another converted Jetbike, using some Raging Heroes bits, as well as chopped up pieces of hull.


The same freehand pattern was done on everything in the army.


Even the bases had significance, as the 'trophies' and casualties were written into the story.  Essentially the opposing army to this force.


The views from above!


She's also here:


Wednesday, February 17, 2016

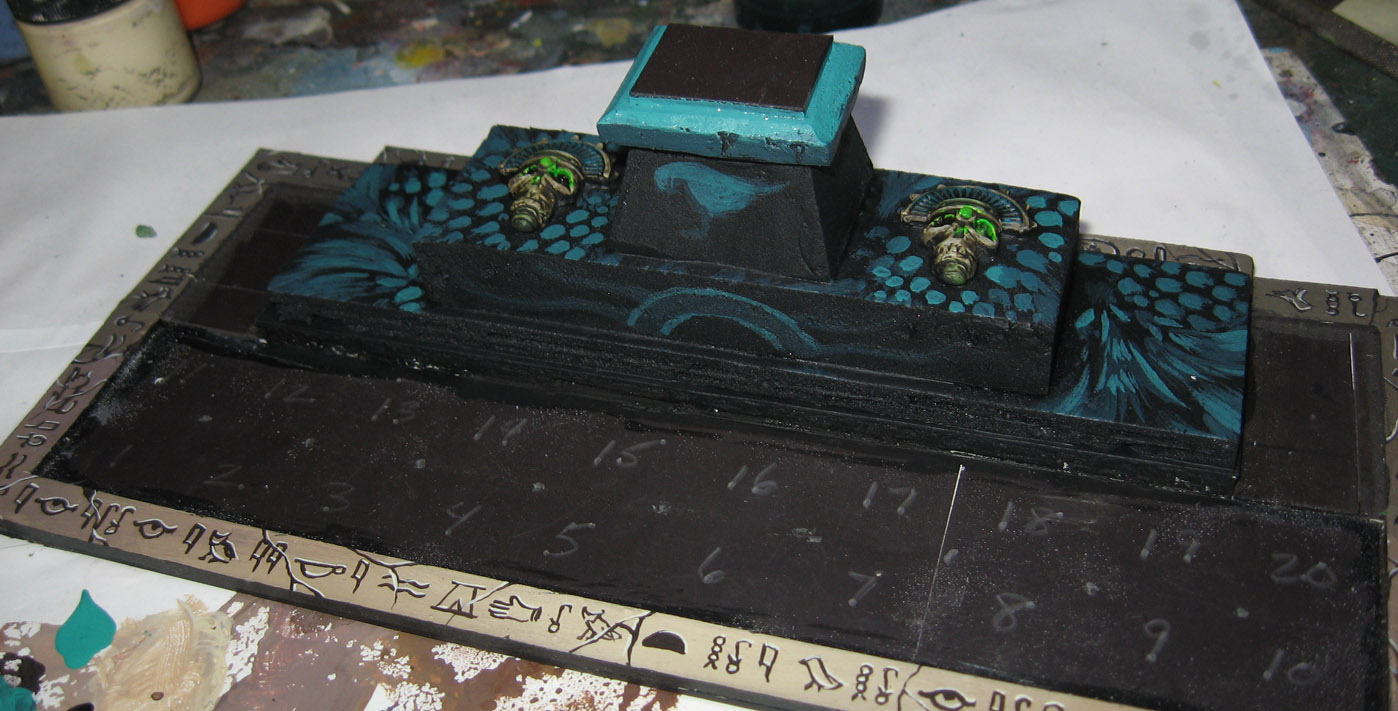
More fun with movement trays


As you know, I have been trying to adapt my previous movement trays for the Empire of Dust Kings of War army.  Since unit sizes and footprints are defined in very clear terms, I had to rework the trays for almost all of my old units.

This one is for the Skeleton archer horde.  I added some pink foam unit filler/pedestal decoration.


Just as I did with the filler for the Guardian Archers, I mixed black primer with dark green and blue paint.


The back panel was covered in the hieroglyphs using the same method as I showed in the earlier step by step.


I did a little more painting on the skulls.  Eventually there will be some braziers on here as well.


Here's another round of Demon marble!  There was a previous tutorial on this technique.


In addition to the Demon Marble, I wanted to do some designs on the altar which reflected the kind of images I had painted onto the army board.


These designs were also painted on my chariots, the monsters, and the cloaks of my Priests.


The ultimate goal here is to focus the viewer on the Eye of the Chaos God.


The Eye is now mostly complete.  I will be doing some more designs around the altar, but my hope was simply to get this ready for some games to see if the unit and its configuration will work. 


A glow effect on the eyes is applied at this stage.  

The altar has a strong magnet on top to hold the decorative character figure.


Ready to go!!  I will take some images of the finished unit for you, so stay tuned!