Sunday, July 13, 2014

The missing files at last!


After I posted a few of the Arthurian series in the "Why I paint NMM" article, I had been searching far and wide for the other paintings in the series.

Cathy managed to locate the old backup disks for me, so here they are!

Beginning with Nimue's Gift.  As with all Pre Raphaelite style, imagery is everything.  So, spring vegetation to show the beginnings of Camelot.  Light colors, and a young Arthur.  Merlin is also younger.


Morgan Le Fey.

An older Arthur, more heavily featured (and older) Merlin, and the oak leaf/acorn motif.  The seeds planted.  Yes, lots of people say he looks like me. :-)


The Once and Future King.

Summer vegetation, high chroma colors, the peak of Camelot.


Guniverre.

The vines, showing the entanglements of love and betrayal.  Very dark, muted colors.  Deep reds and blues.
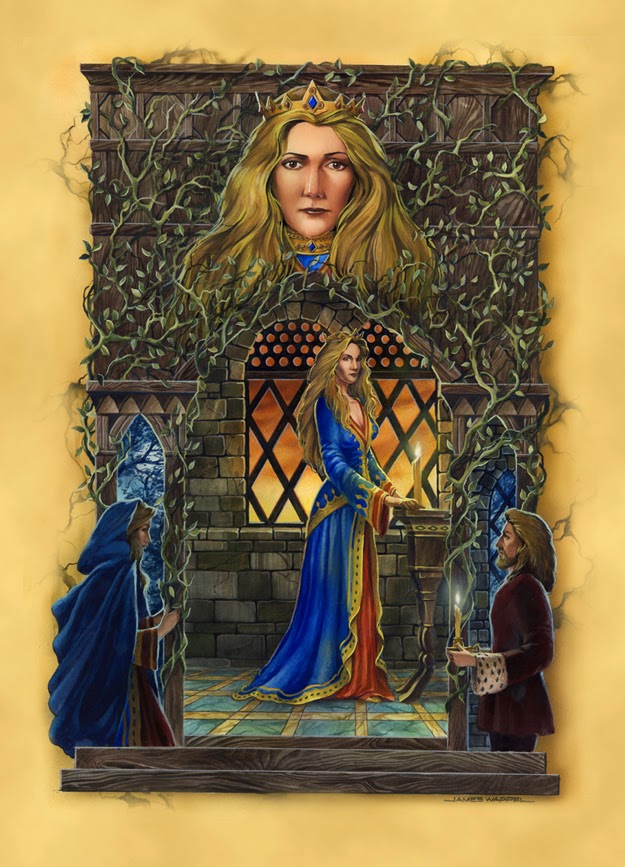

Lancelot.

The Fall of Camelot.  Dying leaves falling from the trees, heavy accents of reds.  The armor has lost its shine, and Camelot is under gray skies.


Not long after I did those five paintings, I had the sixth in the drawing phase... Mordred.  I never did get to that one.  I think I have the original drawing somewhere... or at least I hope that I do!

Anyway, this is my version of the Lady of Shalot, a very popular subject among the Pre Raphaelites.

At the time, I had done a lot of experimentation with the image actually being part of the 'foreground', or the 'reality' of the viewer.  Hence the cracked mirror morphing into the foreground...


Pieces and parts... where to put them?


Now for some images of the final stage of the Krios tank.  

Like all Forgeworld kits, instructions on how to put the stuff together is minimal at best, non-existent most of the time.  I had to scour the images of the painted version just to get a clue.


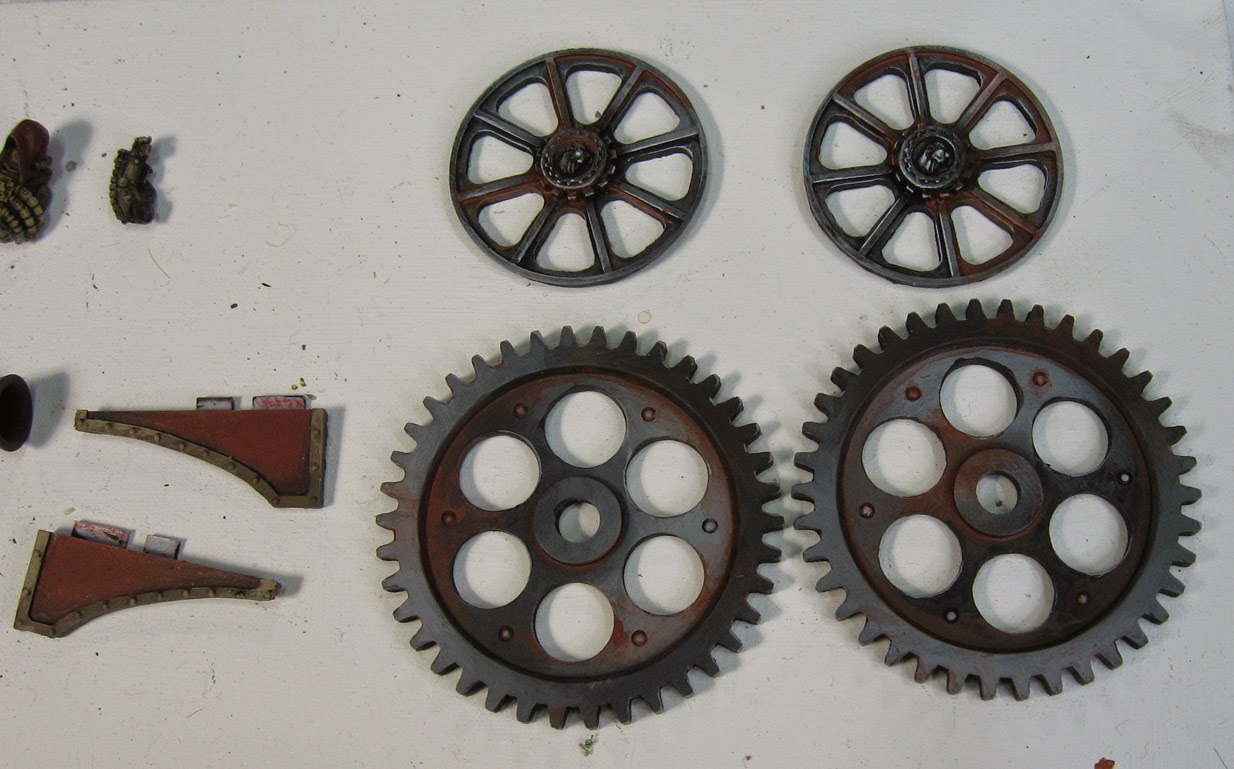
The cogs and wheels now have most of the weathering...


And then the treads, which took a huge amount of time.


You will have to paint these interior sections fully... but beware not to place too much contrast in there, because they really get buried.  Too much contrast here will compete with the other pieces you will place on top of it.


This is the section that was a nightmare.  One of the pieces is not even shown in any of the instructions, and you have to guess where and which way it relates to the surrounding pieces.

Also, do not attach the other side, since you have to deal with the interior large cogs and the weapon itself.


You can't really see it in this image, but it is a cowling that ultimately supports the weapon.


Here is the best view (the piece that has a number of 'V' cuts in it).  It intertwines with numerous pieces, so you have to be very careful when you attach it.

Also, be careful to watch how square everything is, since the parts need to be shaved down here and there to keep things from ending up at slight angles.


I also did some more on the exterior of the treads, adding some rust effects and other weathering.  I tried to set up as much shadow area as I could, since I knew some of the cogs will be glued on top of them... and contrast would be needed.


The same goes for the main weapon asembly.


The left treads glued onto the central hull assembly.


The right treads glued, and the traditional rubber bands in place.


More work was done on the glow effect, mostly adding darks.  I will have to see how this will be working with the secondary housing.


You can see that housing in the background of this image.  Dealing with the pilot was not easy. You can only paint so much of it outside the cockpit... and the arms attach in very odd ways.

So, keep all these tidbits in mind when you go about painting your Krios!

Finished shots soon.  It makes me extra glad to have those Hangar 18 backdrops!!!


Saturday, July 12, 2014

Lizards... in Color!!!


Well, that is, ON color. :-)  Here's another round of testing of the Hangar 18 backdrops.

I took a few of the units that gave me the most trouble to photograph, due to the size and complexity.  For instance, one of my scratch built Engines of the Gods.

I never got a chance to shoot this on a color backdrop, until now.  Let's begin with the 11 x 17 blue/white fade.


Now for the second test, on a deep, rich blue and black drop.  It's interesting how a different backdrop can bring out other elements of the Engine of the Gods.


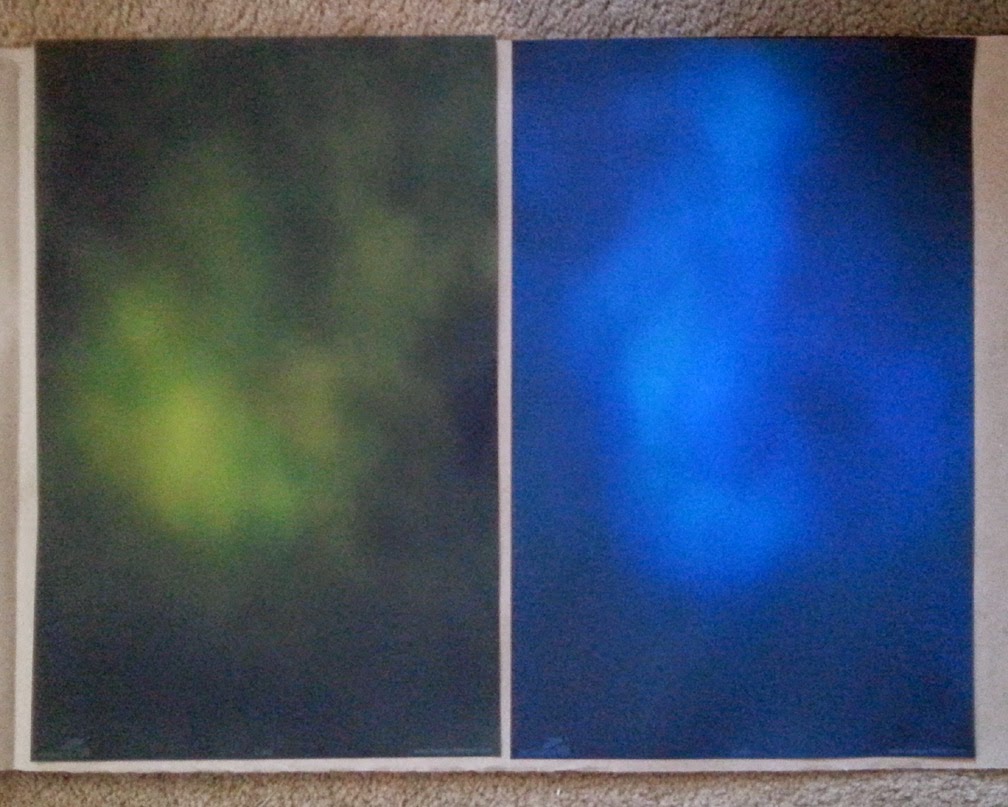
This one is very fun!  The green really brings out some of the reds, and complimenting the foliage.


Here's Tette-ekko in a whole new light!  Hangar 18 also has some spacescape backgrounds, which might be even more fun for Baby Babo!


Another direct comparison, this time with Mage Priest Babo and his Temple Guard.  First on the blue/white fade...


Then on the darker blue/gray...


And finally in GREEN!  This one is very fun!

The link for you again:


Just Hangin' around


Having been a miniature painter for quite a while now, I find it very interesting how the innovations in this particular field are moving along at an astonishing rate.

This makes my life a whole lot easier!  And it makes everything about miniature painting more fun.

You have seen me expound on the value of such innovators like Raging Heroes, Secret Weapon Miniatures, Reaper, Happy Seppuku, Wild West Exodus, and so many others.

That expanding list is joined by Hangar 18, with their stunning photo backdrops.

These may not be quite as new for many of you, but today was my first opportunity to work with some of them.

Here are some images right out of the tube... starting with a very familiar backdrop.  Yes, the blue/white fade!  However, this 'small' drop is 11 x 17, which is as large as my biggest current backdrop!


Here are some more backgrounds which I had always wanted to make for myself, but never had the ink to spare... more 11 x 17's.


Same size again, but some subtle variations.  I have never had a chance to 'choose' a backdrop for a specific miniature or group of miniatures before.  It was always the blue/white fade.

I was struck right away how these things will lay out perfectly flat every time, even when they have been rolled up for a while.  That is amazing!


A size comparison with the biggies.  I can't wait to start photographing the really big stuff on these!!!!


All three of the big drops.  I will definitely try to get more of them, for the same reasons of variety.


I was beside myself with anticipation as I hurriedly set up the first backdrop for testing.

You must keep in mind that I have purchased other photo backdrops over the years, and was so displeased that I continued to use my own drops.  Some of the ones I bought were shiny... which will never be a problem with these!

Also, whenever I attempted to use any kind of darker backdrops, the camera hated it, and the figure was always burned out in the middle tones.


Not so with the incredible Hangar 18 backdrops!  Perfect every time.  Also, far less color correcting in Photoshop, which is going to same me a ton of time.  When you take tens of thousands of images every year, that adds up like crazy.


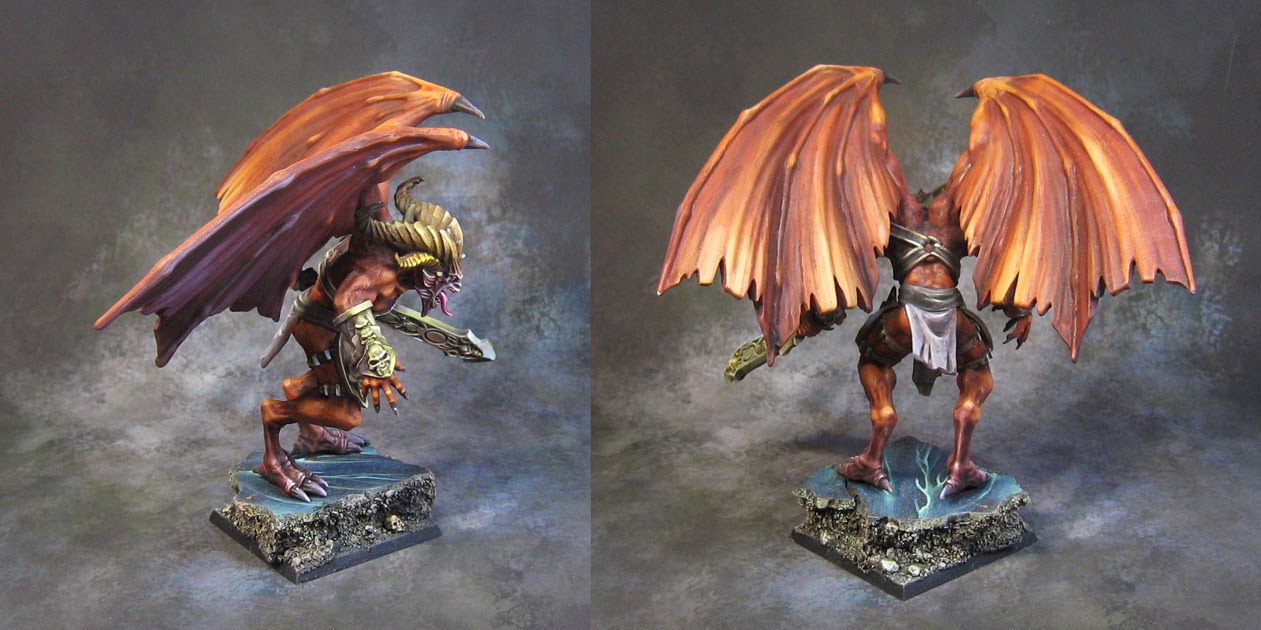
Also, with bigger items like this Demon Prince from Ultraforge, I had to waste time clone brushing out imperfections in the backdrop, or worse, having to extend it.  I could not believe that I was taking pictures of something this large, and the extra space made me think the figure was only 28mm tall :-)


I will still be using my blue/white fade... but now it will be the Hangar 18 versions.


Now I get to choose color backdrops for my minis!  Wow.

There will be much more to come on these, as I experiment with various colors and sizes.  This is just the beginning!!!

A link to the choices:


Friday, July 11, 2014

White and green Sister part two


Another set of individual shots of the Sisters for you.


She's here too:


A return of the Sisters


Here are some individual images of the Sisters from Adepticon, with a little post tournament clean ups...


I think I only showed them in larger group shots originally.


A couple more on the way!

They are also here:


Thursday, July 10, 2014

It's all in the bag


Remember those Bags of Holding that Babo was helping me to sell at Convergence?  Well, I just had to have one for myself!

Of course, one does not simply own a Bag of Holding.  Others will claim it for themselves, it seems!


It really is popular!


The empty bag before the loading process begins.


And this is what I am hoping to stuff inside it!  Anyone who has seen me in person has seen me haul this bad boy around.  It does hold a ton of stuff, and it is on wheels, but it can be very difficult to get this into smaller vehicles, and it is murder on escalators!

Also, it can be very difficult to get things to stay in place.  While it is very huge inside, the dimensions do no stay the same throughout.  As a result, I end up stacking all kinds of plastic cases of various sizes in it, which are a nightmare to keep straight, and it is way too much like hobby Jenga.


Marty has been using stackable cases like these for his hobby stuff, and this version fit perfectly inside the BOH.


I learned that I could fit two of these stacks inside, and still have room for one more case!!


Filling up the plastic bins.  You recognize these bases!  They were mostly flopping around inside the giant case...


Wild West Exodus 'Serenity inspired' figures!


Side pockets!  I was able to get all the brushes in one pocket, while the other held multiple containers of terrain compound.  Heck, I even squeezed a giant bottle of brush on primer inside.
The front pocket held glue and other items.


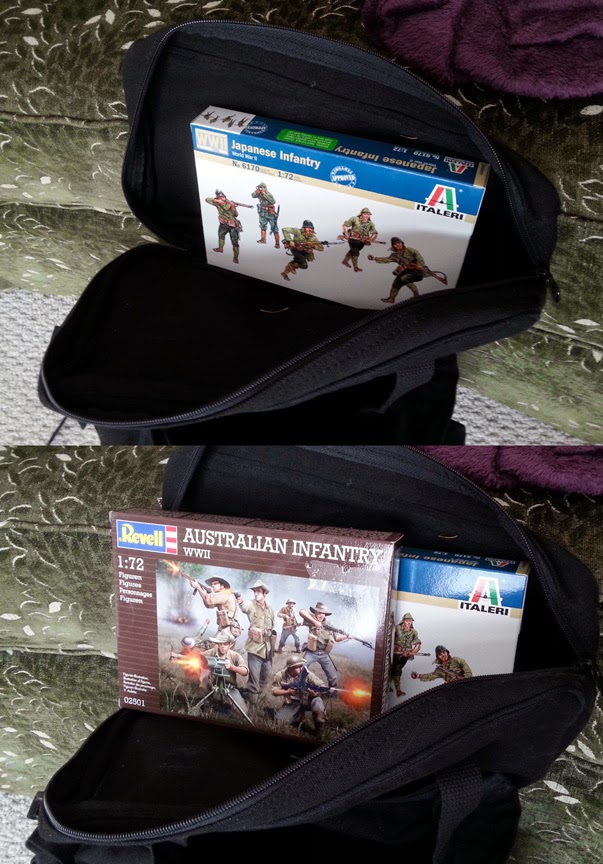
More surprises for Memoir '44!  These went in the top compartment.


The full stack of seven plastic bins contained!


The final result.  I slipped the backpack on, and was walking around with ease.  It was much lighter, since I was not also carrying the weight of the big plastic case!

Here's the link to the bag: