Monday, January 14, 2013

And Those Without Eyes shall See... the Campaign for the Warp gate


OK, loyal Wappellians!  I promised you some info on the campaign that was based around the Warpgate, so here it is.

The whole idea behind this series of three scenarios is that one side wants to control the warpgate to allow allies from the warp (be they Demons or Dark Eldar) to pass into this realm to wreak havoc and destruction.  How fun is that?!!!  The opposing side is attempting to shut down the warp gate.

Each scenario builds to the final conclusion... a massive battle on a massive board.

Sadly, I don't have any pics from the first scenario, but it was pretty basic.  It was an objective based game, and at stake were numerous goodies.  These could be enhanced weapons, armor, combat drugs, etc.  Once in your unit's possession, it would remain with it as long as it was not destroyed, even in subsequent scenarios.

By possessing more of these items, you obviously enhanced your chances moving ahead.  There was also a map, which would give you a hint as to where the next big objective could be found.

This objective was what we fought over in Round Two of "And those without sight shall see".

Here is the deployment map.  I should say that when we played this scenario, it was 4th Edition!  Yes, that's a long time ago. :-)


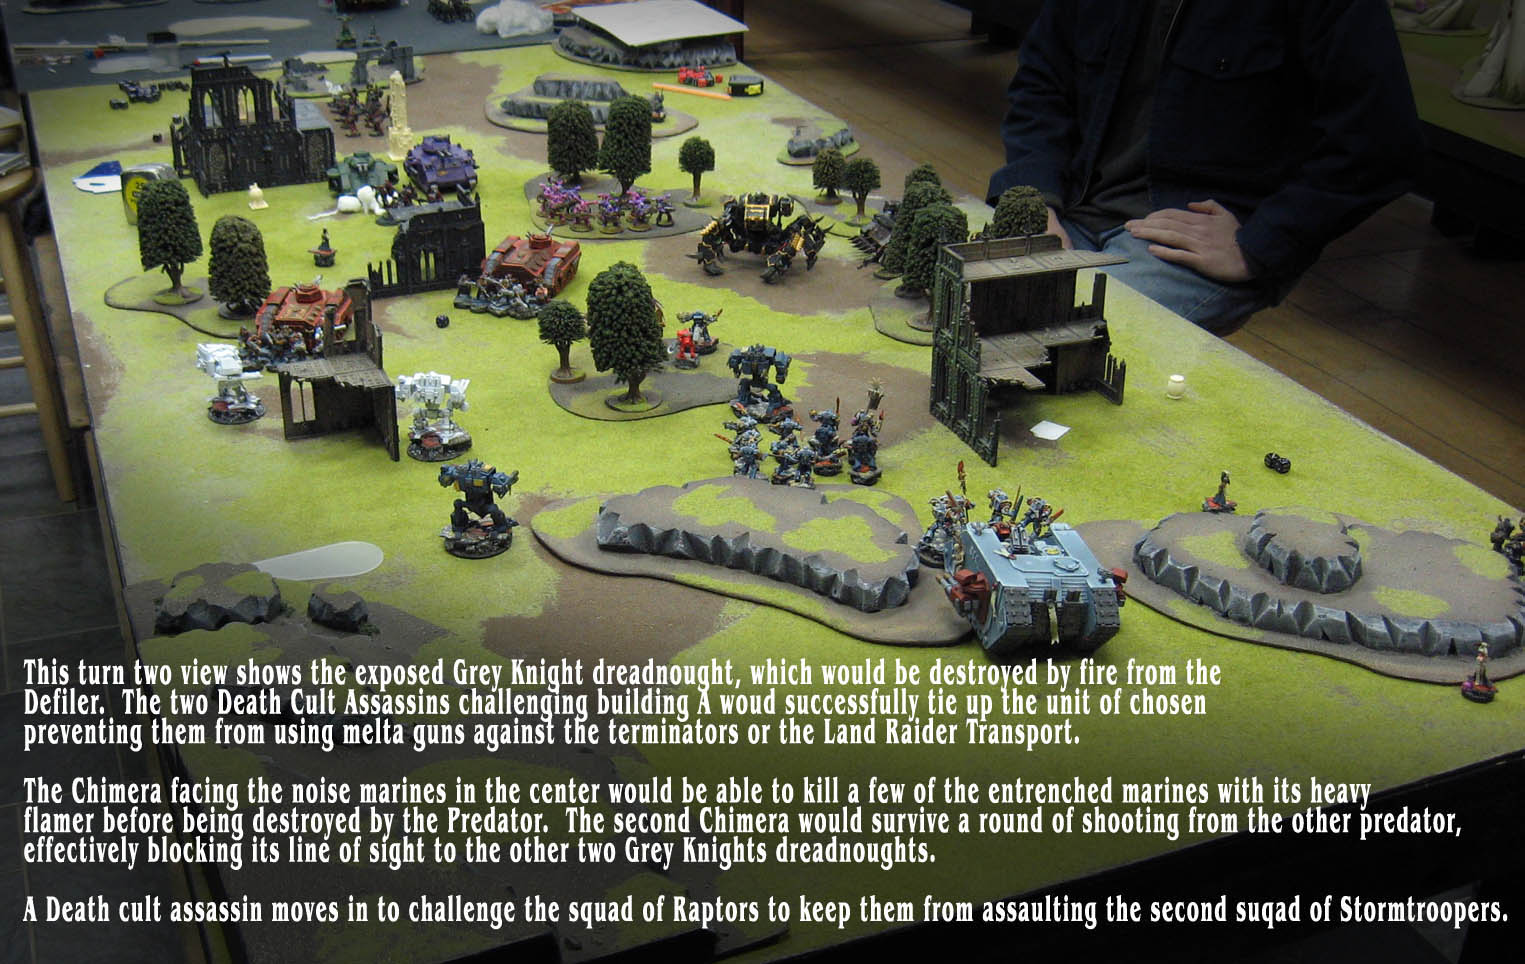
Here are the forces arrayed for battle!  Rich's Chaos and my Demonhunters.  There were a few things we were after.  There was a weapons cache, which would give you 250 points of additional troops to use in the next game.  You were also looking for a special character.  This character is a psyker who has gone mad, but is capable of controlling the warpgate.  All he is interested in is the warpgate, and will join with anyone who knows where it is!
So, it you locate him, as well as the map telling you where the warpgate can be found, you will end up as the defender in round 3.


Here is how the battle played out:


So, in the end, I would be the defender, using the special character to shut down the warp gate!  Rich had 250 extra points of troops, and would be the attacker.

More info to come!!!


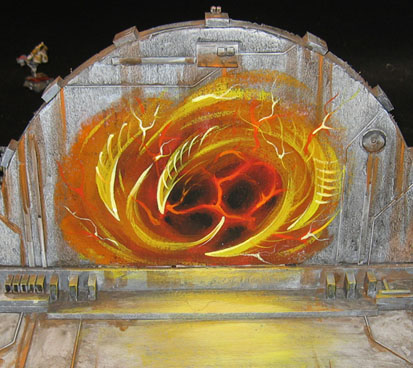
From the warp... warpgate terrain.


Here is a piece of terrain that I made as the centerpiece of a 3 part 40k campaign that Rich and I ran years ago for 4th edition (yes, that's a while ago!).  It was called "And those without sight shall see".

I will try to post some of the scenario rules and campaign maps over the next few days, and even some of the battle pictures.


Obviously, it was all about the warp gate.  This was made with foam core, pink foam, bits, plasticard, and polystyrene tubing.  I don't have any WIP photos (sorry guys!)

Of course, the most fun was painting the actual gate!  What a blast.


Here's the gate with some scratch sculpted Sisters of Battle.  There are some regular Sisters, as well as some Seraphim.  I did a blog post on them a while back, so you can do a search on them using the search function on the left hand column.


As you can see, you can do a lot of nice effects without getting too fancy.  I didn't have very long to make this piece of terrain.  It does help having a mat cutter, especially for cutting the foam core.  However, you can find foam core cutters, which you could also use with one of those metal rulers...


We played out this campaign with Chaos (Rich) vs my Demonhunters.  The final battle was a pure bloodbath, as all 40k fights seems to be!


The Sisters were sculpted from scratch with green stuff.  The iron halos were done by bending some poly styrene flat tubing (an interesting experiment!).


So, I will try to gather up those images and the scenario rules, etc.  I think Cathy and Rich played out the same campaign with her Dark Angels vs his Chaos.  It went quite differently!!


Got yourself in a tight spot there, Frodo!


This is one of the first pieces where I tried using sculpey to create a diorama for some figures.  This is probably about 2004, early 2005.

That Nazgul is all metal, by the way!

Doing this today, I would have baked everything first, and the carved all the texture in later.


That would have made the cracks so much easier to sculpt!


I could have taken some of my extra broken pieces and shards to create the rubble, instead of trying to sculpt that sort of thing in the very smushy sculpey...


It as fun to paint the Fell Beast, although I am looking forward to painting a new one as part of my new Mordor/Minas Morgul army!  I want to do the whole semi-transparent wing effect. :-)


Definitely not looking good for a particular Hobbit...


Look out, Frodo!


Here's the little guy...


So, hopefully you will be seeing a new Nazgul, and I can set up some side by side "Then and Now" shots!!


Very scary!


Sunday, January 13, 2013

Shooting a crazy promo for the kickstarter...


Hey guys!  Tonight was pretty interesting in Wappelville.

Rich came over, bringing with him a CD with a few clips of his original music, and some handy knowledge about shooting and lighting videos.  Cathy was the director, and also handled makeup!

I wrote up a little script, and came up with a plan for a short 2 minute sketch to use as an intro for the Kickstarter.

We just wanted to have some fun, and play around with making web compatible videos.  I had been focusing so much on the 'big' stuff, I realized that I had no idea what the size limitations were and file extensions, etc.  In fact, I am about to find out if it will work here!

If you are seeing it, well...


I had to drop down the image quality to make this work, so I hope it's not too grainy!

Salamanders assault squad


Here's a fun squad of Salamanders that I did as part of a small army a few years ago.  If you search Salamanders in the search bar on the left, it will take you to the other posts, such as the Land raider and Drop pod.

The drop pod was the one and only plastic pod I will ever paint, since it was darn near impossible to put together.  I don't want to relive the crazy scene where Cathy and I are trying to hold together all the painted pieces at the same time, wishing that we each had 3 arms, etc.!

I tried to come up with a pattern that could be repeated on every vehicle and marine, hence the spots (no they are not supposed to be scales).


These guys are also on a set of sci-fi bases that I sculpted and cast for myself.  I think these were the first miniatures outside of my Demonhunters army where I used them!


OK, among the many tasks I have for today is to film a short little intro for the Kickstarter!  If it all works out, I will post that here.  Hopefully you will get a chuckle or two...


Air raid: Some Dragyri from Dark Age


It continues to be very very hectic here!  Lots of activity in so many areas.  Before I try to prepare for "officially" announcing the Kickstarter on CoolMiniOrNot, I wanted to get in a late night blog post. :-)

This one involves the Dragyri Air Caste.  We have a Trueborn, in this case a Whisper.  The flesh tones on these figures had to be grey, as opposed to the usual brown of the Ice Caste.


Here a Yovanka joins the Whisper.  The base design became a particular favorite of mine, and I did it for all the trueborns in this batch.


Here we have a Taskmaster, and a crystal base made from sculpey.  More techniques that I am making videos for the Kickstarter!


Here's the Taskmaster with some slaves...


And finally, a batch of normal slaves.  The Dragyri really "scale up", as you have these really little guys, who give way to some bigger Trueborns, all the way up to big monsters!


Saturday, January 12, 2013

A little color theory...


As I was looking for something else, I ran across these old props from our Hobby Seminars at Adepticon.

I painted these on pieces of illustration board to illustrate the concept of glazing, and managing your reds.

This image showed what could be done with glazes.  I painted a flat rotting flesh color to illustrate how to tint and shade it with those transparent layers.  The concept here is to get all sorts of color variations without having to remember all sorts of color mixes and percentages!

This is how I approach a lot of my miniature painting.  Very basic initial colors (easy to remember!!!), and do the rest with the quicker to apply transparent layers.

I will be doing lots of this on the painting videos, so be ready!


This piece was used to show how I work my reds (and many other colors).  I start out with the basic mid tone, and then work "out" from there.  I work in the darks first, and then hit the lighter areas once that has been established.


As far as the painting videos go, I do want to emphasize that it's not about sitting down to paint a golden demon winning figure in an hour. :-)  It's more important to get the concepts across!  For instance, if the Video is about flesh tones, I will not get bogged down painting a sword!  Also, I may intentionally set up a 'mistake', so that I can show you how to fix such a tragedy!

Speaking of the videos, look who's going to provide the background music!!!