Wednesday, December 4, 2013

Matching colors blind


This set of images shows the figure that was just painted next to one of the figures painted for the instructional videos.  The one on the left was in a case where I couldn't see it.


The idea was to see how closely I could match the colors.  The hair was the easiest, since I remembered exactly what I had used.  The armor was the same process as well.


The skin was the trickiest part.  I had a general idea what I had done, but I had to try out some new mixes.  


I have one more on the way, so it will be very interesting to see all 3 of them together!


So, more images tomorrow!!!


Tuesday, December 3, 2013

Yes, I like painting this color of skin...


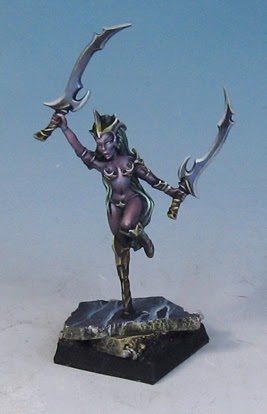
Here is another Fantasy Blood Vestal from Raging Heroes.

While I enjoy the standard Dark Elf scheme I have done for these ladies, I enjoy painting this darker skin.  There is a greater variety in the amounts of colors that I use, a full range of purples, pinks, grey, even green!


The 'green' that I am talking about is the green of the hair... a muted, grayed down seafoam green.


She is also on ebay here:


Time for a three way


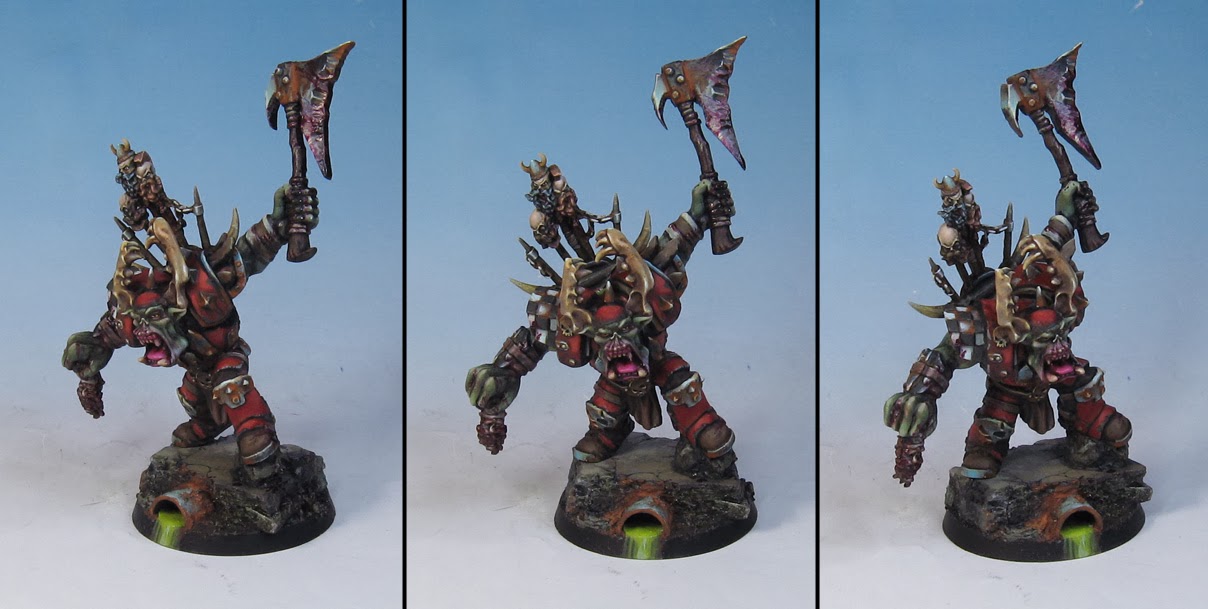
This last set of images shows another one of the 40k versions, minus the BossPole.  I was just curious to see what he would look like without one, so I used that for the Painting Pyramid video for the Shaded Basecoat technique.


There was a great variety of surface types... armor, skin, weapons, etc., so I could really go all out!


It's pretty wild to see them all together.  I took a few different approaches to painting them as further experiments.  The final version was painted in a different manner than the first two.  Lots more middle tone work right away using the "light glaze" technique.  That is, mixing glaze colors with regular paint to make a semi-opaque glaze.

Painting that over the top of darker colors tints them in a reverse manner than tinting a lighter color and making it darker.  This is especially fun on skin tones, but also on metal surfaces as well.  It can give them a more reflective feel.


Monday, December 2, 2013

Side by Side


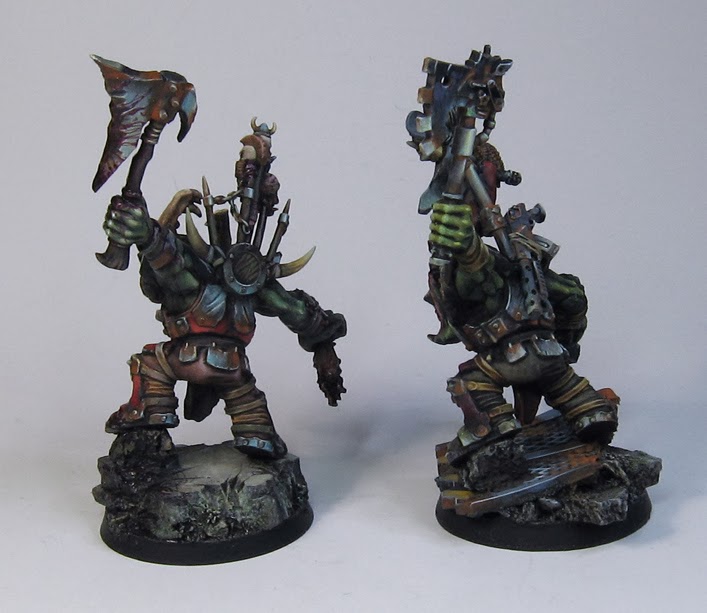
Here we go!  The images of the two Raging Heroes Warbosses side by side.  As you can see, both of the options for set up are pretty neat!


Obviously, you could mix and match any way you wanted to.  You could put more 40k style trophies on the Fantasy version, etc.


The Bosspole on the 40k guy was really cool, so I would probably stick with that one.


Both of them are on 40mm bases, so you can get a sense of the scale.  They would work just fine for 40k!


Either way, I am sure you would have a blast painting yours.


If I had another chance at the Fantasy one, I would definitely have all kinds of trophy heads hangingin from his belt!


The next set will have 3 of them together... two 40k, and one fantasy.  Plus, some images of the new Raging Heroes casts that have been coming out!

More pictures of the Fantasy version on ebay:


Orc Warmaster from Raging Heroes


You have seen the Sci-fi versions of this Ork Warmaster from Raging Heroes, but this time around, it is the Fantasy version.  Either one is really fantastic, and very easy to convert.  I did not do that here, since I wanted you to see it as it comes from the package.


It is very high quality resin, as all Raging Heroes products are.  The material is pretty strong, and very easy to prep for painting.


I have some side by side shots of the Fantasy version next to the Sci fi version which I will post next!
Go check out their site for more great minis!

He is also on ebay:


Sunday, December 1, 2013

Last Round of Reavers


Time for the final round!  The last 4 jetbikes.  Ironically, this group includes the very first jetbike that was converted and painted.


The first bike was the most elaborate.  It had many extra wings sculpted from plasticard and green stuff.  You can see it towards the right in this image.


And then from above...


And from the side...


And from the back :-)


The engine glows were done the same way on the jetbikes, the Venoms, the Raider and the Razorwing.  A touch of cyan fluorescent paint was used to give it that extra oomph.


Zipping along


Zoom zoom!  Four more jetbikes.  The ventral mounted splinter cannons were magnetized so that I could switch them out if needed.


The Arena Champion was fun with this unit.  The sword was from a Raging Heroes miniature.  It was not easy to get the pony tails on the head, but well worth it in the end!


Another top view to show you the freehand and the additional wings.


Of course, the little bananer could not be resisted, especially since that symbol of the Blood Star had been well established by then.


Just one more set of three to go, folks!