Thursday, June 28, 2012

Sneaky Snakes... Stalker WIP for Armies on Parade

Photobucket

Yesterday I spent a few hours painting the Stalkers.  There is lots more to do, but this gives you a good idea of what they look like thus far!  I also painted the other four pillars at the same time...

Photobucket

Photobucket

Here is the sculpting WIP, for those who may not have seen it...
Photobucket

And some individual shots:
Photobucket

Photobucket

Photobucket

Photobucket

More horses next!

Giddyup! Save a horse, ride a skeleton...

Photobucket

Here is a color test figure for the horse archers.  I have been itching to paint the armor section of these guys for a while.  I had been painting on the horses and riders to this point.  It is fun to see one finished!

This image gives you an idea of the armor that I sculpted.  I did the armor in sections, and then made moulds of each part.
Photobucket

Each piece was cast, and then placed on the horses.
  I used sheets of tin foil as a backing, so that the green stuff would not deform or collapse.
Photobucket

Photobucket

Photobucket

Photobucket

Wednesday, June 27, 2012

Run out to your local store and vote!

Photobucket

The qualifier is just days away.  Yikes!  Let's just say that it is quite a frenzy here in Wappelville. :-)

These guys were an important part of the story of this display board from the very beginning.  I was very glad to be able to include them. I will be doing more on these lads in July, but at least they are out on the board now!
Photobucket

Photobucket

Photobucket

Here are some shots of just the miniatures:
Photobucket

And back to the board:
Photobucket

Photobucket

More to come!

Altars, bugs and bones... more work on the ground level.

Photobucket

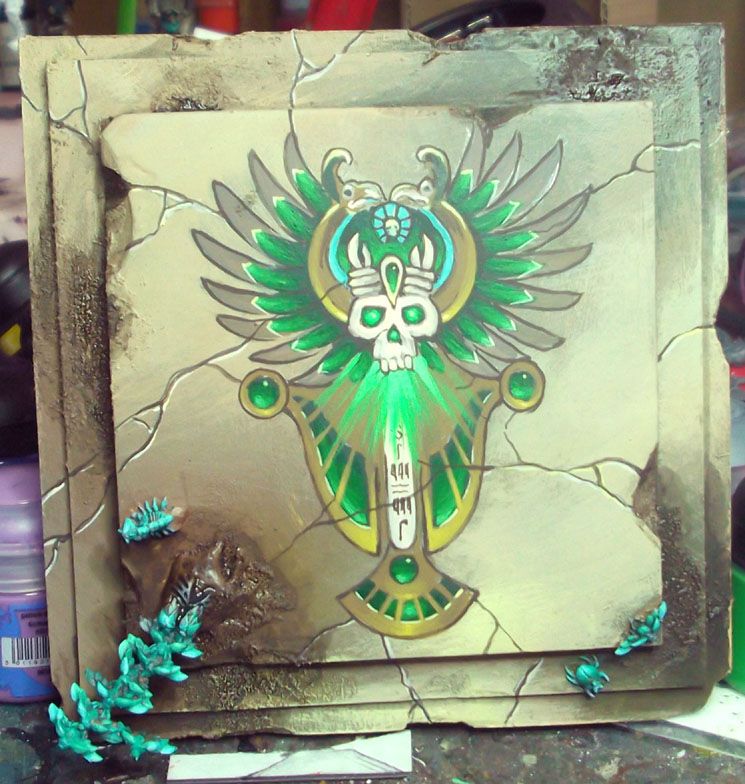
Once the Dais itself had been painted, it was time to make it match what was on the board.

Photobucket

That meant I had to match the scorpions and scarabs, as well as get more color and definition on th epiles of boes and broken weapons:

Photobucket

Photobucket

It would have been much easier to paint everything prior to gluing it on the board, but that was not possible.  It was tough to get at some parts, but I did the necessary contortions and shaded away!
Photobucket

Photobucket

I also had to match the cracks:
 Photobucket

When I get more time, I will put even more details on these areas...
 Photobucket

Tomorrow you will get your first glimpse at the would be grave robbers!

Tuesday, June 26, 2012

Painting by "design": more Armies on Parade Tomb Kings

Photobucket

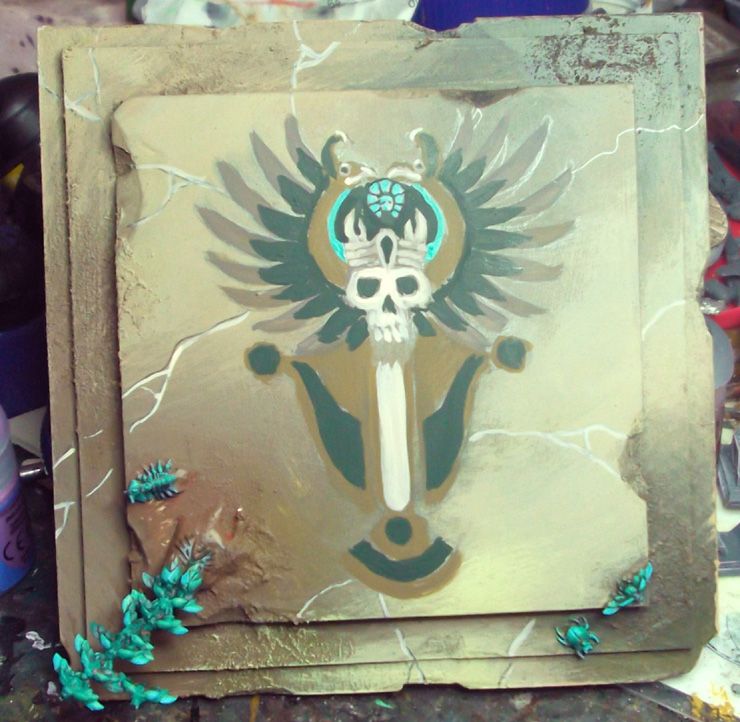
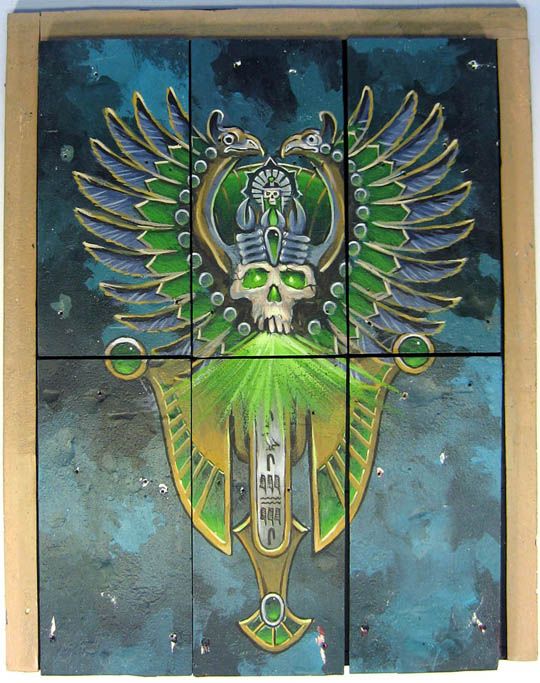
OK, for those of you who have seen the post on how the big light in the center of the tomb was covered, you are familiar with the "dais" that Cathy suggested.  It was great, and it gave me a nice blank canvas on which to do a design.

I had the perfect one in mind... it is the one that I used on the bases of my big chariot unit.  Here is the image:
Photobucket

So, I got started by laying out the design:
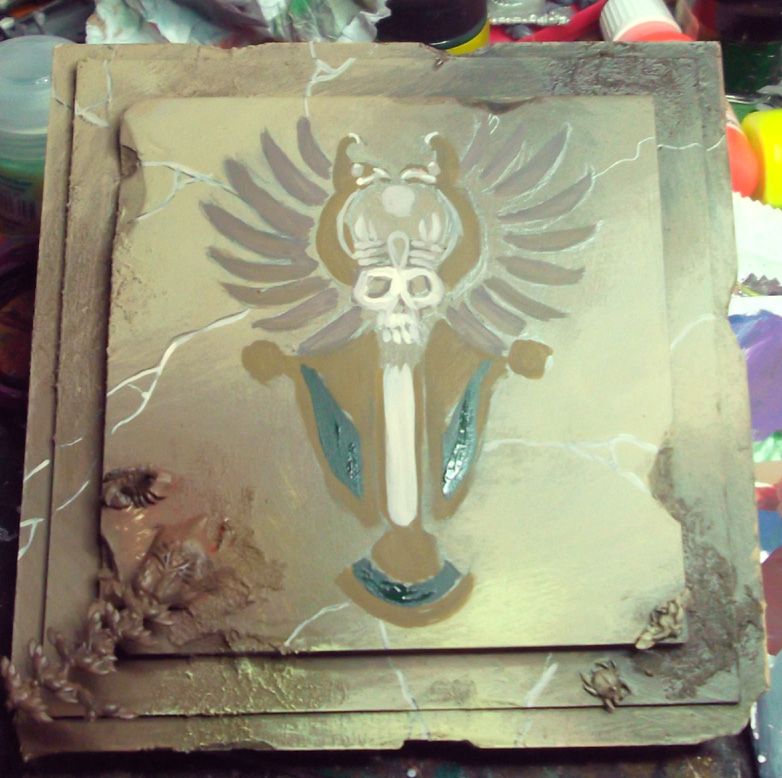
Photobucket

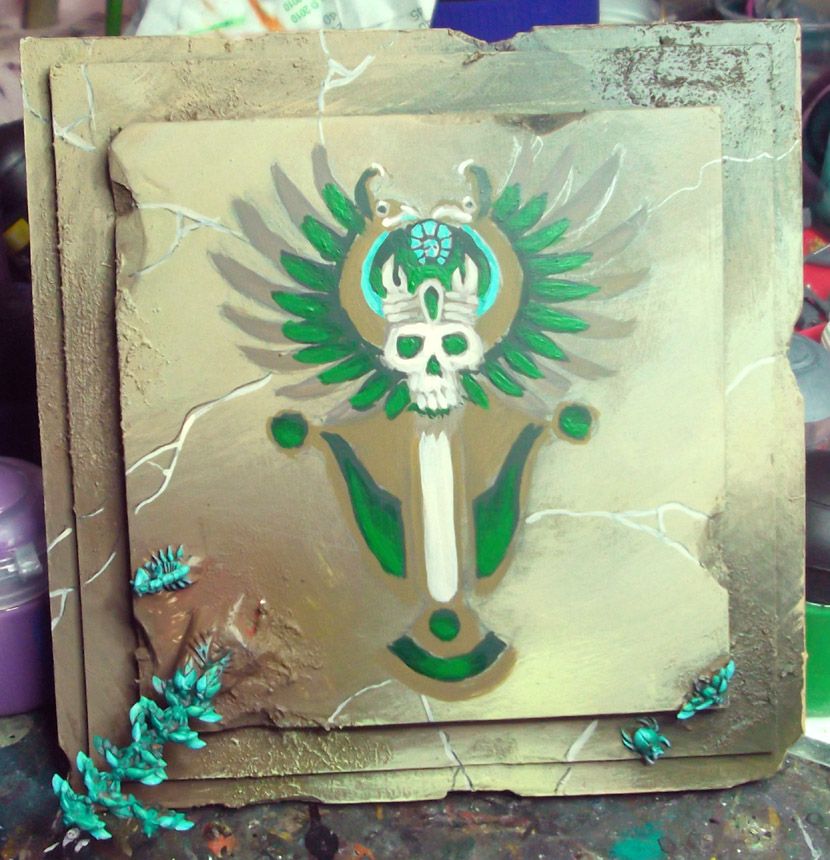
I then worked in the colors I wanted:
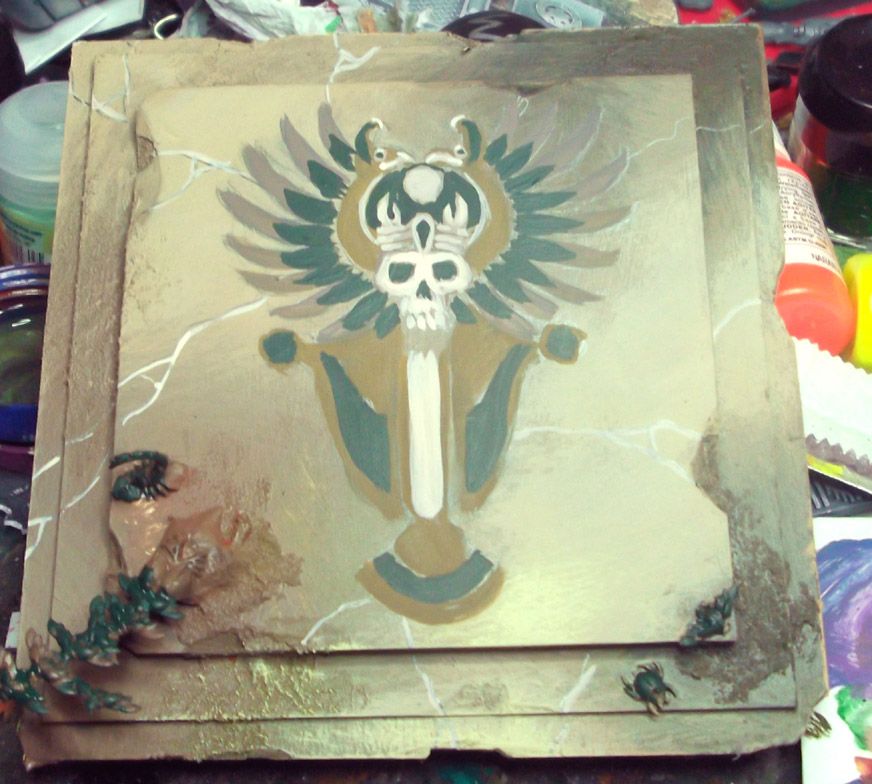
Photobucket

The scarabs also got some color:
Photobucket

Now some lighter shading:
Photobucket

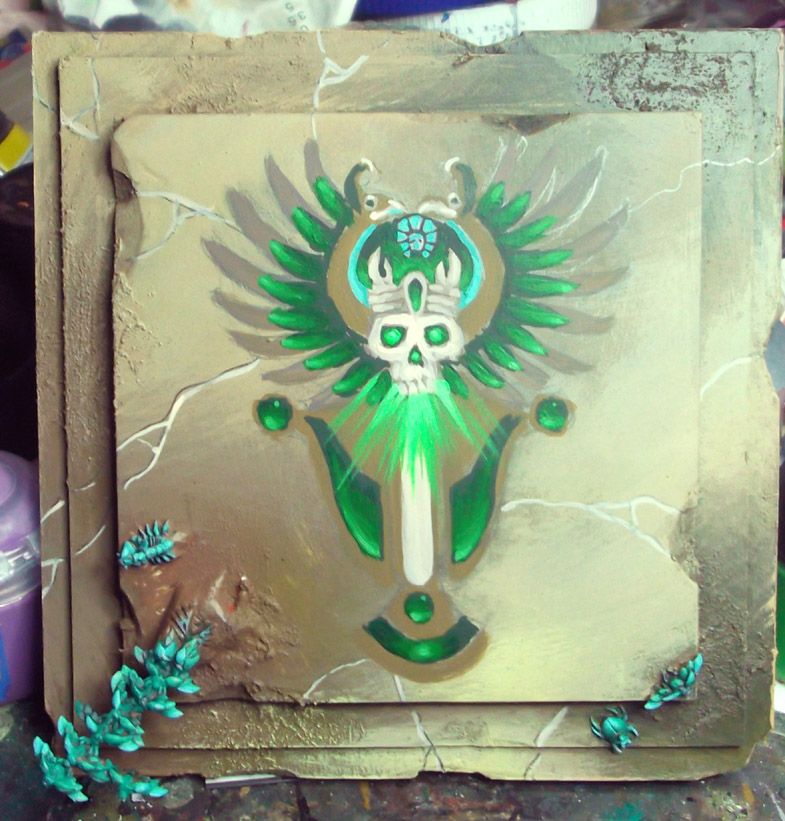
At this stage, I started to bring in my fluorescent colors:
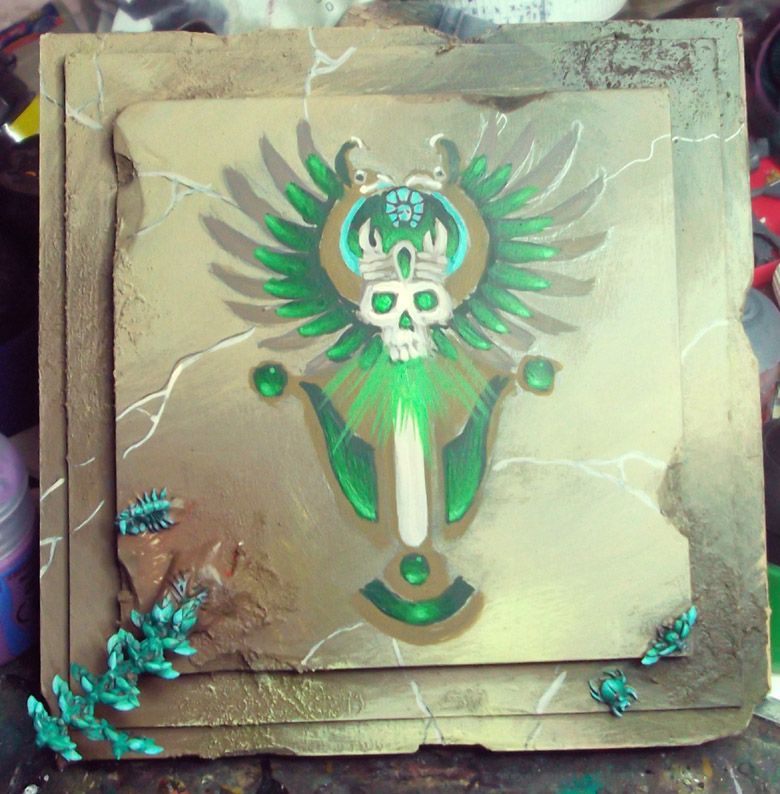
Photobucket

Photobucket

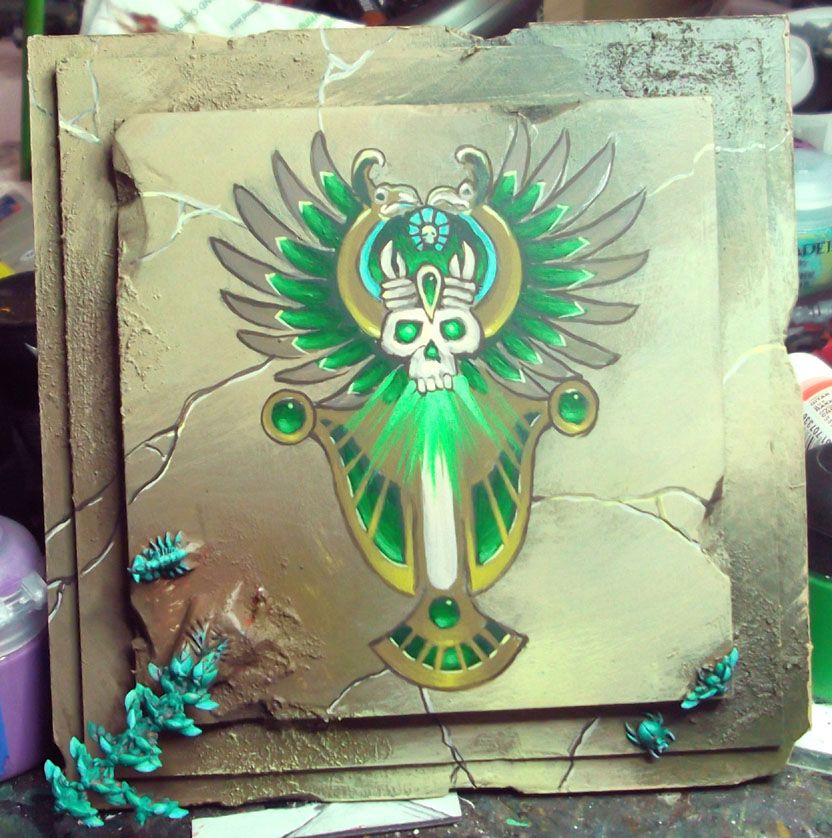
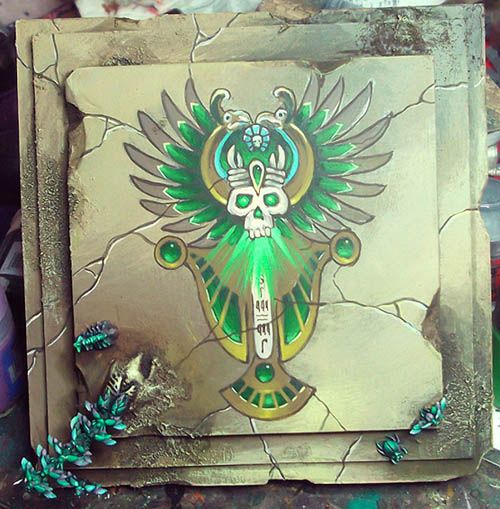
Then it was time to get some lights into the other areas of the design.  There was intentionally some gold left of this design, to show that not everything is completely tainted.
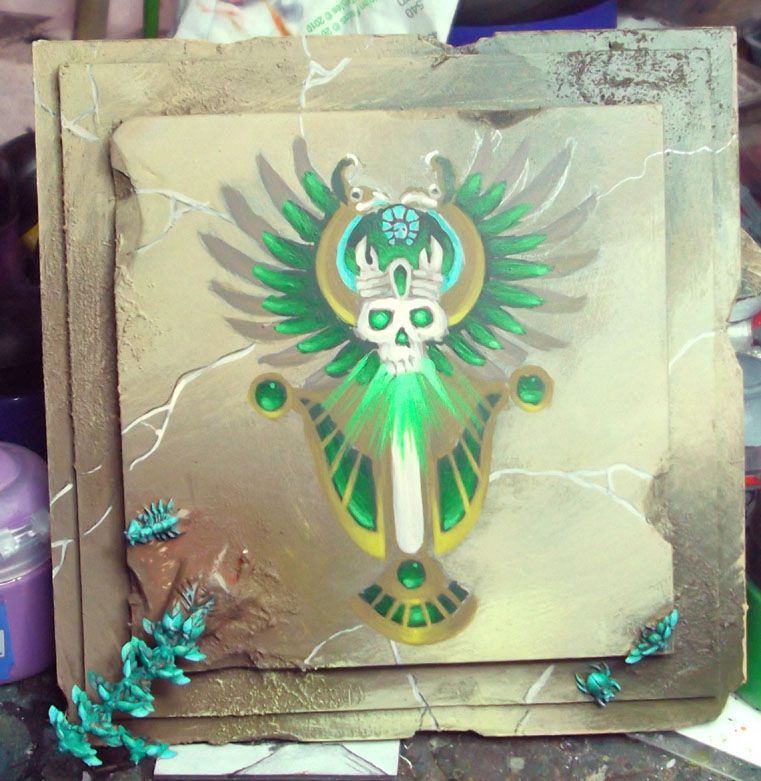
Photobucket

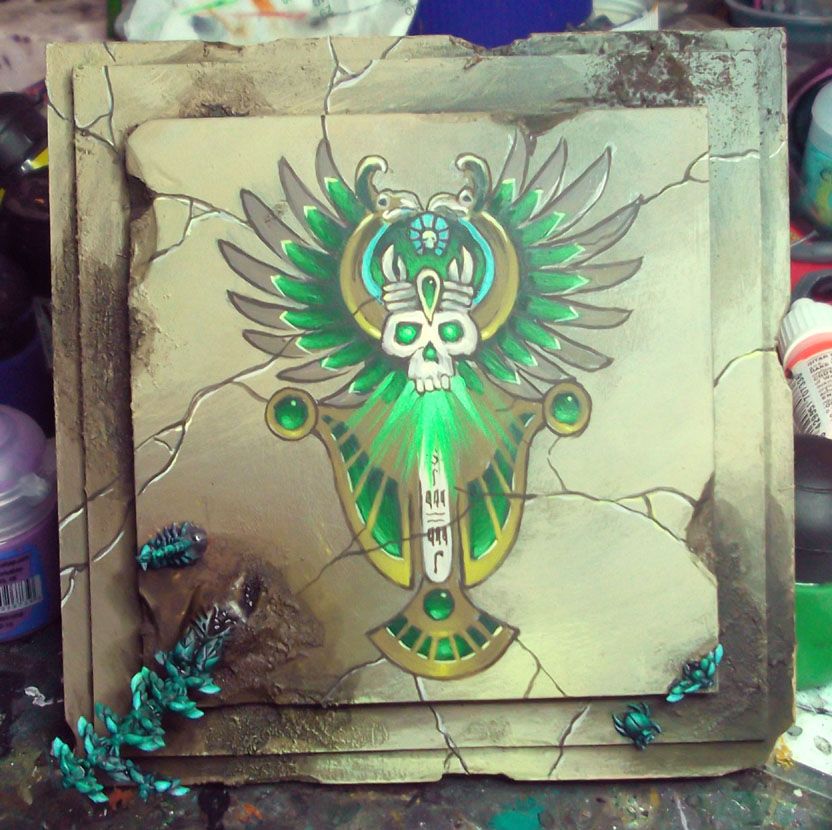
Now some cracks are added:
Photobucket

More definition:
Photobucket

Photobucket

Tomorrow I will post the images that show how this looks with the rest of the upper level, which also got some attention with the brushes!
Photobucket

The weather heats up... counting down to the Armies on Parade qualifier

Photobucket

Yikes!  Not much time left, and lots to do.  Of course, much more will be done in July on the army, but there are things I definitely want completed now...

Here are the rest of the weathering pictures on the obelisk and the back wall.  At this stage, I was adding some bleached out color to the glyphs.
Photobucket

I was also darkening the edges of each section...
Photobucket

Since I wanted to keep the colors very limited, I added hints of reds and blues.
Photobucket

The hope in adding the reds and blues was to highlight the differences between the Empire and Bretonnian characters.
Photobucket

You can see the initial cracks painted on the walls...
Photobucket

Photobucket

Once I added those extra bits of color, it was time to weather them down even further...
Photobucket

I had to make sure that all three sections matched each other...
Photobucket

Here's how the day ended.  I will be doing more highlighting on the edges of the cracks and glyphs in July!
Photobucket