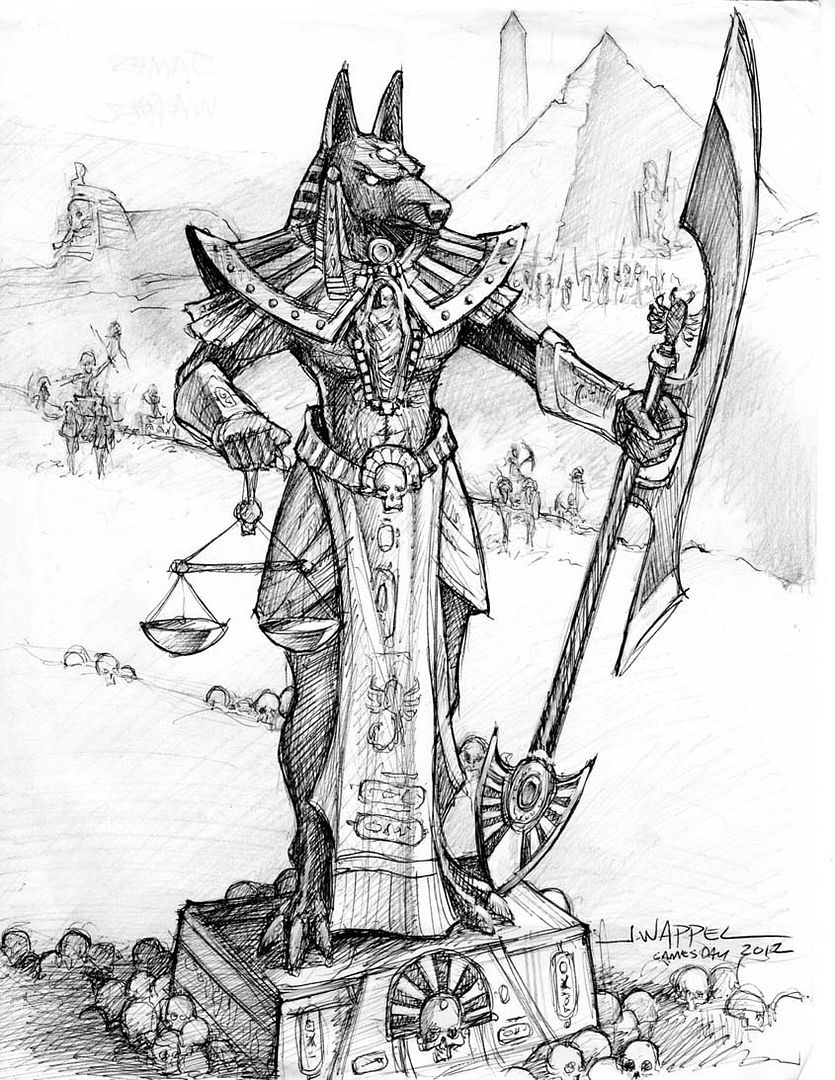
Now that the sculpting process of the Hierotitan is nearly complete, I thought I would do a small set of WIP images before it gets all covered in paint!
Here is the concept sketch of the Titan, done for the art contest at Games Day last year:

That won the Best in Show for the art contest, which was very cool! It was a nice way to pass the time while all my miniatures were in various contests.
The original armature was made with tin foil, which was then wrapped in Apoxy sculpt for the first few layers. You can also see the plasticard/polystyrene tubing that I used to create the great weapon...


More recently, I added several more layers of green stuff. The variations in the green that you see are very specific, in that the more yellow the mixture, the softer the material was, making it easier to sculpt. By putting more blue into the mix, you are making it hold a better edge.


I also used liquid green stuff to do rapid feathering of rounded surfaces. It is really handy for such things!


I am working in the scales, which will have to be attached after everything gets painted!