A collection of images that feature my painted miniatures. It features many of my award winning figures and terrain pieces painted since 2001.
Pages
- Home
- Blood Bowl Teams
- Step By Step: Painting a Predator
- Using the 'Shaded Basecoat' Technique to paint Saurus warriors
- Step By Step armor for Tomb Kings Horsemen
- Step by Step painting of a Gamezone Cold One
- Painting a marble and tile flying base
- How I photograph my miniatures: A window into my photo booth
Tuesday, June 26, 2012
Painting by "design": more Armies on Parade Tomb Kings
OK, for those of you who have seen the post on how the big light in the center of the tomb was covered, you are familiar with the "dais" that Cathy suggested. It was great, and it gave me a nice blank canvas on which to do a design.
I had the perfect one in mind... it is the one that I used on the bases of my big chariot unit. Here is the image:
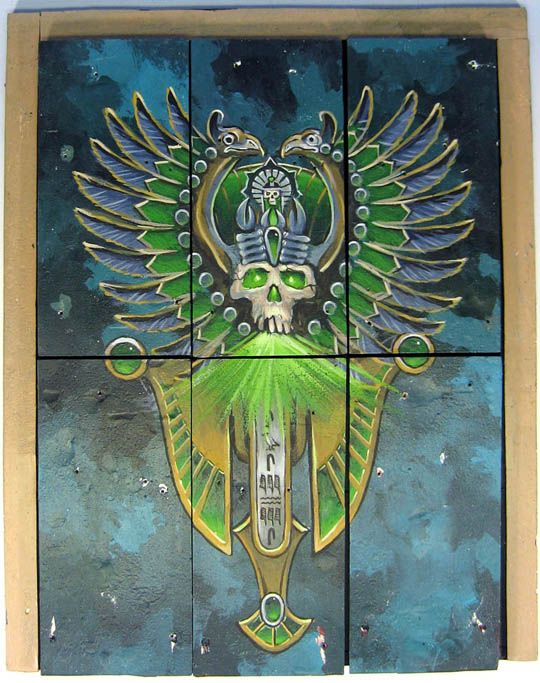
So, I got started by laying out the design:
I then worked in the colors I wanted:
The scarabs also got some color:
Now some lighter shading:
At this stage, I started to bring in my fluorescent colors:
Then it was time to get some lights into the other areas of the design. There was intentionally some gold left of this design, to show that not everything is completely tainted.
Now some cracks are added:
More definition:
Tomorrow I will post the images that show how this looks with the rest of the upper level, which also got some attention with the brushes!
The weather heats up... counting down to the Armies on Parade qualifier
Yikes! Not much time left, and lots to do. Of course, much more will be done in July on the army, but there are things I definitely want completed now...
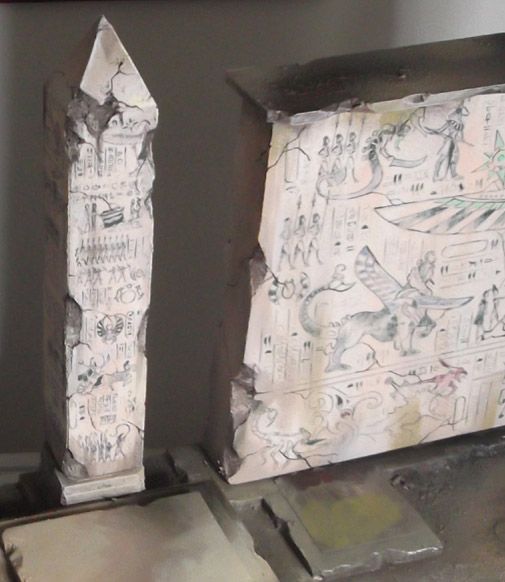
Here are the rest of the weathering pictures on the obelisk and the back wall. At this stage, I was adding some bleached out color to the glyphs.
I was also darkening the edges of each section...
Since I wanted to keep the colors very limited, I added hints of reds and blues.
The hope in adding the reds and blues was to highlight the differences between the Empire and Bretonnian characters.
You can see the initial cracks painted on the walls...
Once I added those extra bits of color, it was time to weather them down even further...
I had to make sure that all three sections matched each other...
Here's how the day ended. I will be doing more highlighting on the edges of the cracks and glyphs in July!
Subscribe to:
Posts (Atom)