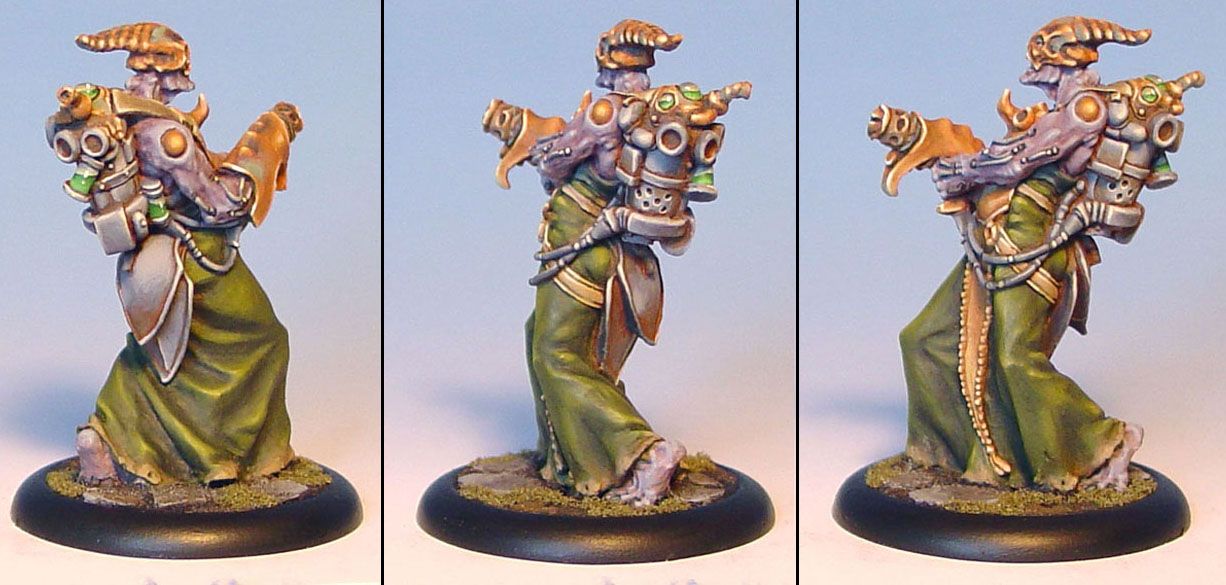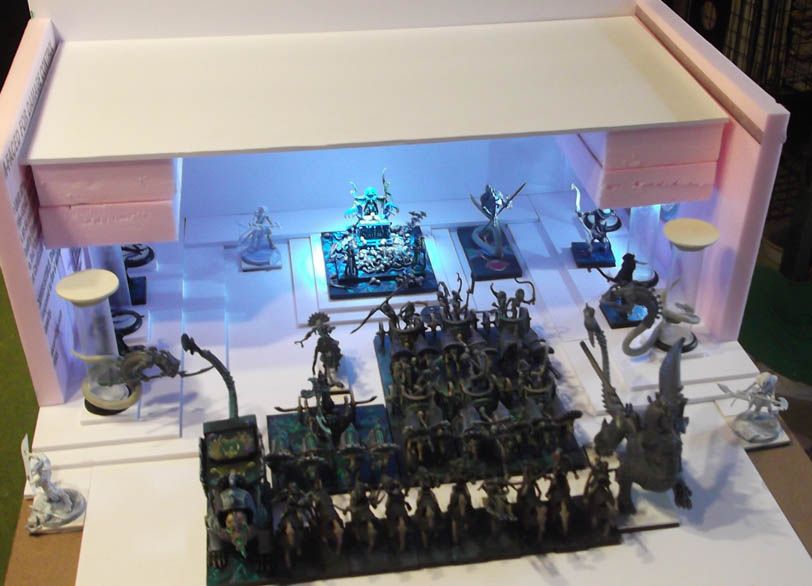
Since there is very little time left for the Armies on Parade qualifier, you can be sure to see more and more images here in the next 11 days! :-)
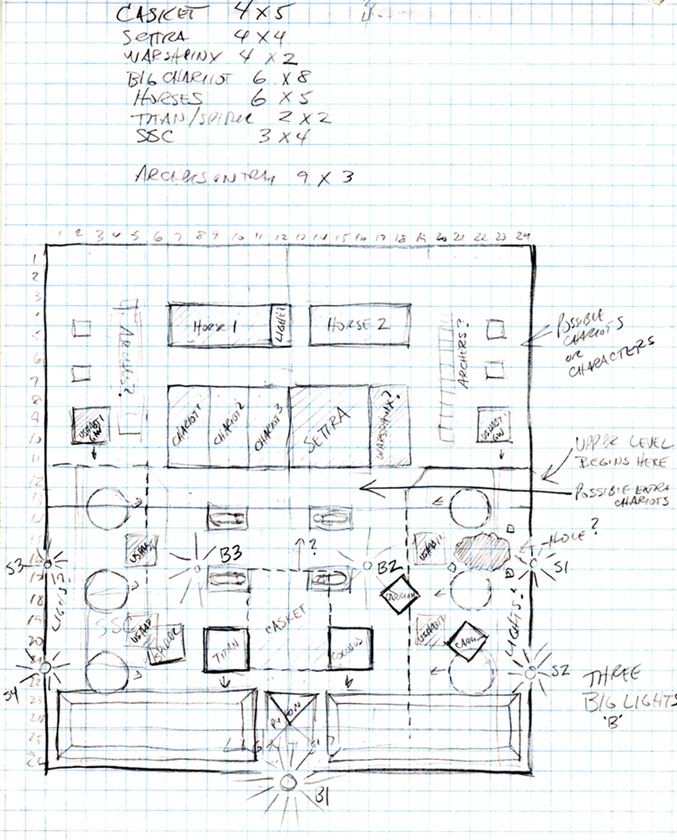
For those who did not see this graph layout of the army board:
My first task was to build the bottom level of the temple, to see if my calculations were correct. I used a piece of masonite, and glued down a few layers of foam board. I made the pillars out of used green stuff tubes, sculpey, and apoxy sculpt. You can see that a few Stalkers are climbing on a few of the pillars.


You can see I have put down most of the miniatures that are meant to go in this lower level. I discovered that I was going to have to leave behind the special movement trays I had created.

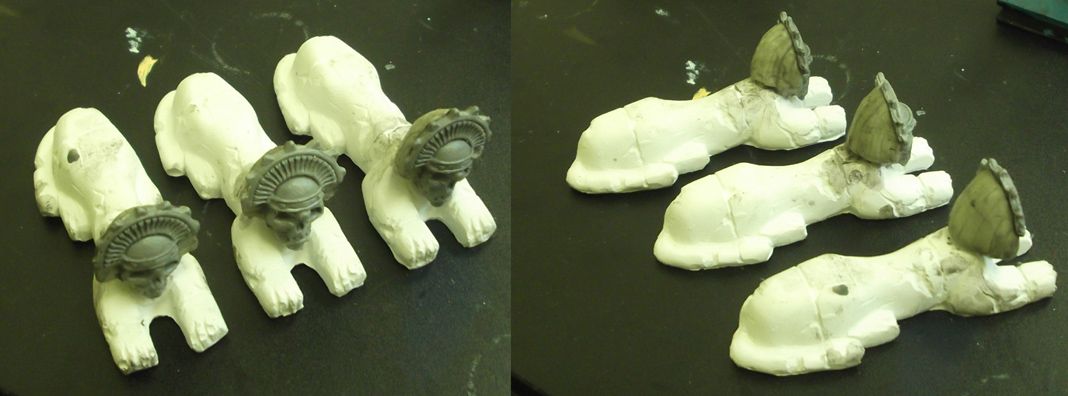
Here are some images of the statuary that will go on the upper "above ground" level. I made one of these sphinxes, and then cast it.
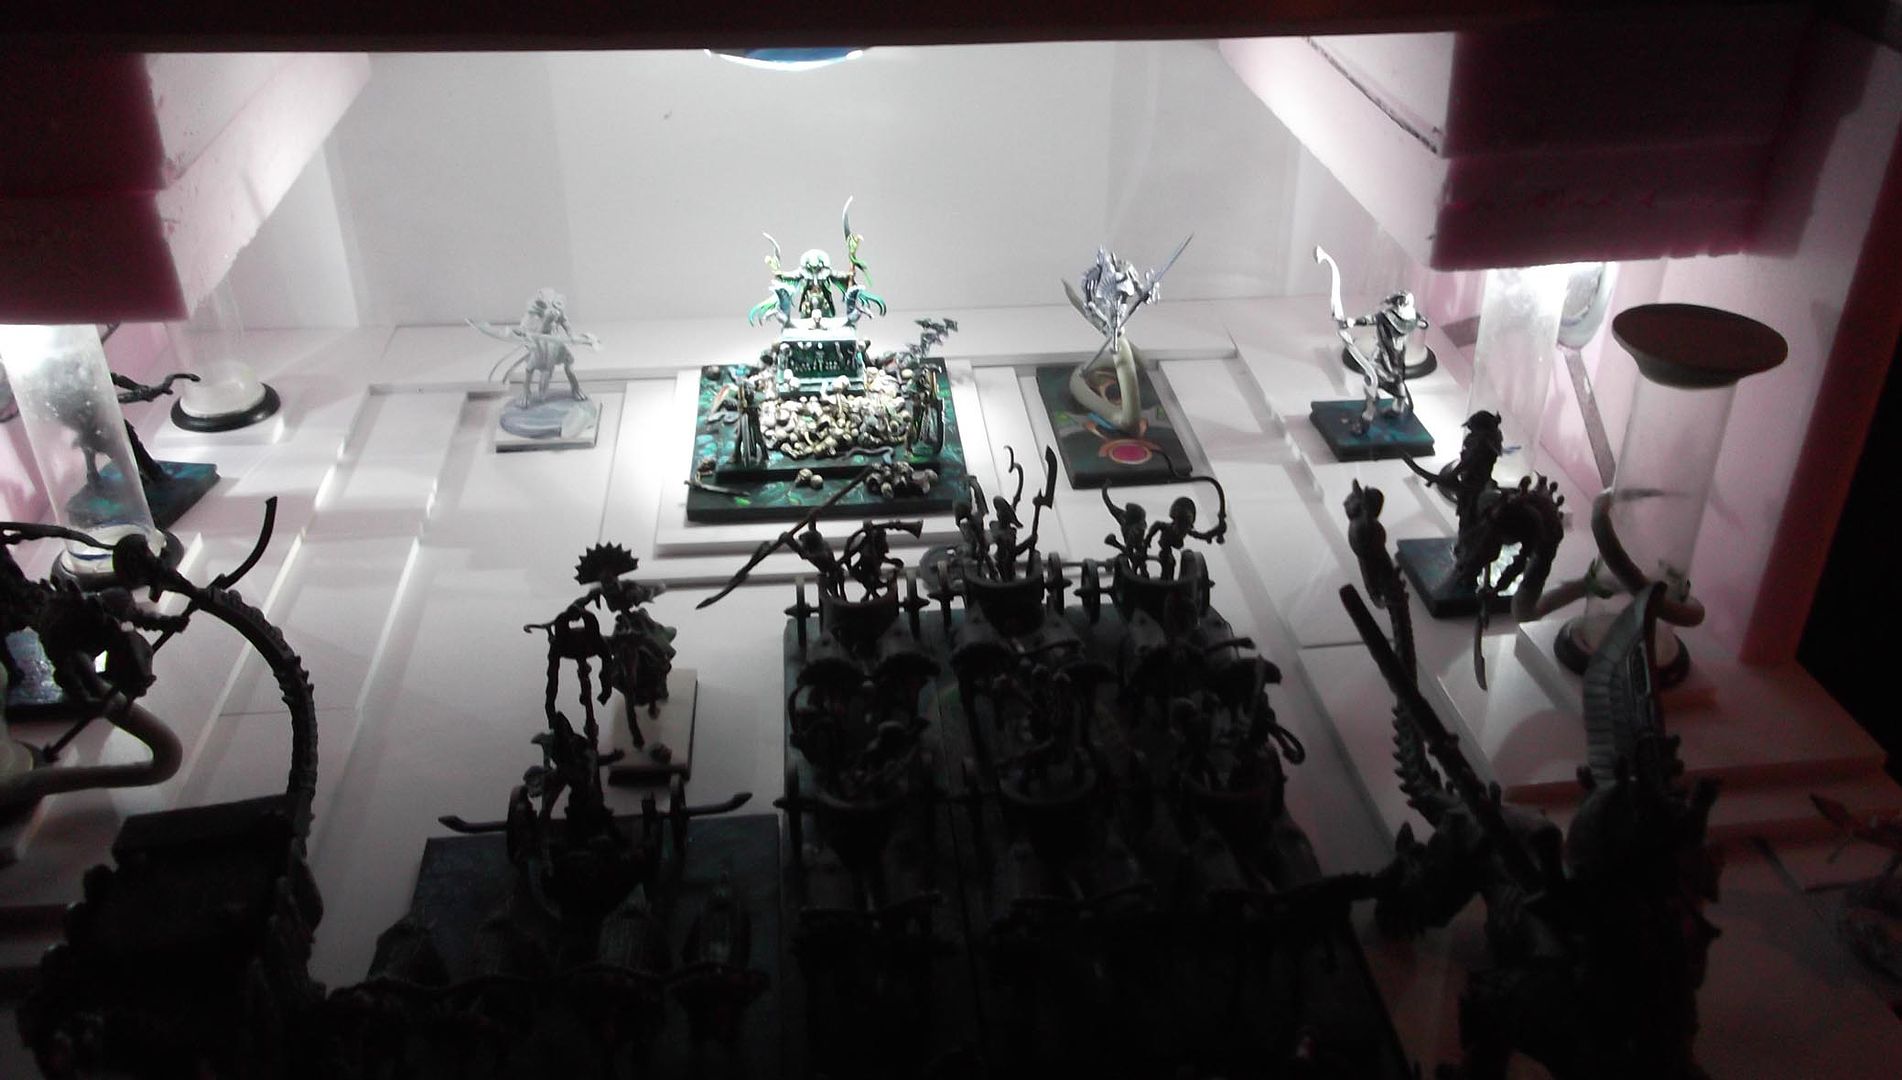
My original plan for lighting the board proved to be impractical for a variety of reasons. This turned out to be very fortuitous, as I much prefer my new plan, which uses "under cabinet" LED's that are battery powered, and very easy to get to!
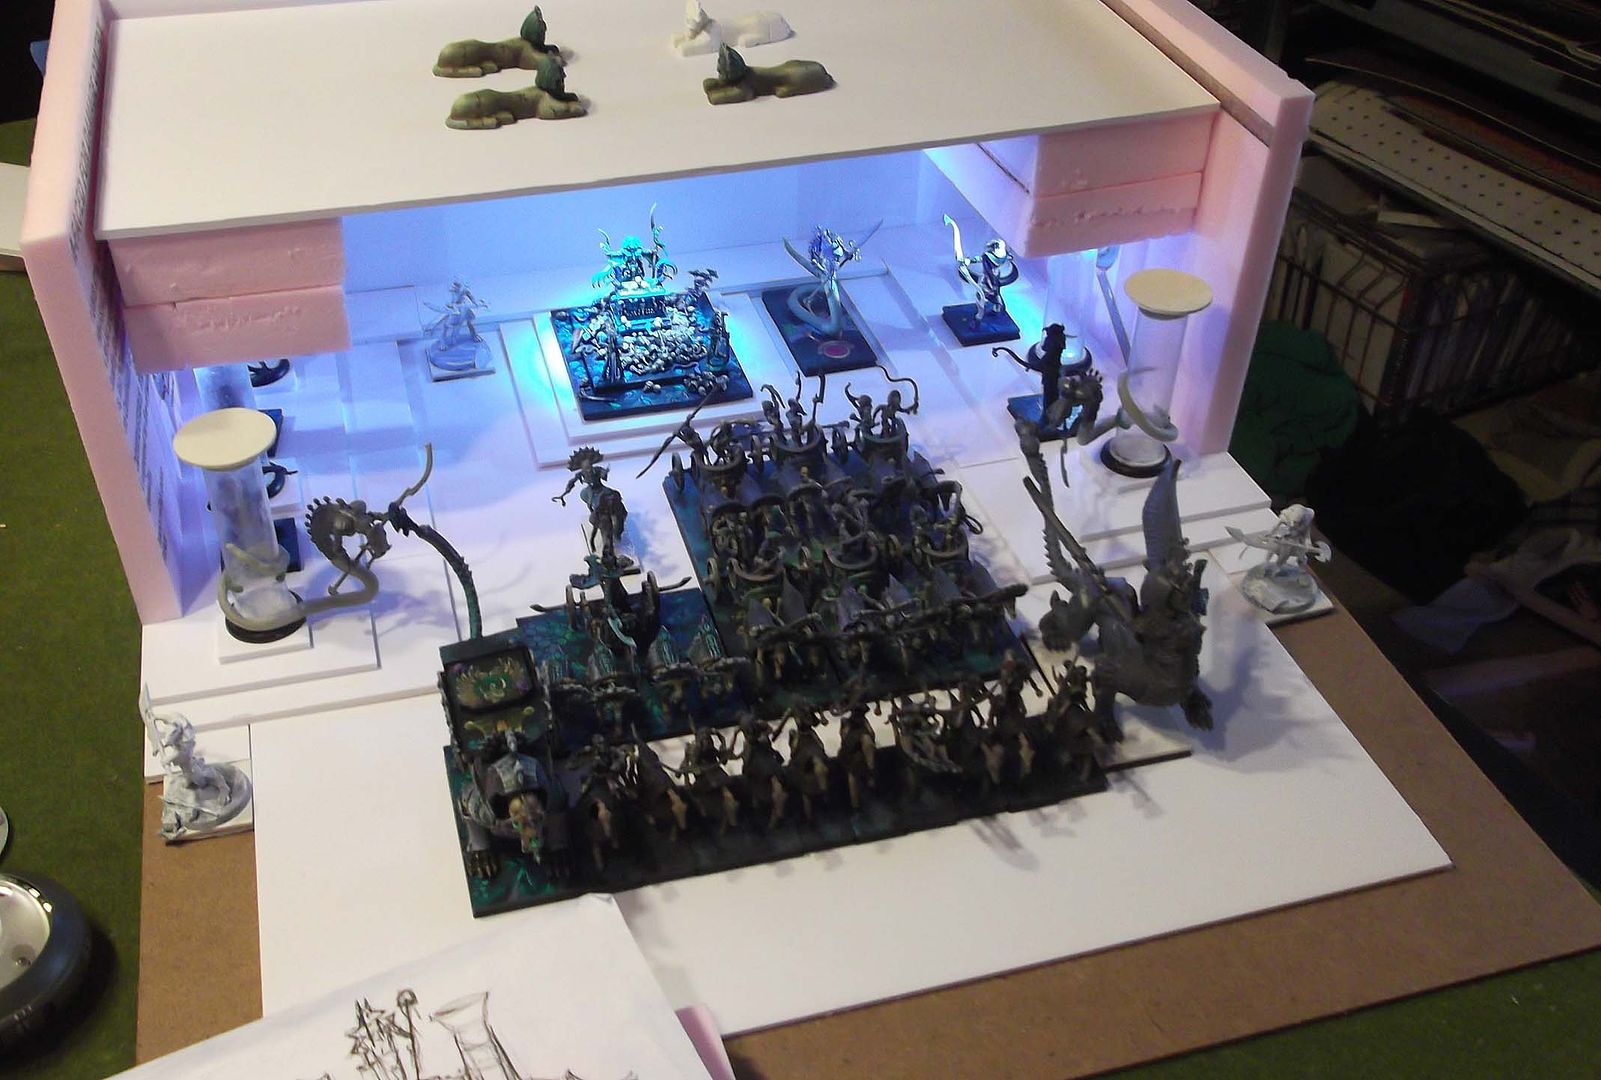
This is by no means a final result... simply a test. There is still going to be another big light on the back wall, which will be representing the Eye of the new God.
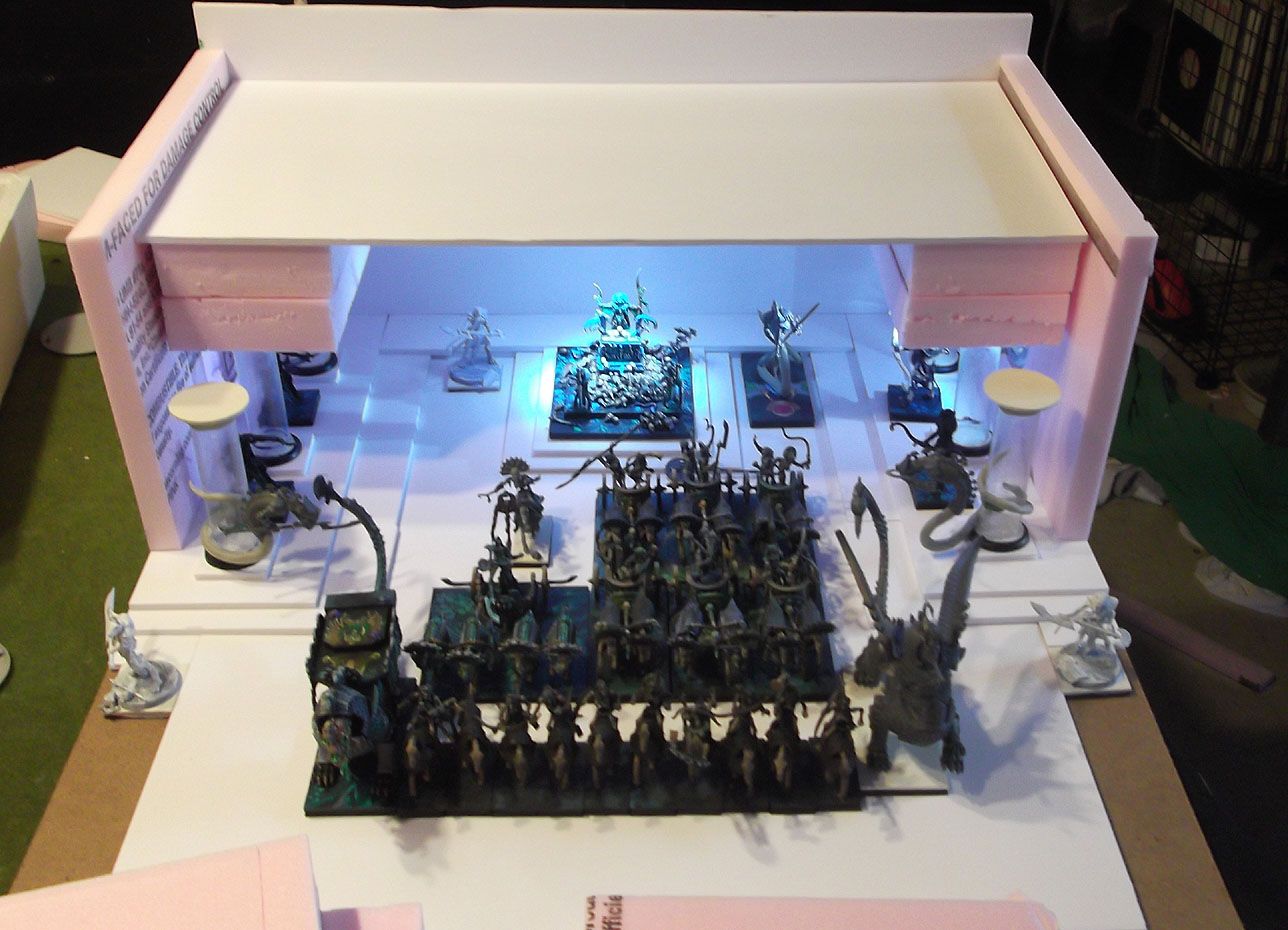
I will be using some fibre optics on the ceiling of the lower level, with each strand poking througha hole in the celiing representing a star in a night sky. You can't see that right now, but I will be sure to take photos of that process!
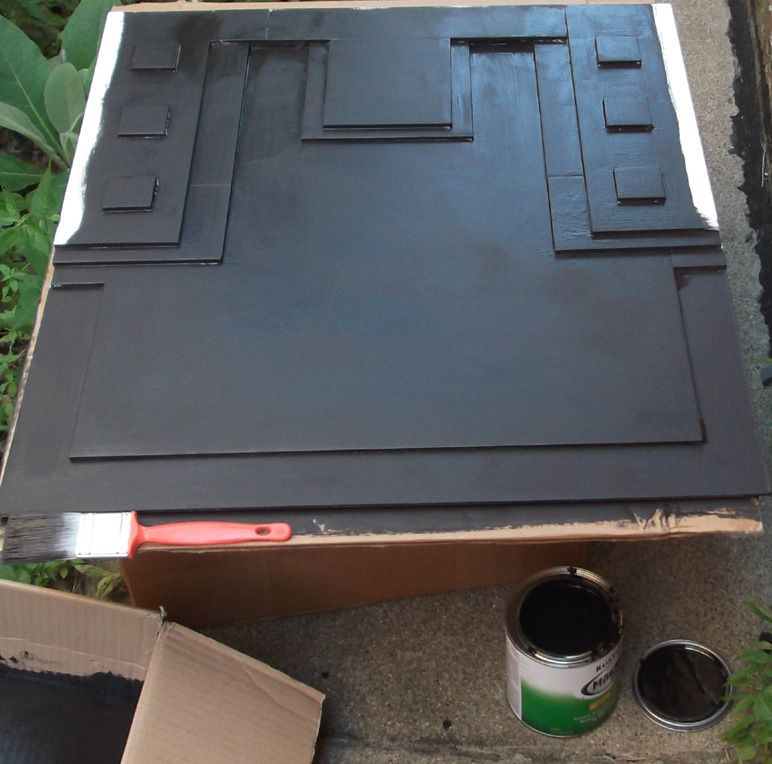
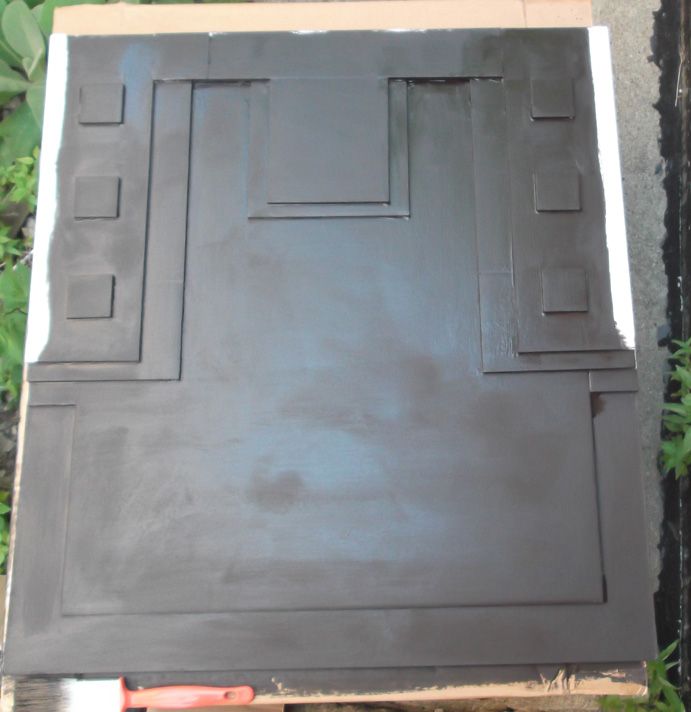
Today I put a few layers of magnetic primer on my board, so that the miniatures could be carried into the convention hall on the board itself. Please note... this is a tricky medium. Very toxic with lots of vapors, and you have to mix it very well. It does not melt foam, which is good! It takes at least 3 layers for it to hold down a figure using refrigerator style magnets.
I did it outside to cut down on the vapors. The directions say you can use any kind of paint on this, so we shall see tomorrow!
Here are a few fun pictures I snapped after I turned out the lights in the room! :-)
