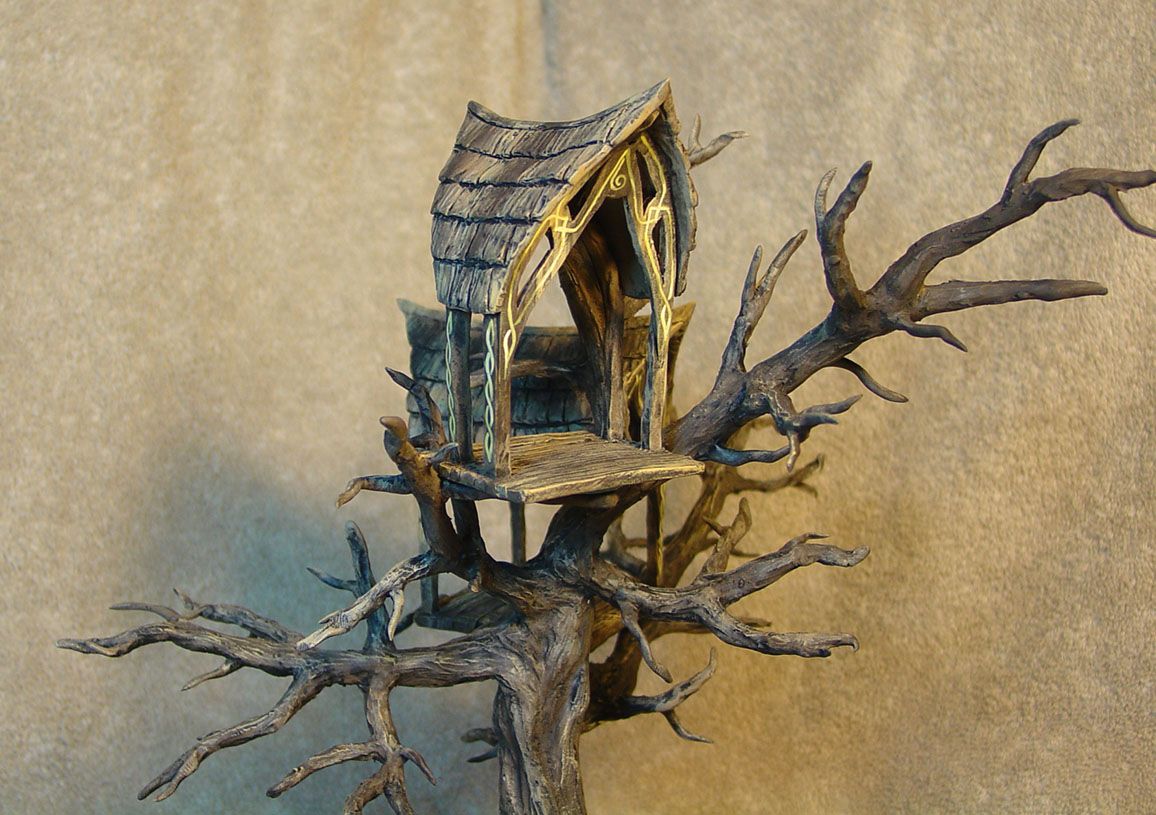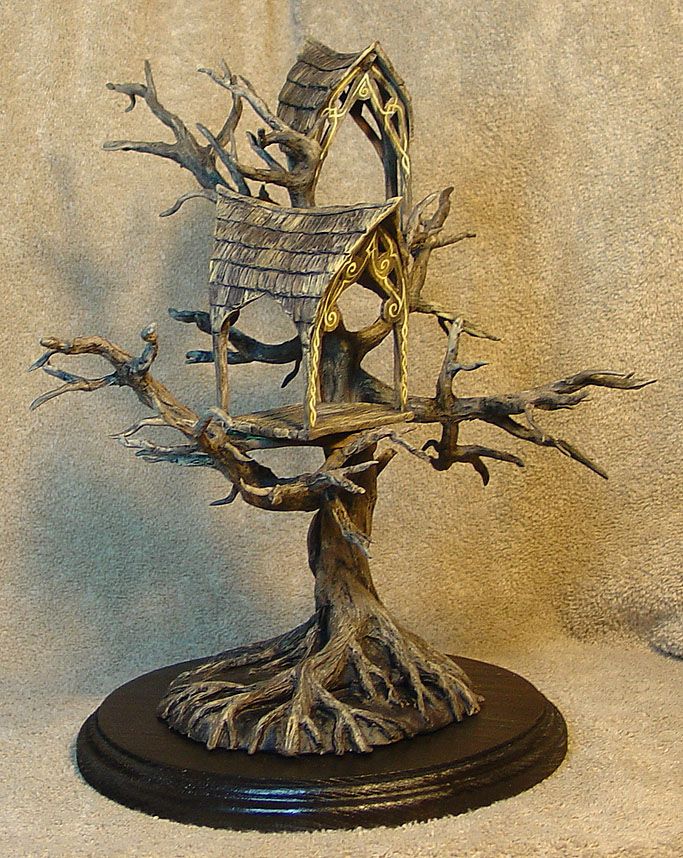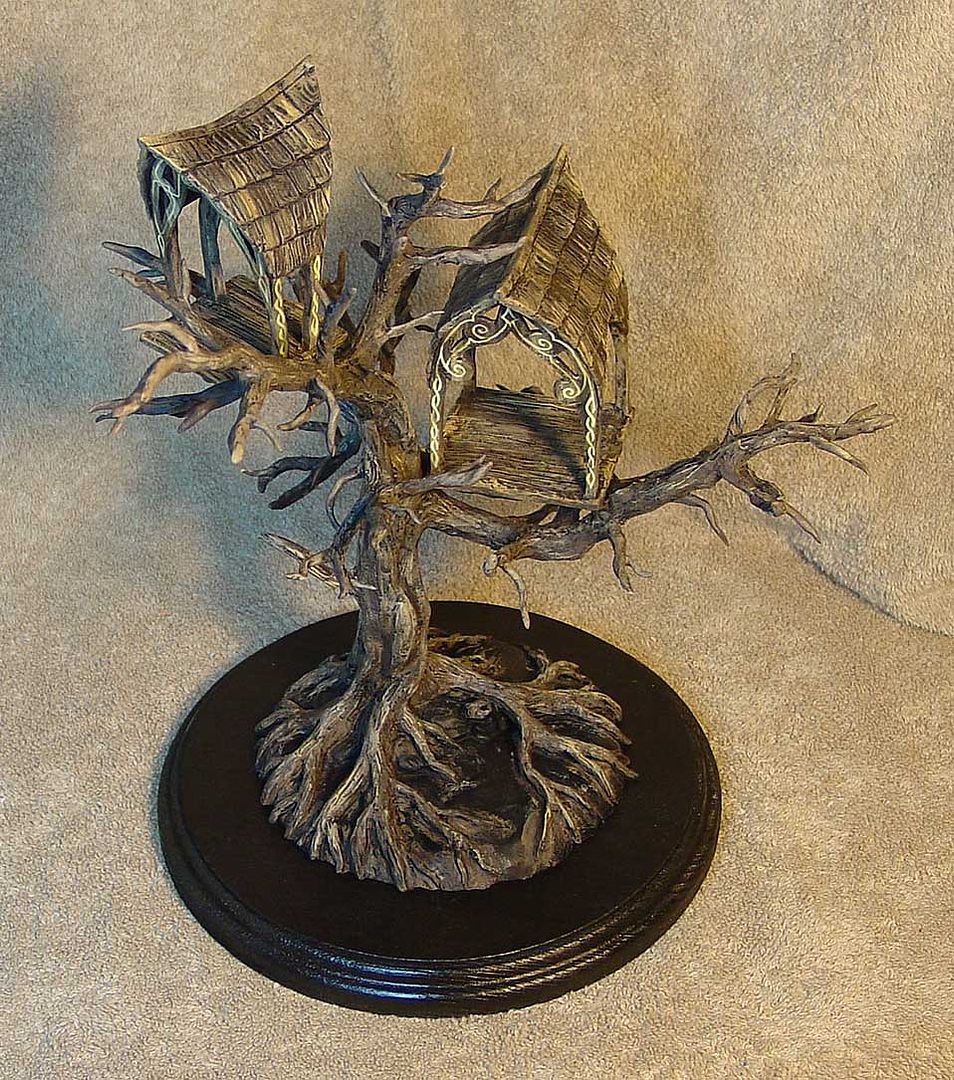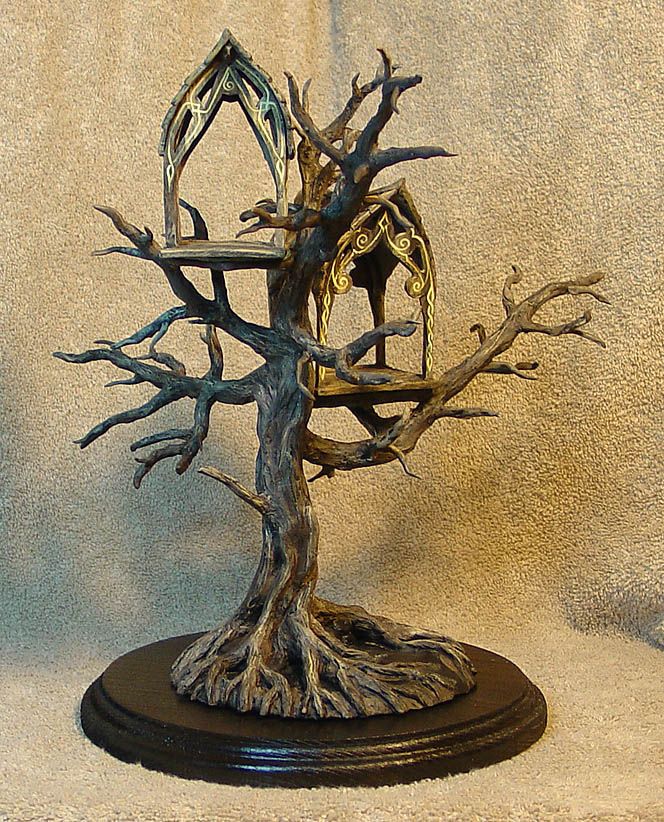
A collection of images that feature my painted miniatures. It features many of my award winning figures and terrain pieces painted since 2001.
Pages
- Home
- Blood Bowl Teams
- Step By Step: Painting a Predator
- Using the 'Shaded Basecoat' Technique to paint Saurus warriors
- Step By Step armor for Tomb Kings Horsemen
- Step by Step painting of a Gamezone Cold One
- Painting a marble and tile flying base
- How I photograph my miniatures: A window into my photo booth
Tuesday, August 21, 2012
Finished Elven Sentry Post: foliage added
Actually, I added almost as much foliage to my fingers and clothes as I did to the tree! There are several kinds of foliage involved, with Woodland Scenics realistic tree, moss, clumping flock, and regular flock.
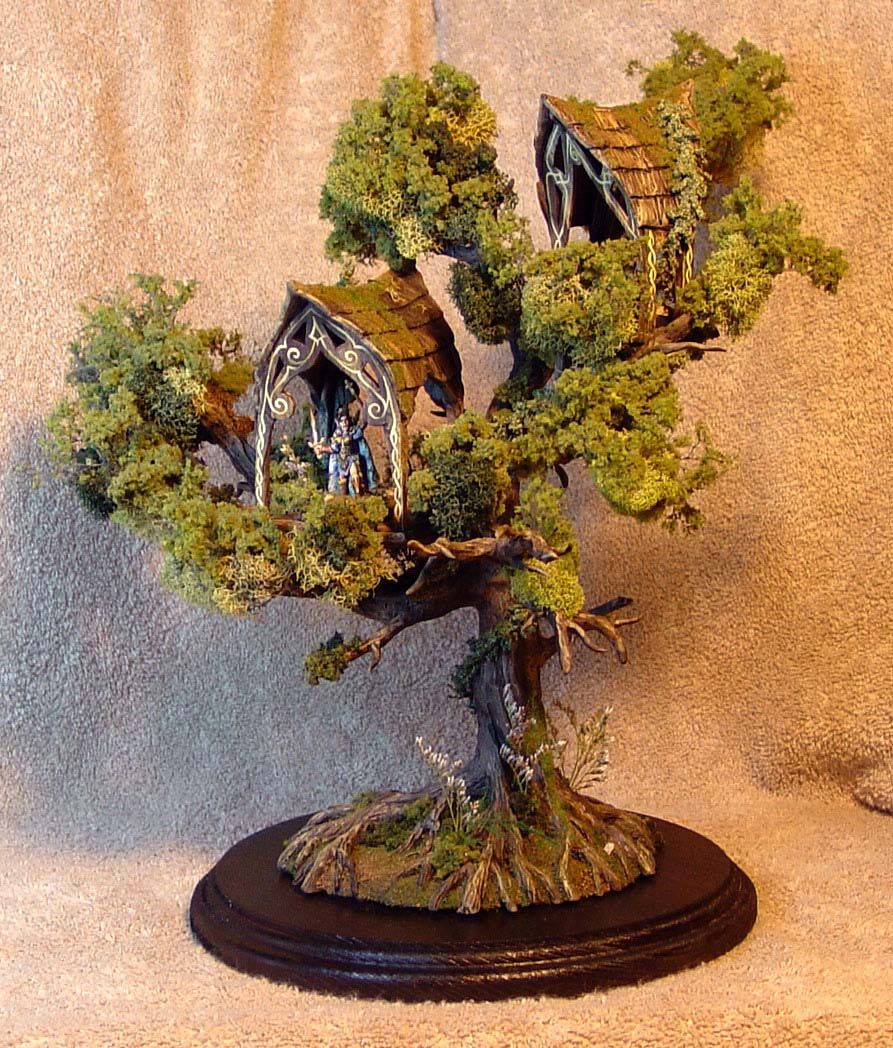
These first images were shot including the two miniatures you saw in the previous post.
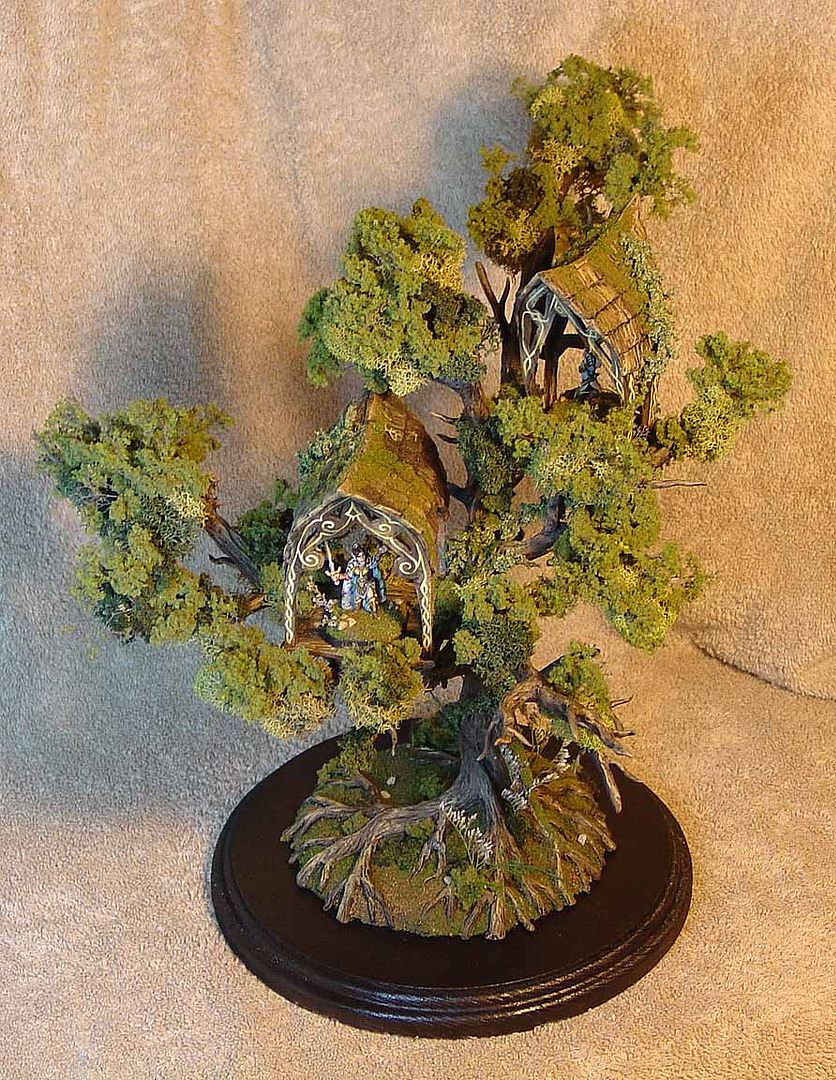
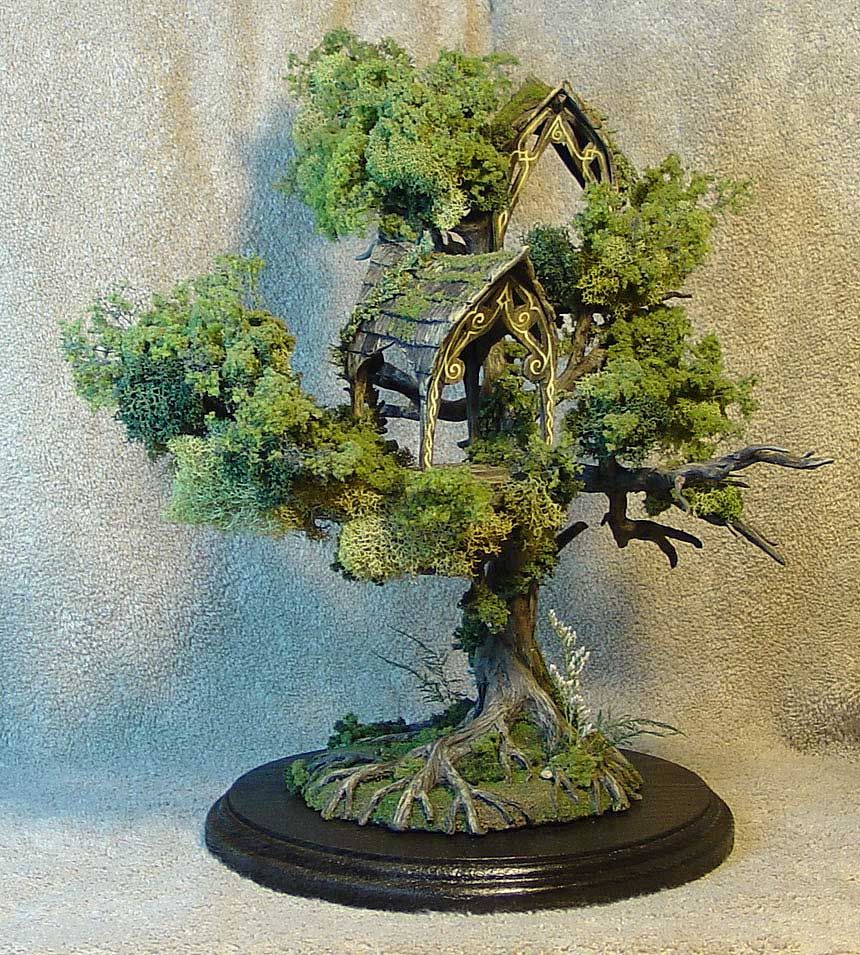
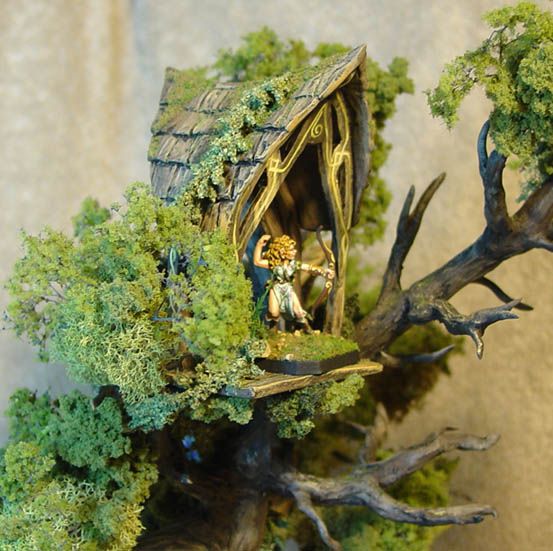
You can see the various foliage types. I started off with the Woodland Scenics realistic tree. It is expensive stuff, but it looks so realistic! I use it to "finish off" my sculpted branches. Basically, it allows me to sculpt less, since I don't have to sculpt the most delicate branches. This material also served as a support for the clumping flock and moss.
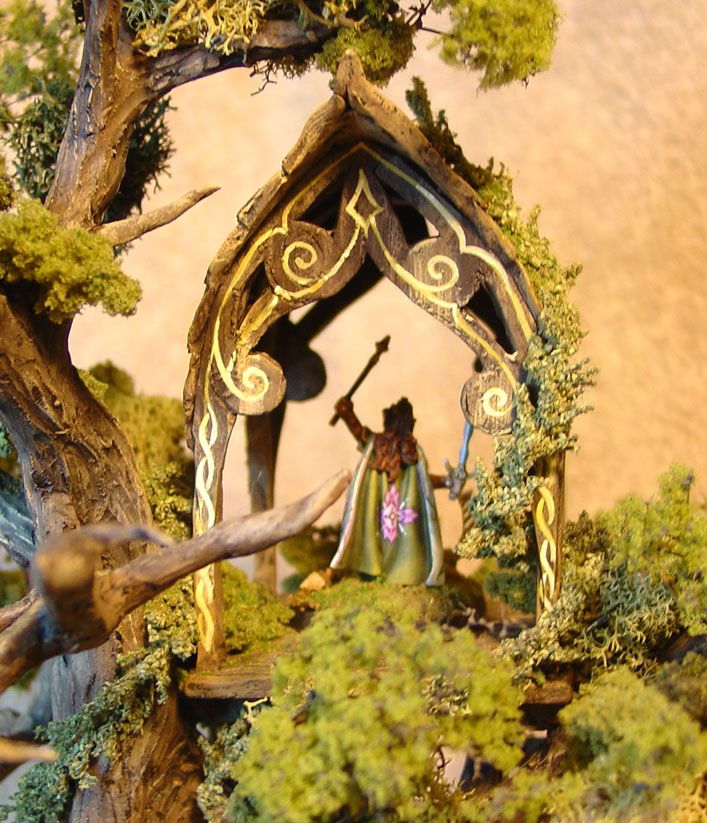
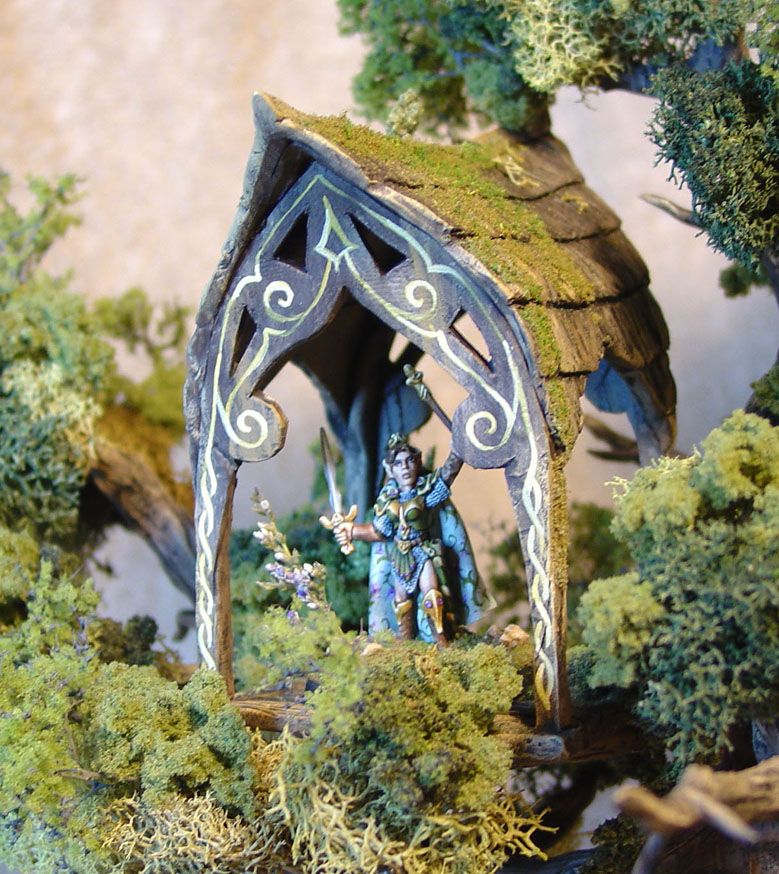
Some close ups of the figures, but also of the foliage. I made sure to create nice little vignettes around the platforms with the foliage, and to put some flock on the rooftops.
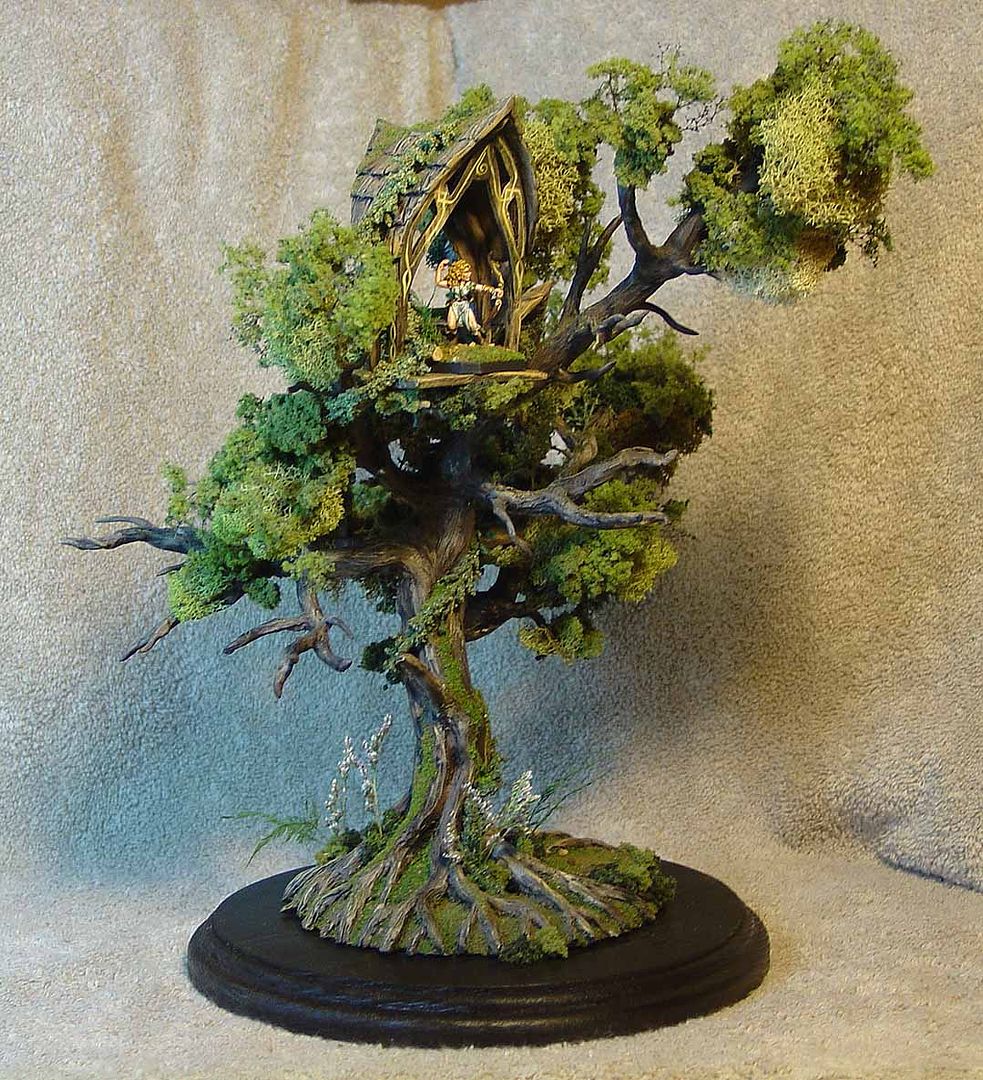
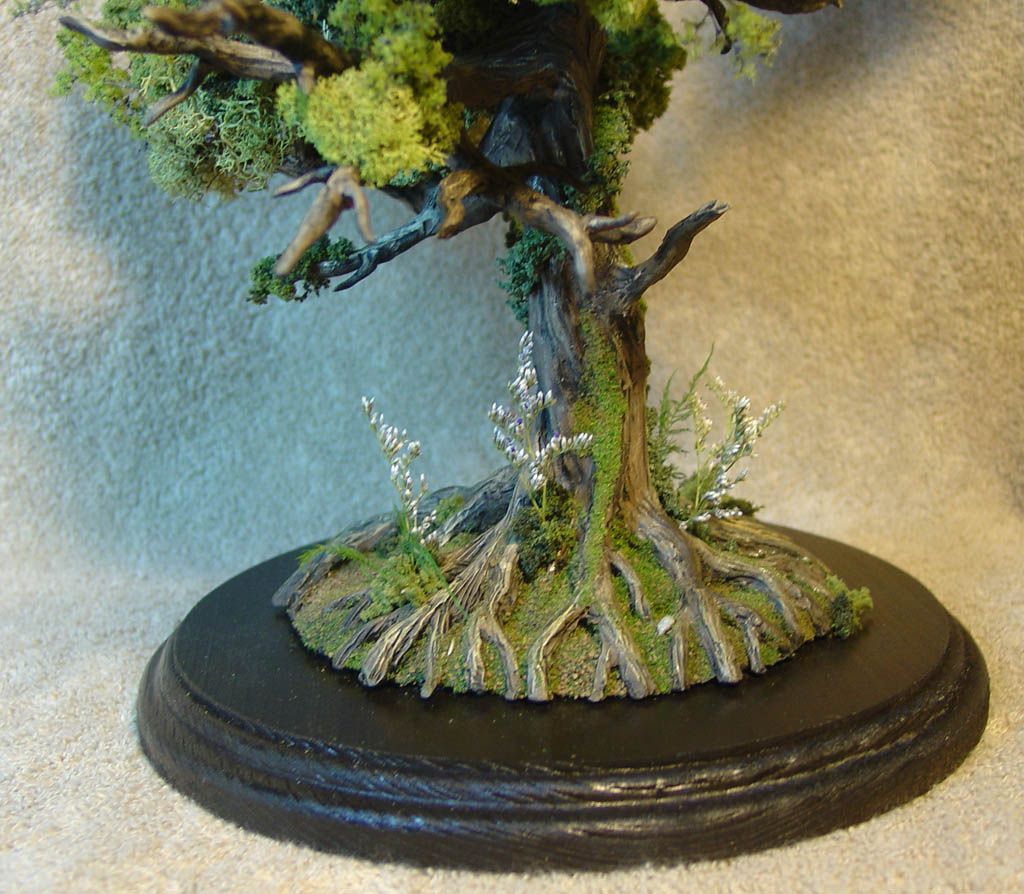
One the main base I used some dried flowers. These are very neat, but can sometimes have a rather unpleasant fragrance. Sometimes the dye they use can be pretty smelly,
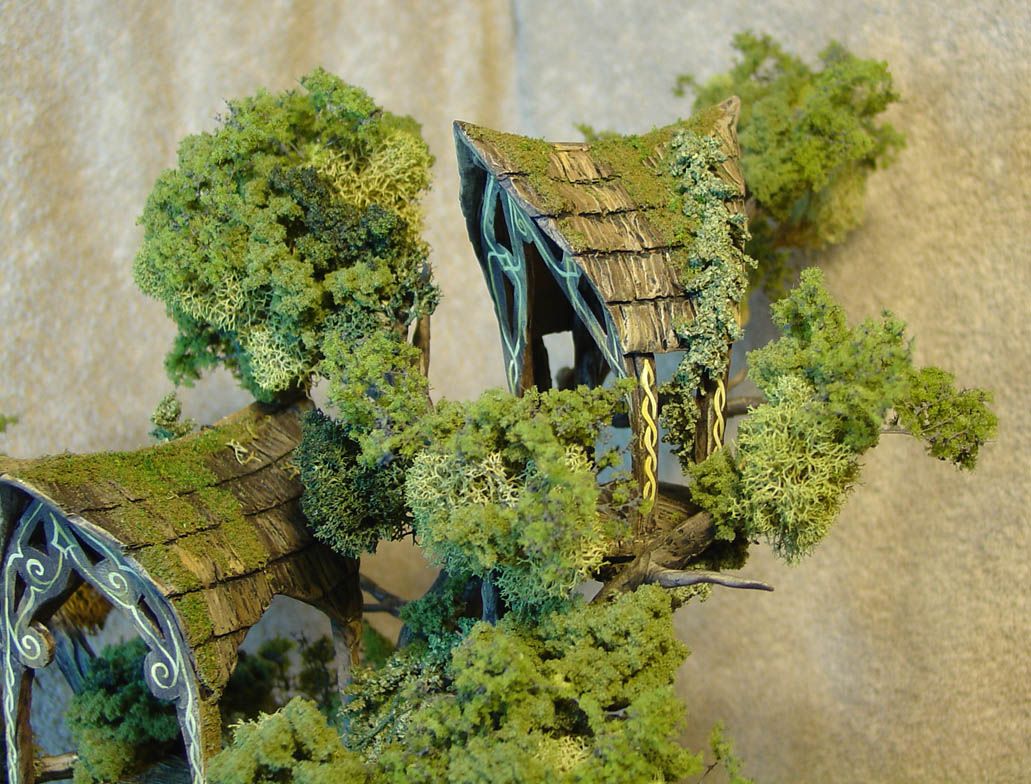
Here's another close up of the rooftops. It was a lot of fun to see all the foliage on them, but what a mess! Flock all over the place!
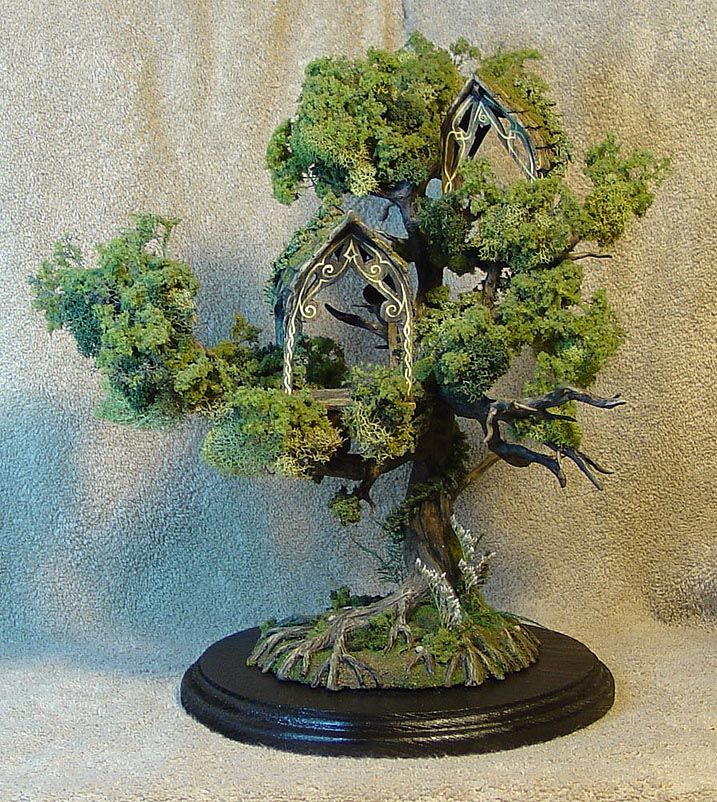
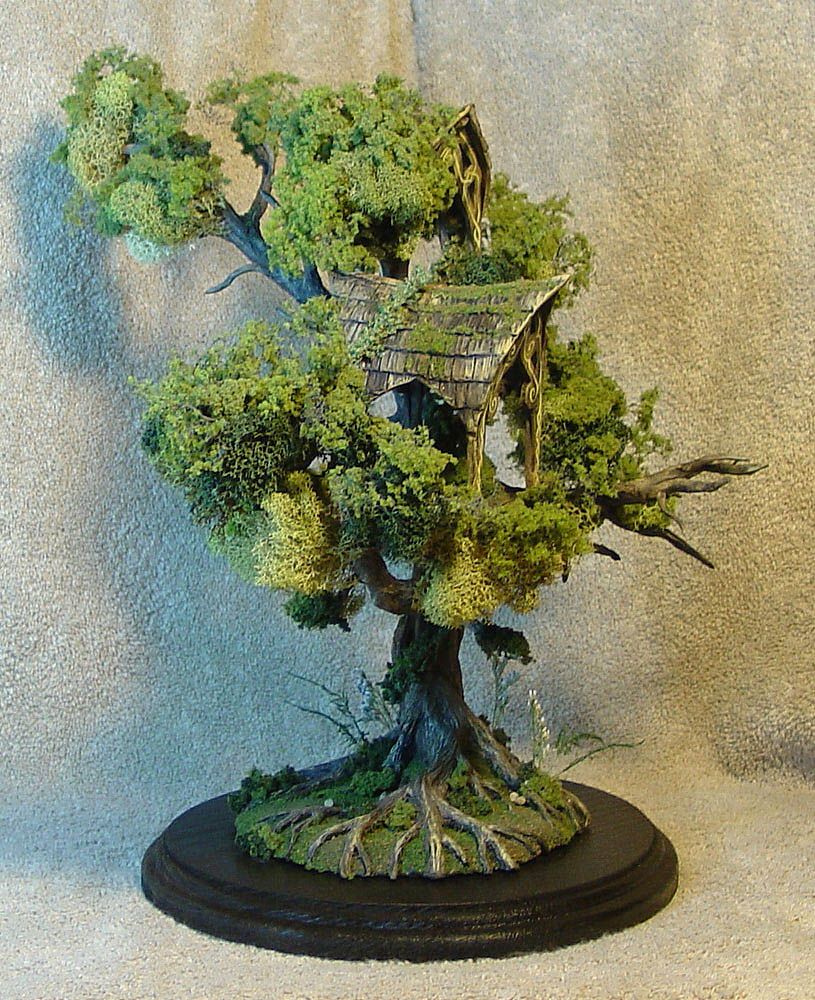
Now we have some long shots with no miniatures.
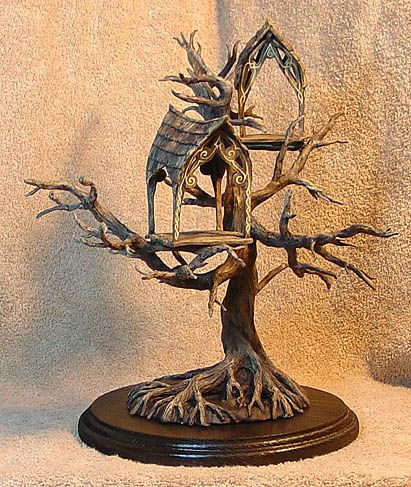
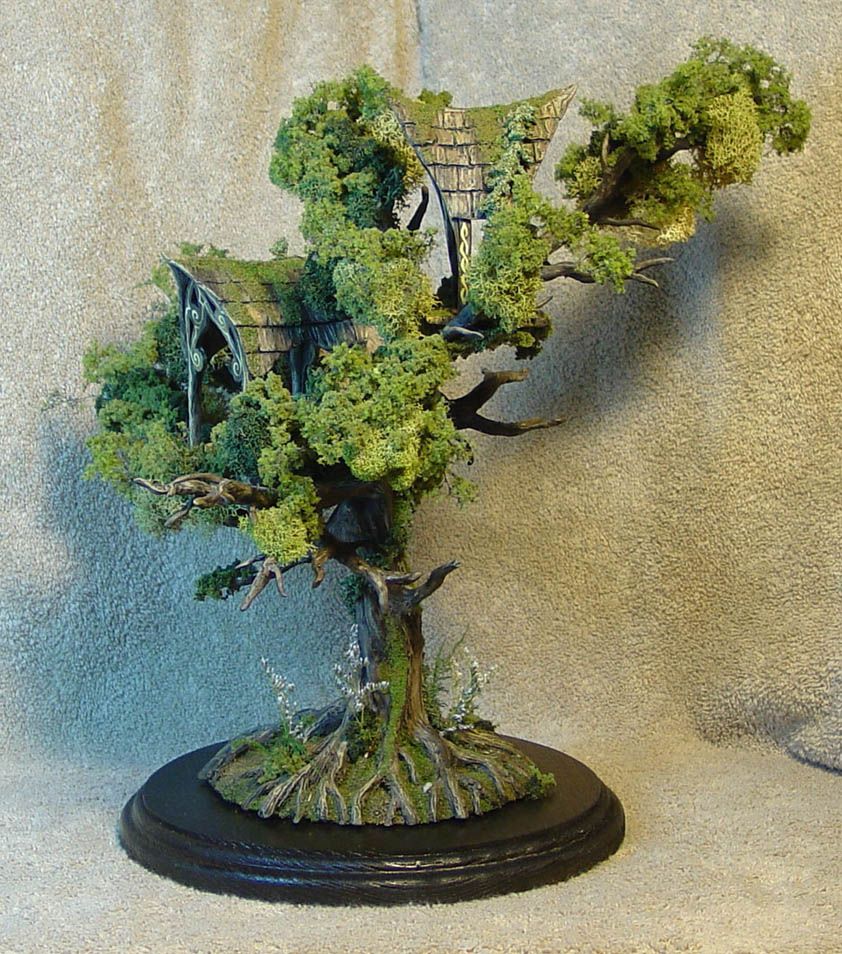
Well, I hope you enjoyed this trip down memory lane! :-) I have another big set of images of a scratch sculpted Mammoth I did for the Celtos game system. That will be very fun! For now, I leave you with one last image of the Elven Sentry Post...
Elven Sentry Post: Stage THREE
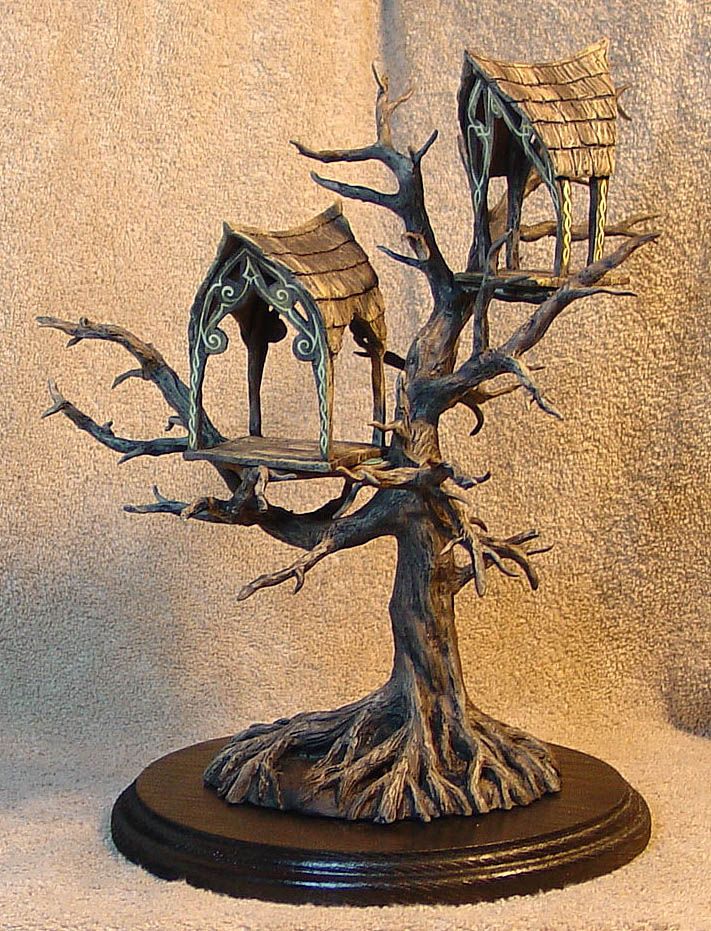
The sculpting was done, and then it was time to paint this thing. :-)
It was pretty basic, just a variety of warmer and cooler browns, with a few greenish colors here and there.
Most of the branches were going to be covered in foliage, so I didn't go too crazy painting them.
I put a few little freehand designs on the platforms... again, there will be lots of foliage everywhere.
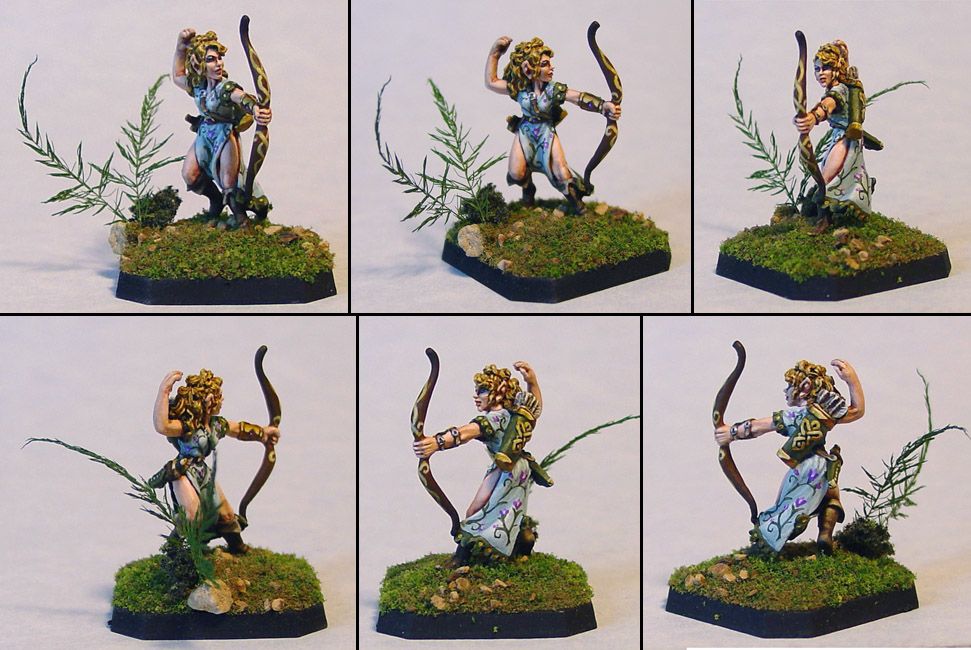
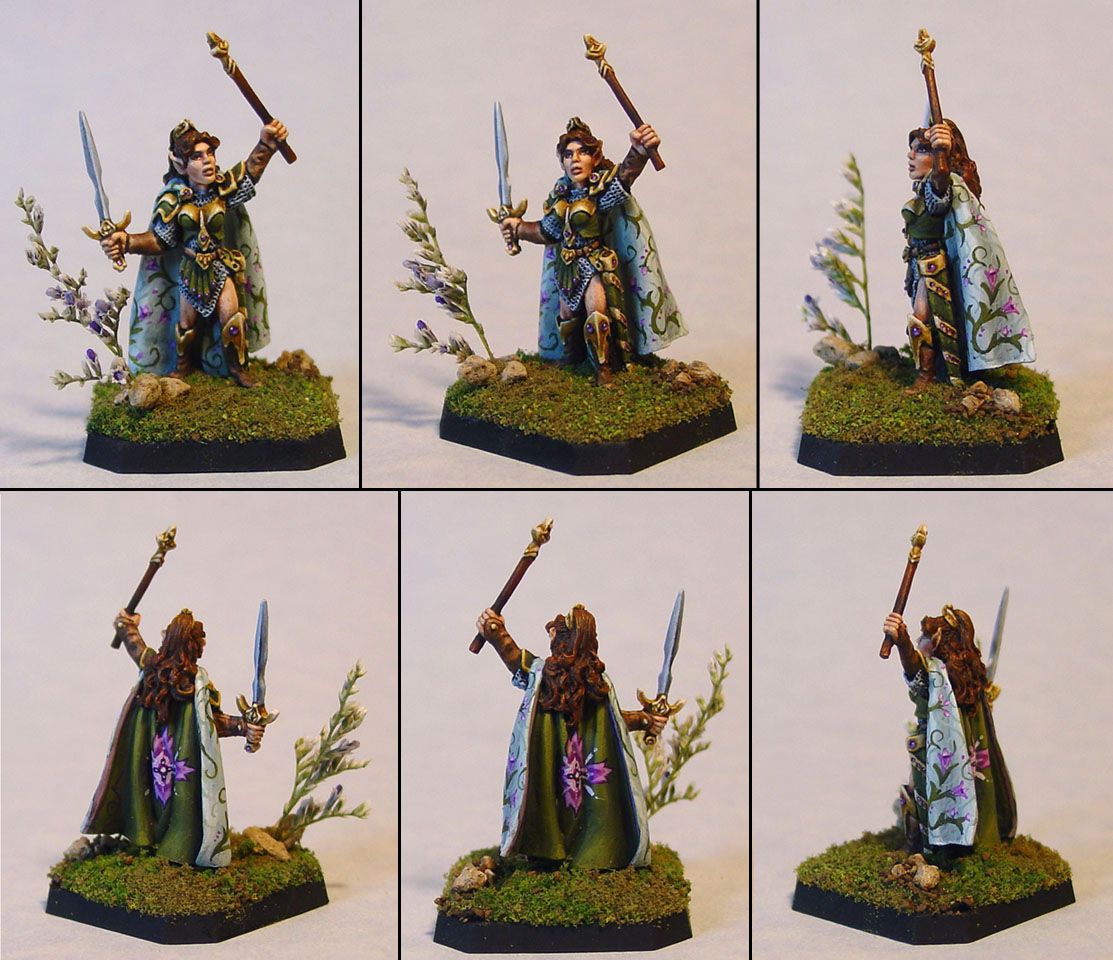
I painted up a few Reaper minis to go on the platforms:
This sets the stage for the final phase, where I glue all sorts of foliage to my hand!! Yea!
Elven Sentry Post... Step by Step stage TWO
I guess it's time for part two, the final sculpting phase for the Sentry post!
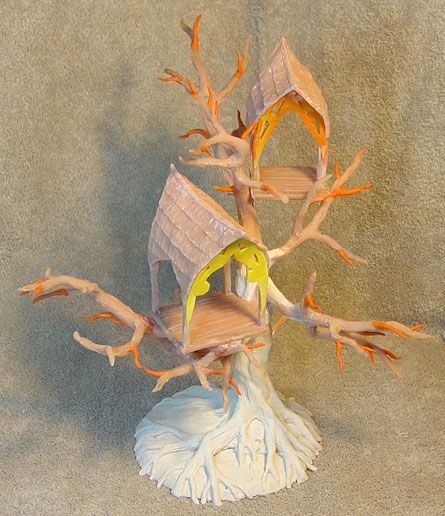
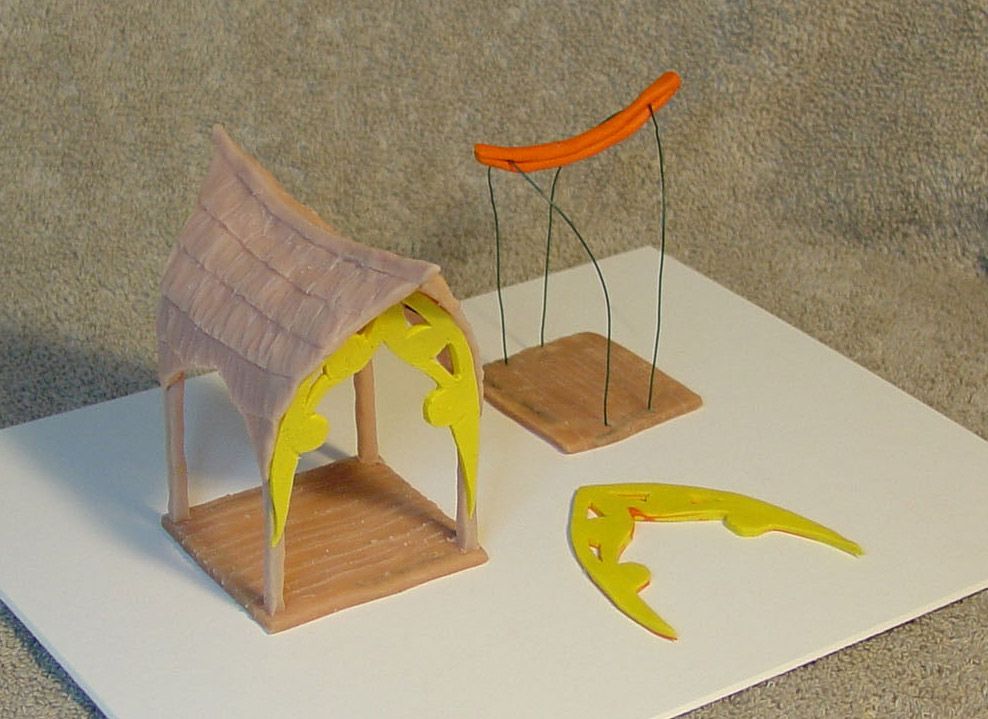
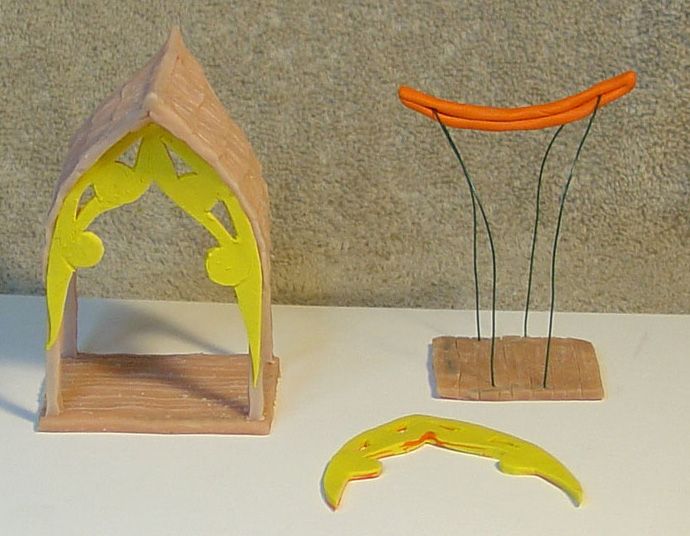
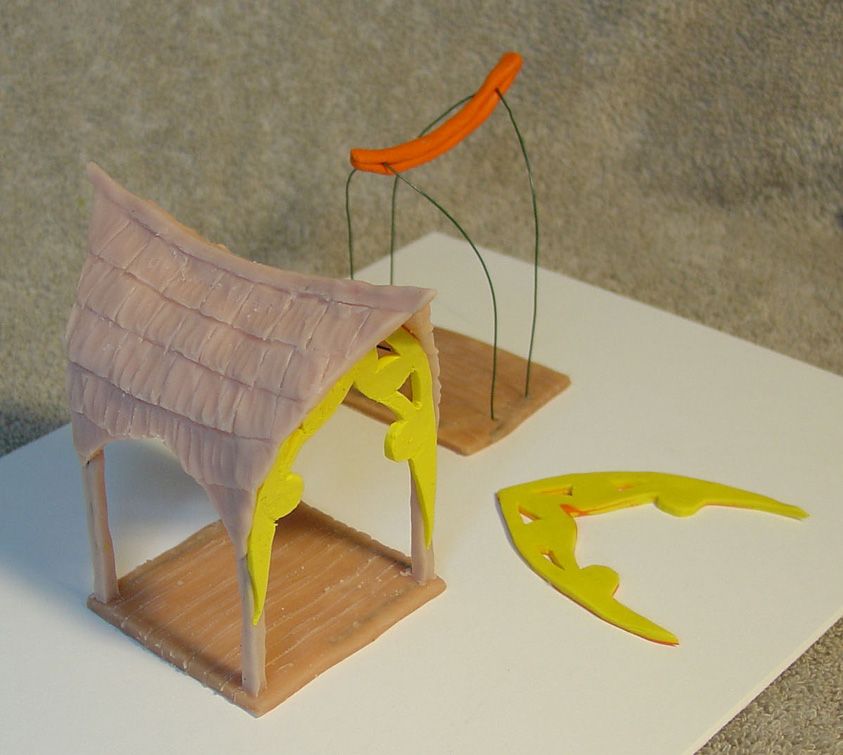
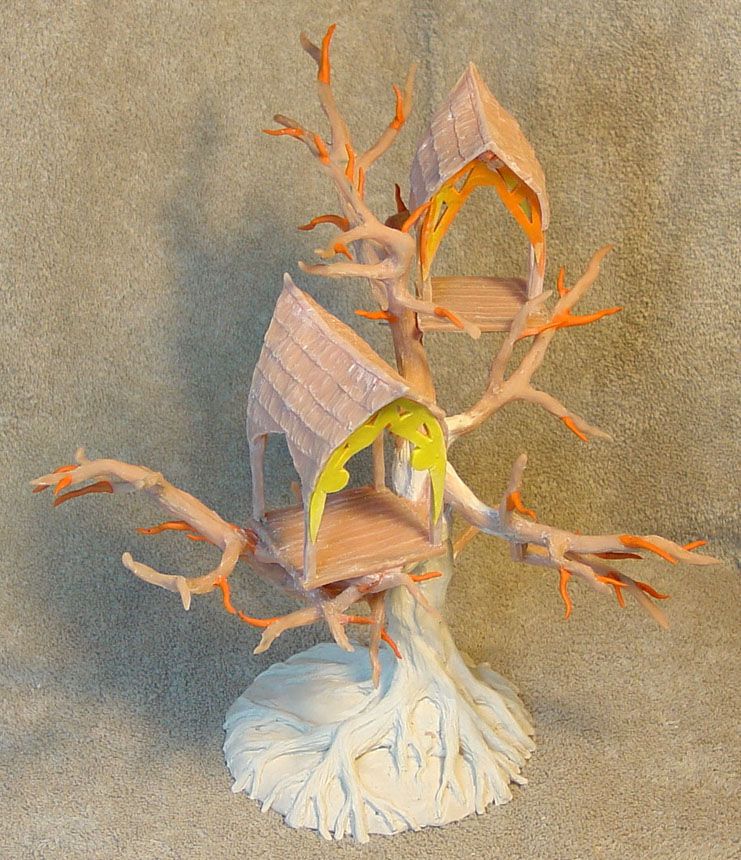
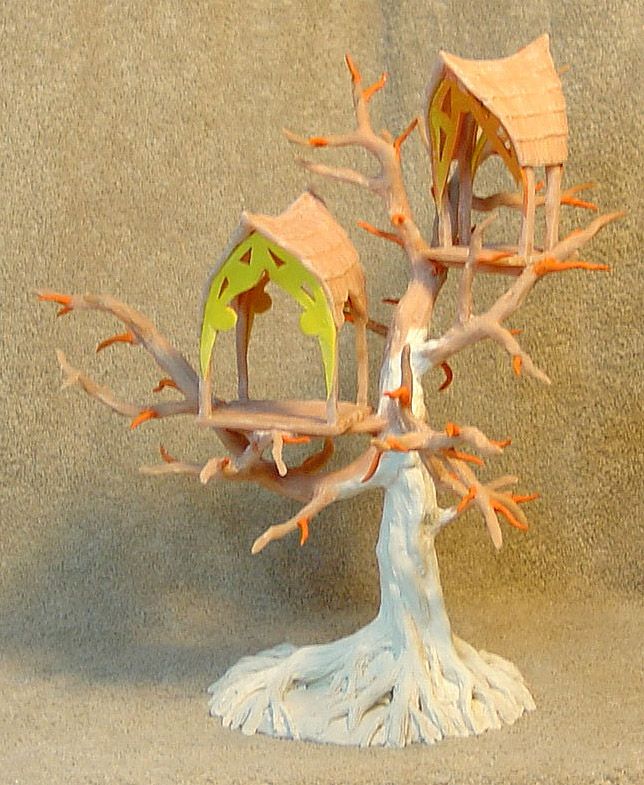
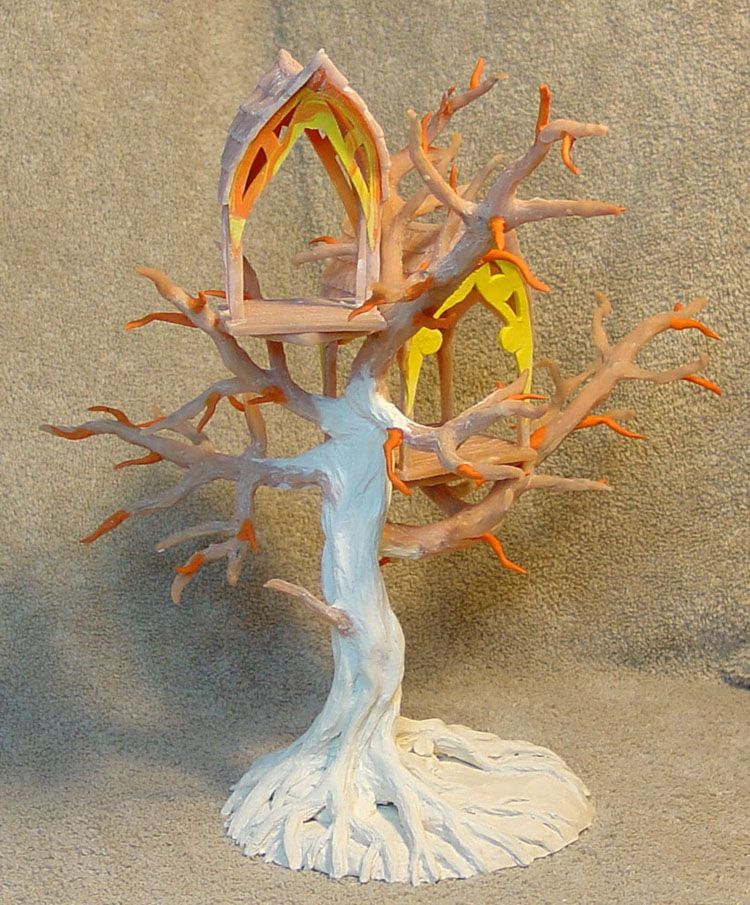
The next element to build is the watch towers. You can see the wire armatures again, and the various types of sculpey. The hardest and most resilient sculpey was used on the most delicate parts. The pink super sculpey was good for the rooftops.
Once these were baked, I filed down some of the burrs that developed when I was sculpting the roof textures.
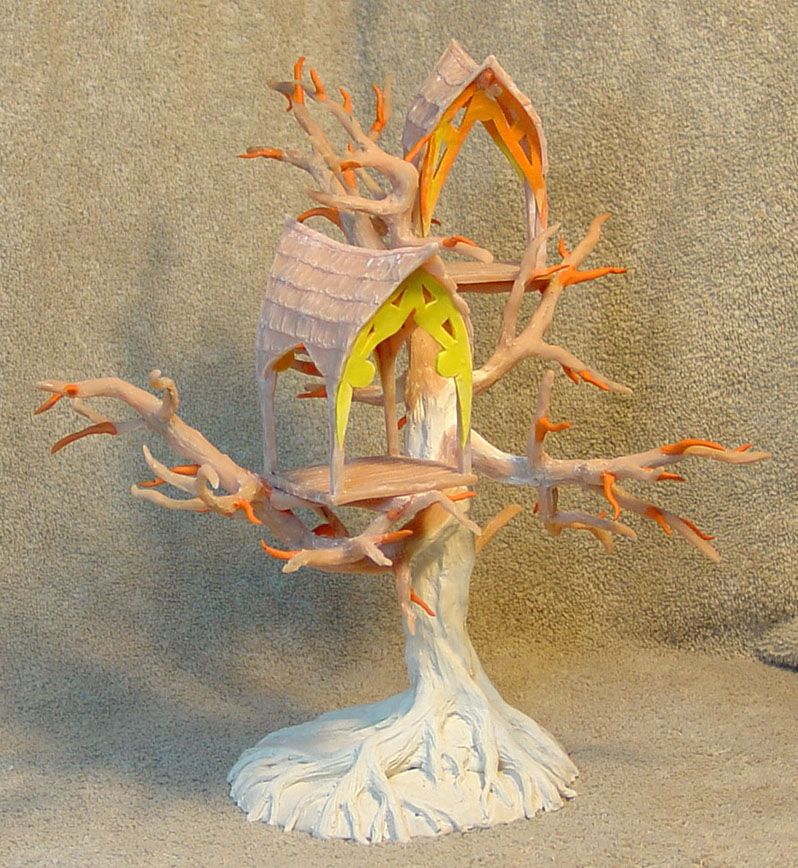
Once these were baked and cleaned up, it was time to get them in place on the tree!
I also made sure to go after any burrs on the tree, since the sculpting method was very similar to the one I used on the roofs.
For tomorrow, I will post the images of painting the tree and the figures that went with this!
Subscribe to:
Posts (Atom)