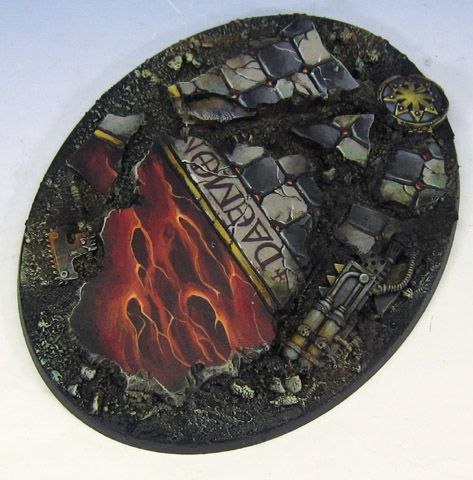
I managed to snap some step by step shots as I was painting this. Most of you will probably recognize this as match my Grey Knight 40k army bases. Hopefully this will give you some insights as to how I go about painting these...
As usual, I started out by carving up some baked sculpey, and set some Chaos SM bits into it.
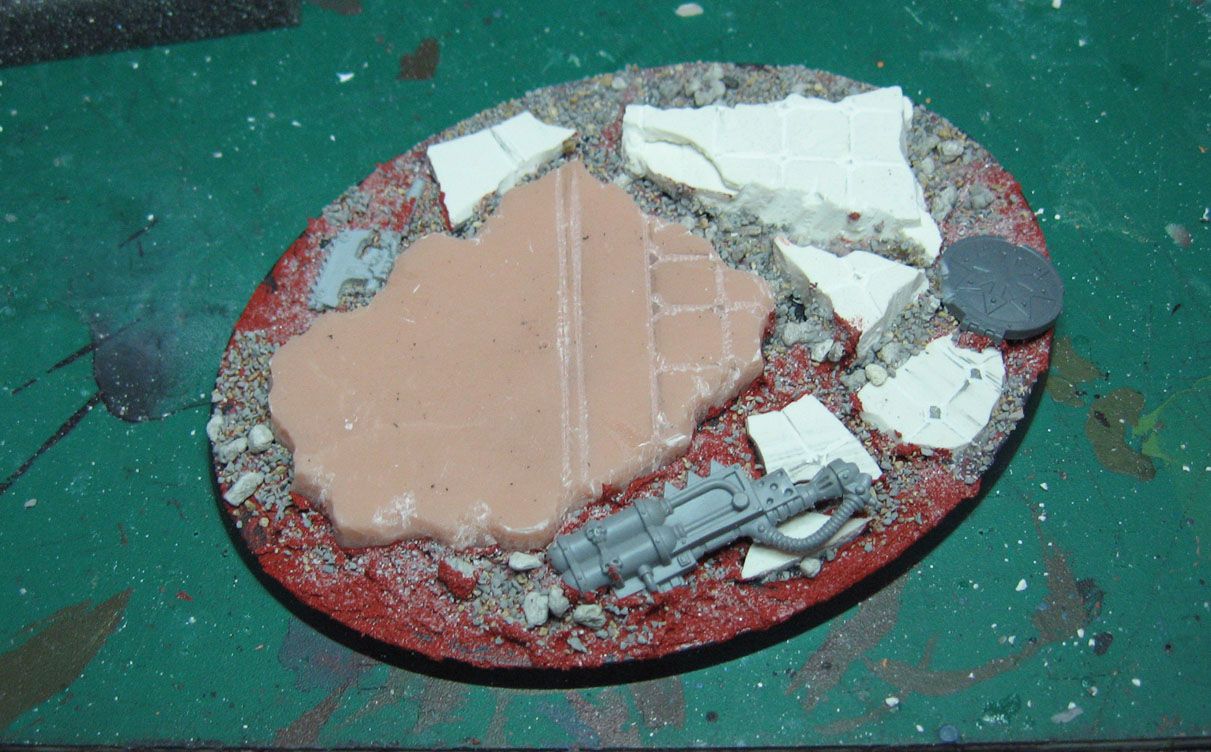
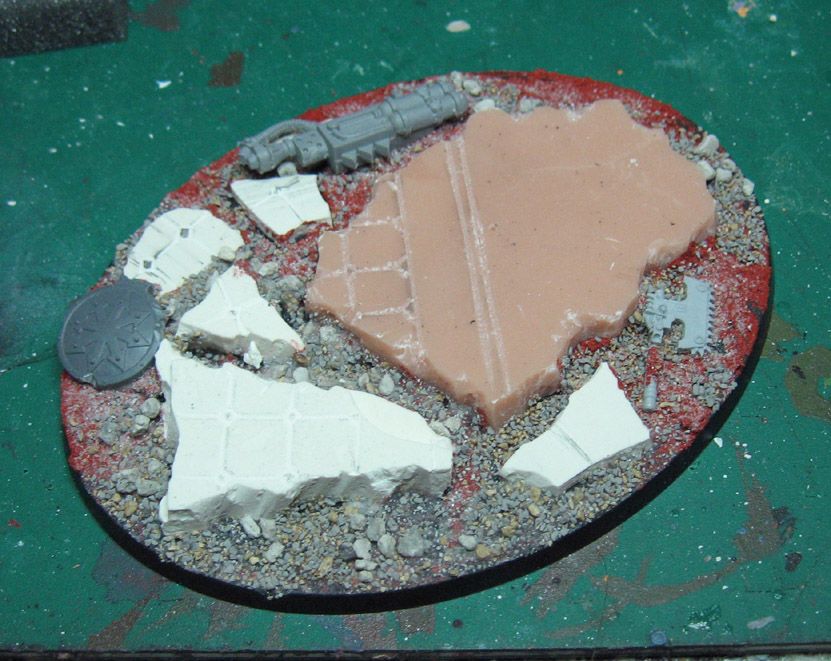
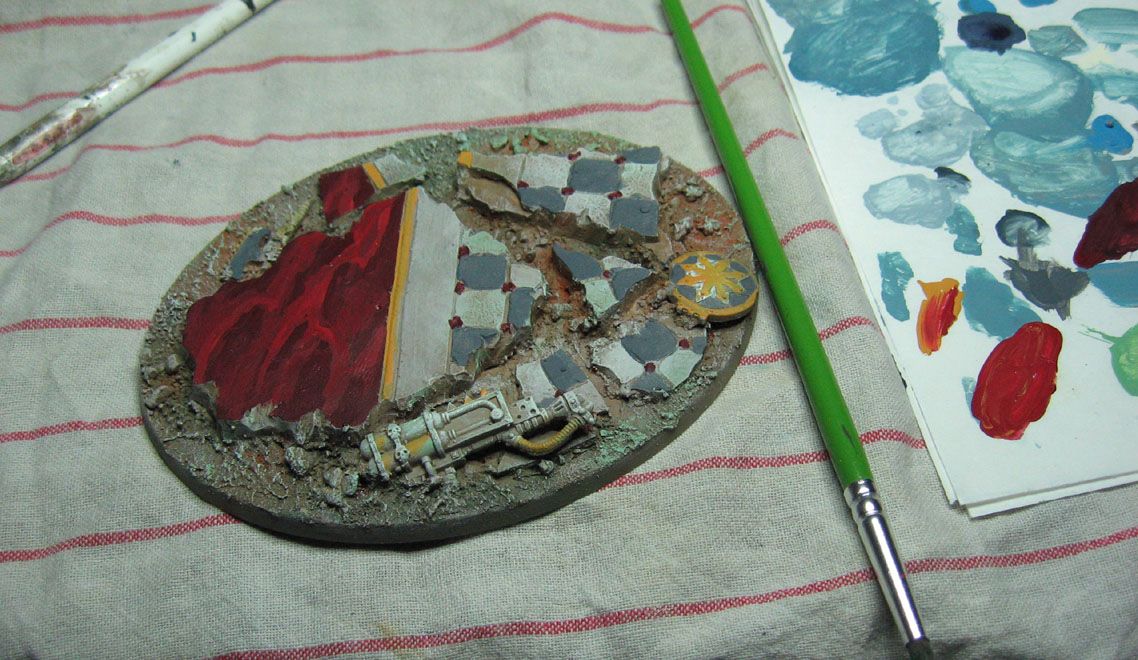
This time around, I started out with an even lighter color than normal.
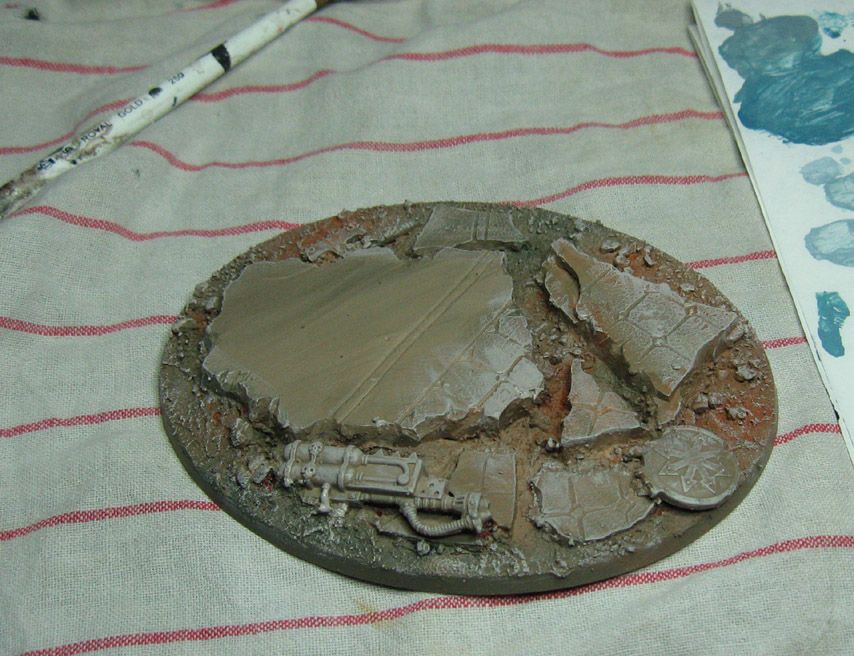
The plan is to get as light as possible, and then do my shading and glazing afterwards.
I have added a few colors where needed, and its almost time to get to the glazing!
Here I have a bunch of glazes set out on the palette, ready for action. I try to have a black, a green, a red or brown, and a sepia.
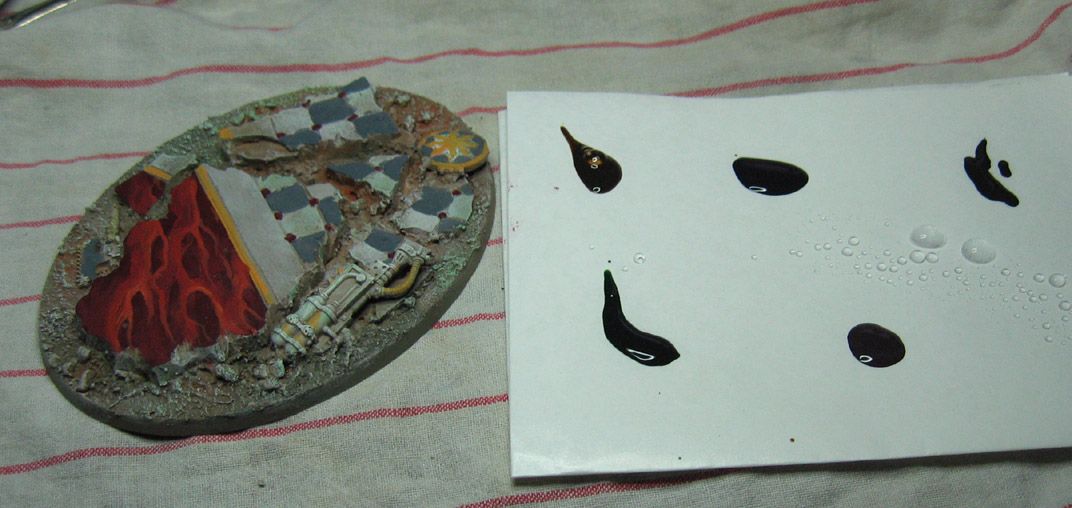
The first layers of glaze already make a big difference! I blend green and red together to make browns, and green with the black, etc.
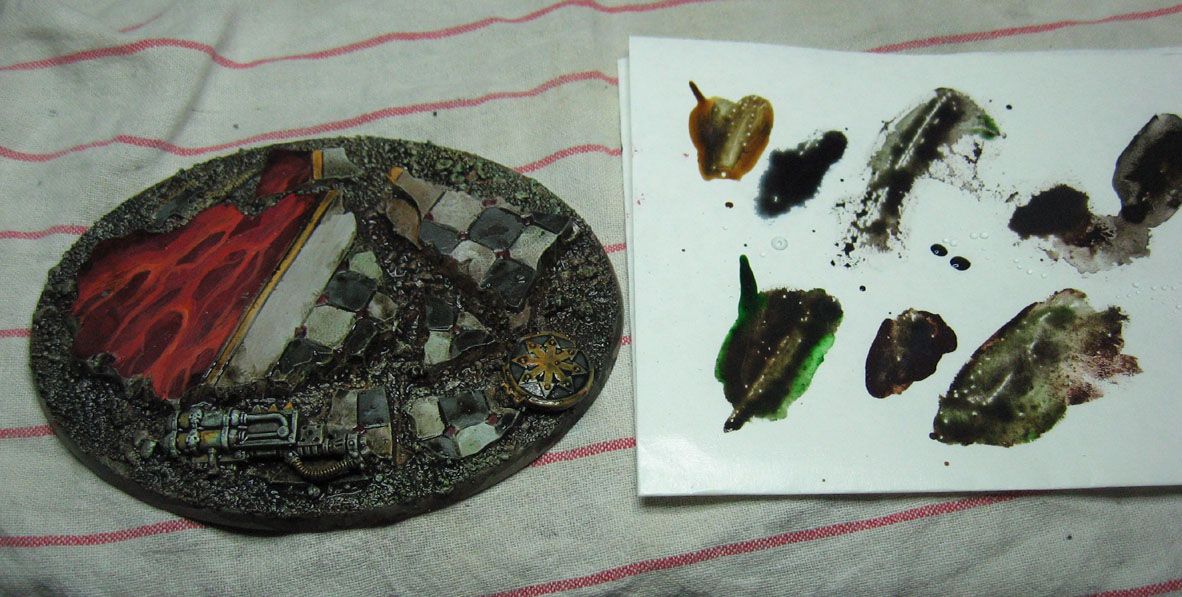
I have also worked some basic dark patterns into the red marble. What really makes the marble is the lighter veins, so it is important to set that off with nice darks.
After some clean up on the tile areas, I decided to put down my script. I also decided where some of the cracks should be in the tiles. Some second and third glazes are done on the rocky areas, making the places near the edges of the sculpey the darkest.
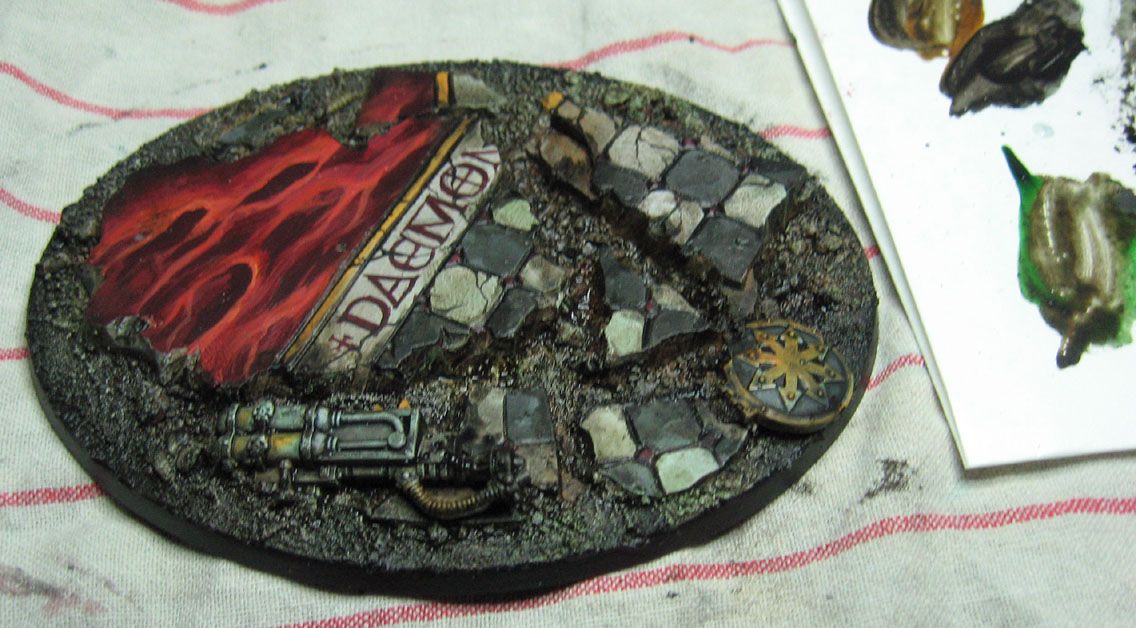
I have also been working on some of the bits, like the heavy flamer and the tank hatch. Here I used a bit of nightshade wash to get some hints of blue to the metals...
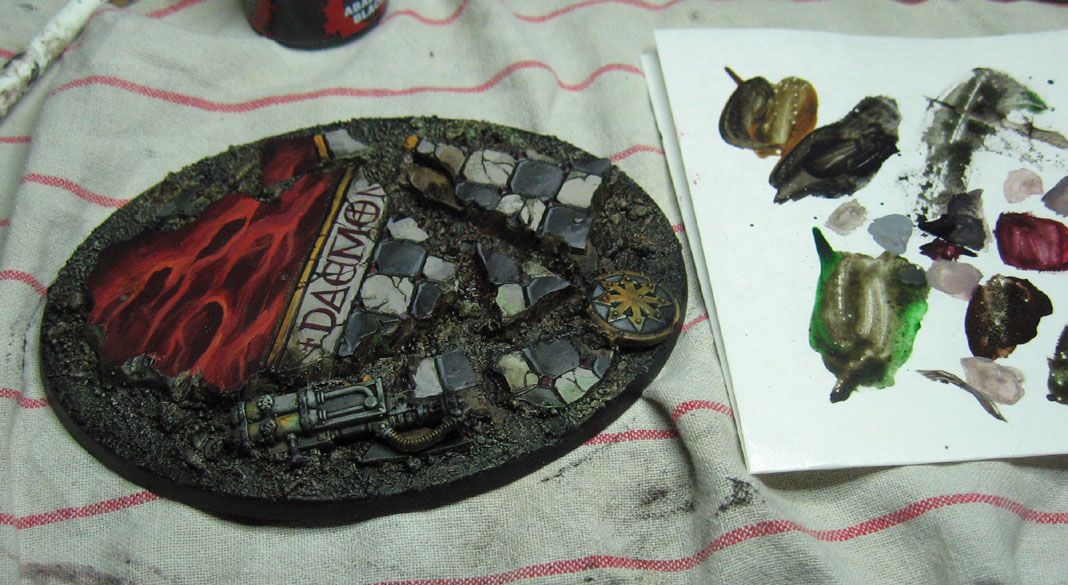
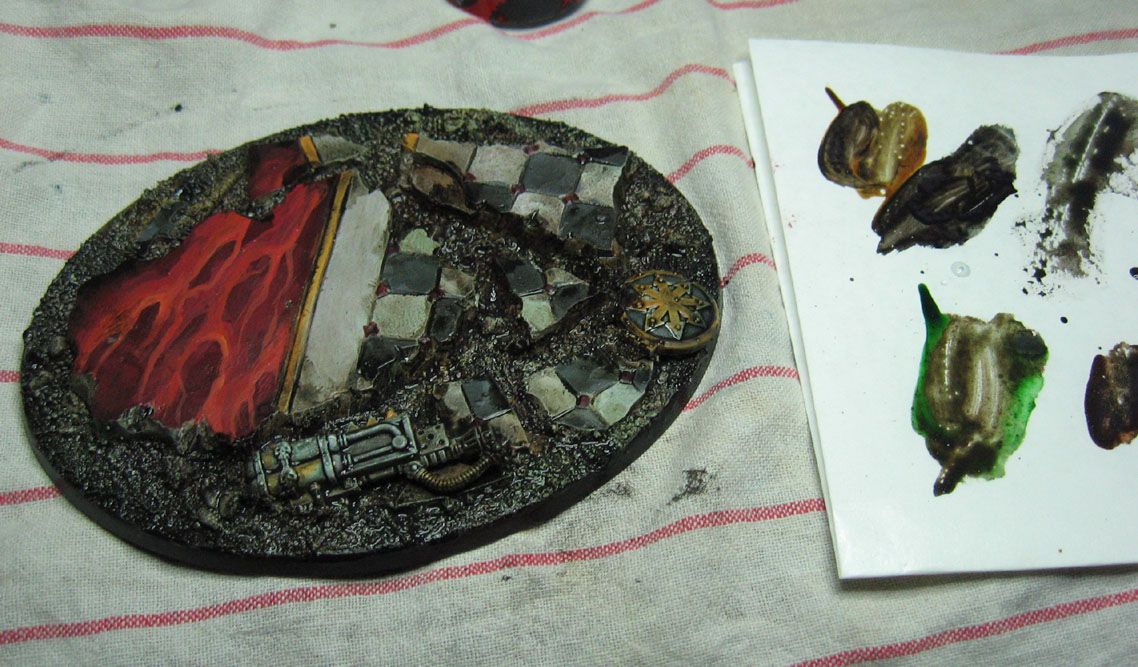
Now I begin to introduce more light colors to the tiles and to the bits.
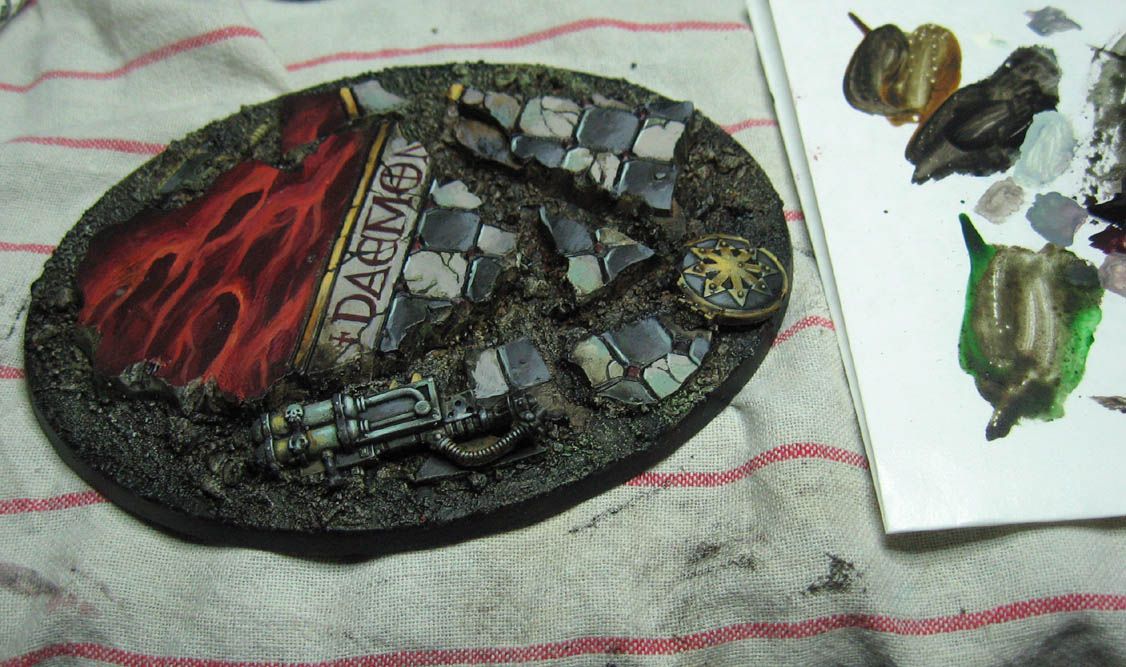
Some highlights are added to the edges of the tiles, but not too much! I learned the hard way that if you go to crazy with that, your 1000 year old broken tiles will look like they just came from Home Depot. :-)
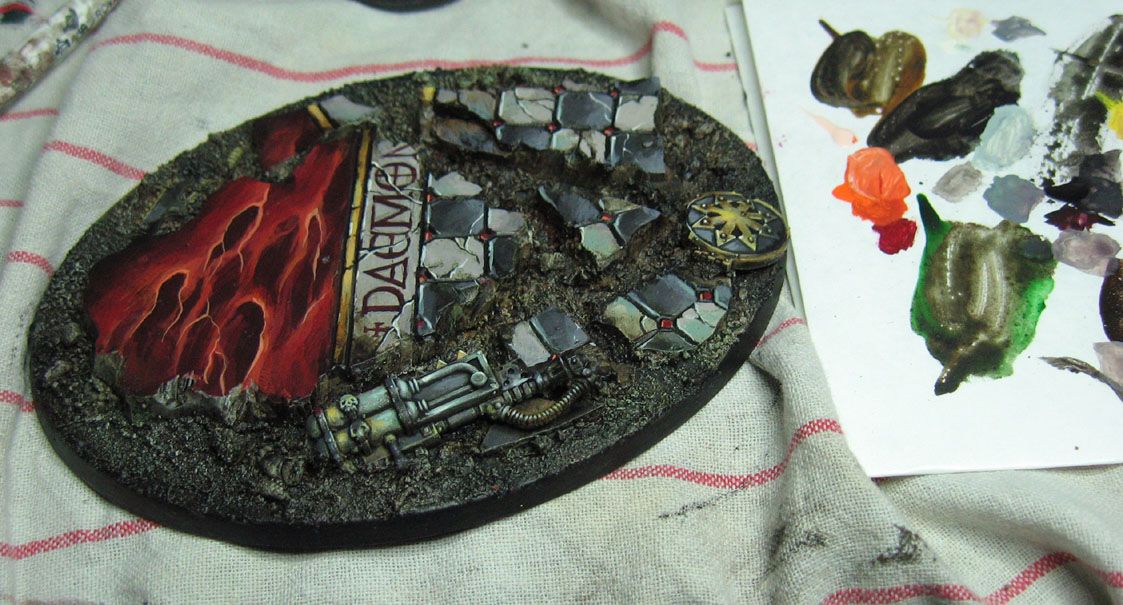
The red marble gets its deepest darks, and then I start adding lighter colors for the veins. I pick one 'edge' of a vein, and work that edge lighter and lighter, which makes the other side fade out. This will really help get you your marble effect!
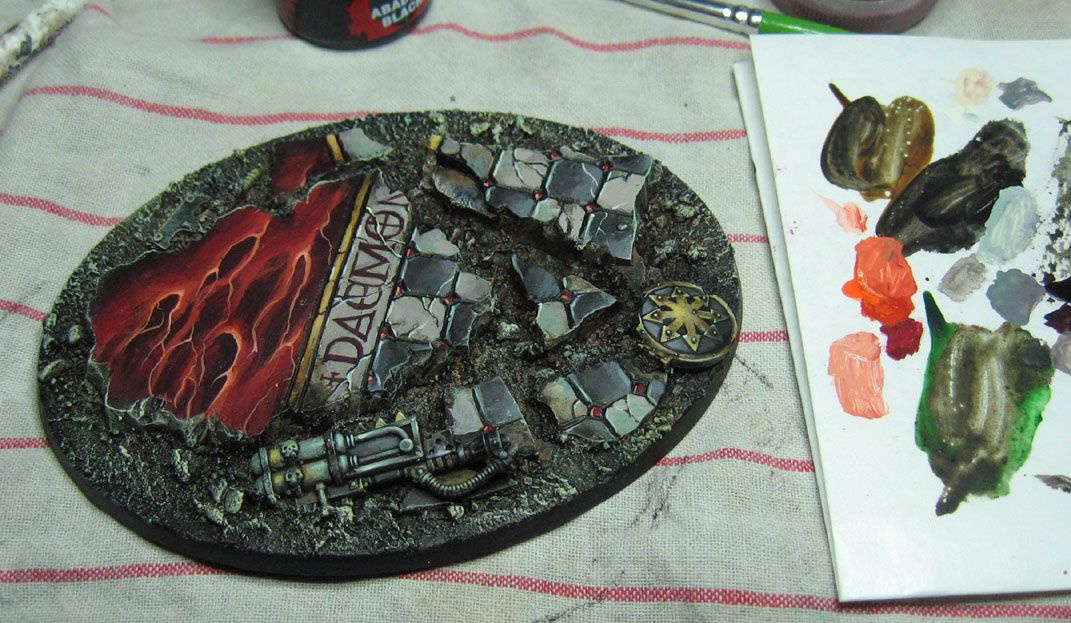
Finally, once all the highlights were done, and some extra drybrushing to bring up a few lighter colors in the rocky areas, it was time to add weathering powders. I had some brown, black, rust and light grey. Mixing the black and light grey together were very nice when brushed over the rust!
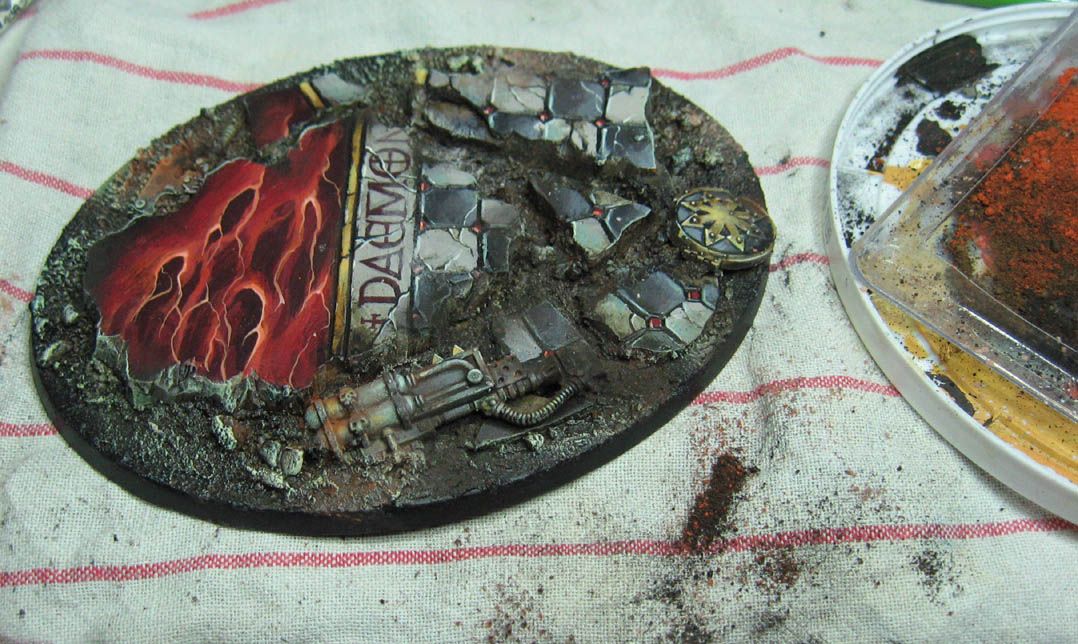
After lots of dullcoating to hold the powders in place, we have this result...
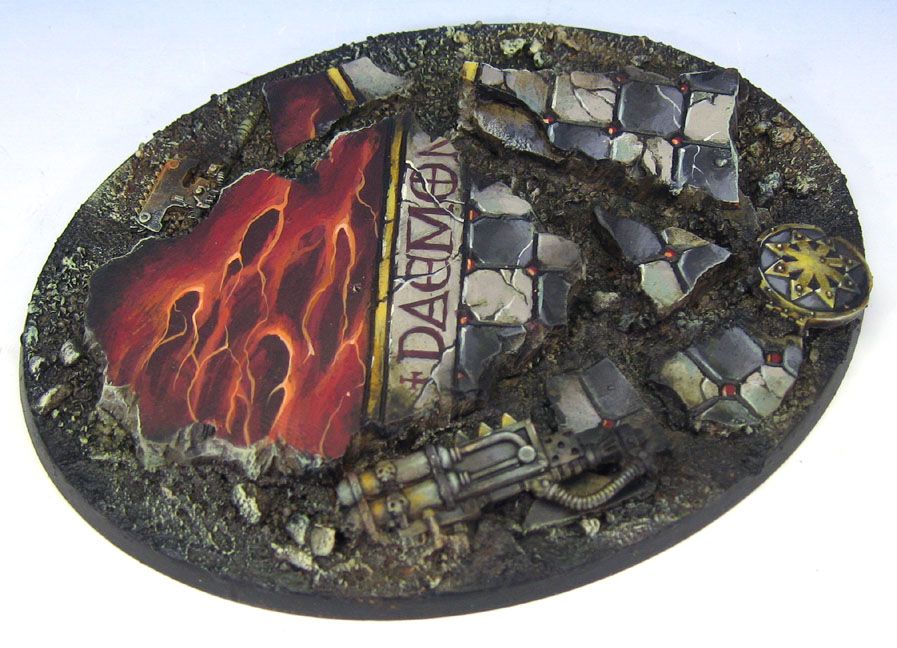
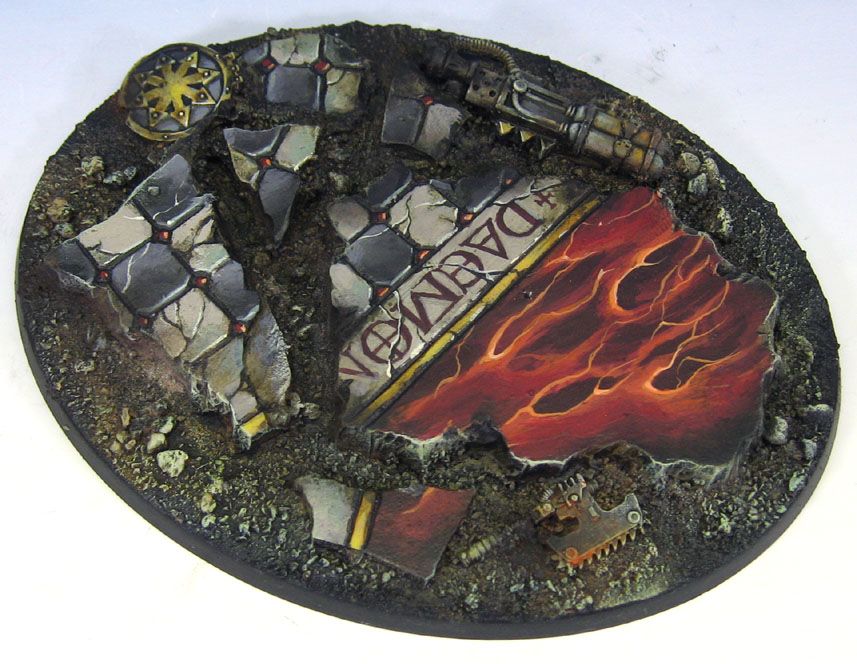
I hope this has some helpful hints!!
You rocks!
ReplyDeleteVery nice, did you use oik paints for the shading /glazing?
ReplyDeleteI used standard miniature paints for this, as I do for all the bases.
DeleteHi, I would like to ask, if what kind of paint did you used at this instance?
ReplyDeleteI used reper, vallejo and GW paints for this, as I do for all the minis...
DeleteI'll remember this next time I'm figuring out; what should I do with the base! Thank you!
ReplyDeleteBest of luck!!
Deletegreat ideas,how long did it take to reach perfection....
ReplyDeleteIt takes a few hours to do a base like this...
Deletedo u bake the sculpy then carve? wont be break?( curious how sculpy works)
ReplyDeleteYes, you bake the sculpey so that you can carve it. This will also let you break it into pieces to make it look more real. If you support the sculpey with cork, it helps keep it stable.
DeletePigment fixer works much better than Dullcote at sealing Weathering powders.
ReplyDeleteThe Dullcote almost overpowers the powder.it also removes that nice dusty finish.
But if Dullcote is needed dust some powder on after it is almost dry,helps bring back the dustyness
Love your work dude, great eye for color and contrast. Cheers - cc
ReplyDeleteThanks for checking out the blog!!!
DeleteI love it. It as a nice edge and grittiness to it. Cool work.
ReplyDeleteThanks for the kind words!
DeleteLooks amazing.
ReplyDeleteMany Thanks! :-)
Delete