Sunday, June 24, 2012

It's what's on the inside that counts... Armies on Parade

Photobucket

When you last saw your intrepid painter, he was slaving away (ha!) on the upper level of the Tomb Complex.  Here are some views as that evening drew to a close, and I set out some of the figures that will reside up there.

Photobucket

Photobucket

Since I had more light to deal with during the day, I mixed in some interior painting with the rest of my work.

I started by getting most everything black:
Photobucket

Photobucket

Once I got things one color, I glued on some pastel paper to indicate where my rows of shields will go.  I also started painting some of the icons I had glued to the board.

Photobucket

I wish I could have painted them before gluing them, but that was just not possible.  I also started to add some color to the walls, similar to what is on the floor...
Photobucket

I also began to paint the image that was saved specifically for the back wall, using my fluorescent paints.Photobucket

More definition on the icons and the back wall design...
Photobucket

There will be more details added to these walls in July.  Lots of glyphs and other neat stuff!
Photobucket

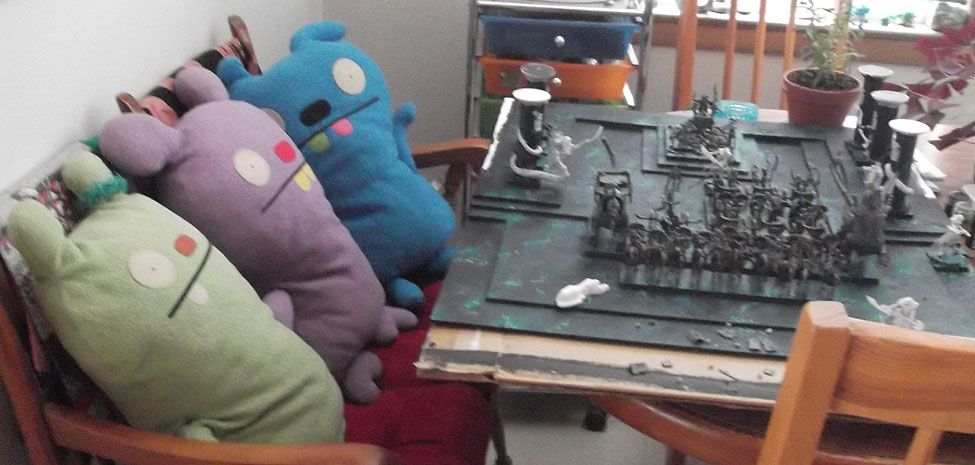
There seems to be wuite the planning meeting going on here.  Now you know where I get all my ideas!
Photobucket

Ground War: painting the upper level above ground

Photobucket

Yesterday saw the painting of all the landscape work, as well as some of the structure.  Here is the set up, with the 4 basic colors out on the palette:

Photobucket

I worked using the Screaming skull catapult and the carrion bases as a color guide.  I had a black, and ochre, a pink, and a terracotta shade ready to go.  I worked rapidly once again, moving across the surface as quickly as possible to make sure there was enough variety in the colors, but keeping it cohesive as well.

Photobucket

Once most of the basic surface was covered, I worked on the little details.. the piles of bones, the Dais, etc.

Photobucket

I tried to bring out more and more forms with each layer of paint.  I was working quickly enough that I was still able to do some wet into wet blending...

Photobucket

Here you can see the dais included.  I also began getting some paint on the rest of the structure at this time:
Photobucket

The colors on the back wall will have to match the pastel paper I am using with all my drawings, so I needed to go even lighter on those sections...

Photobucket

This was the last of what was done yesterday, as it was getting very late!  Today I am doing a lot of work on the interior side of the upper level!

Photobucket

Turning sketches into Tomb Art: Armies on Parade

Photobucket

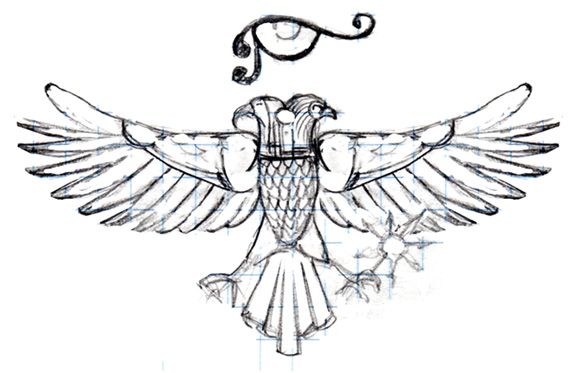
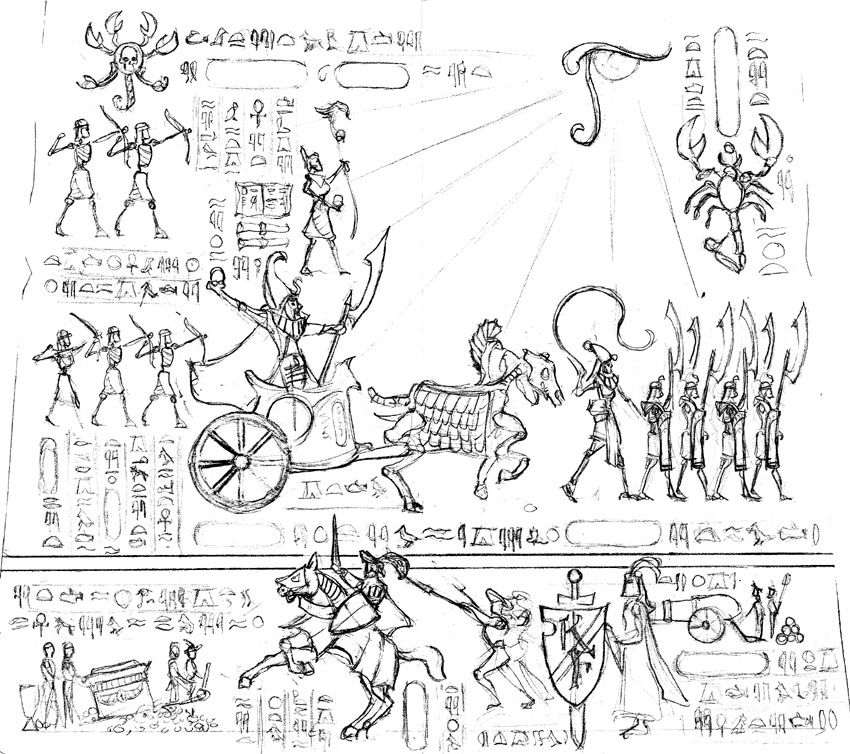
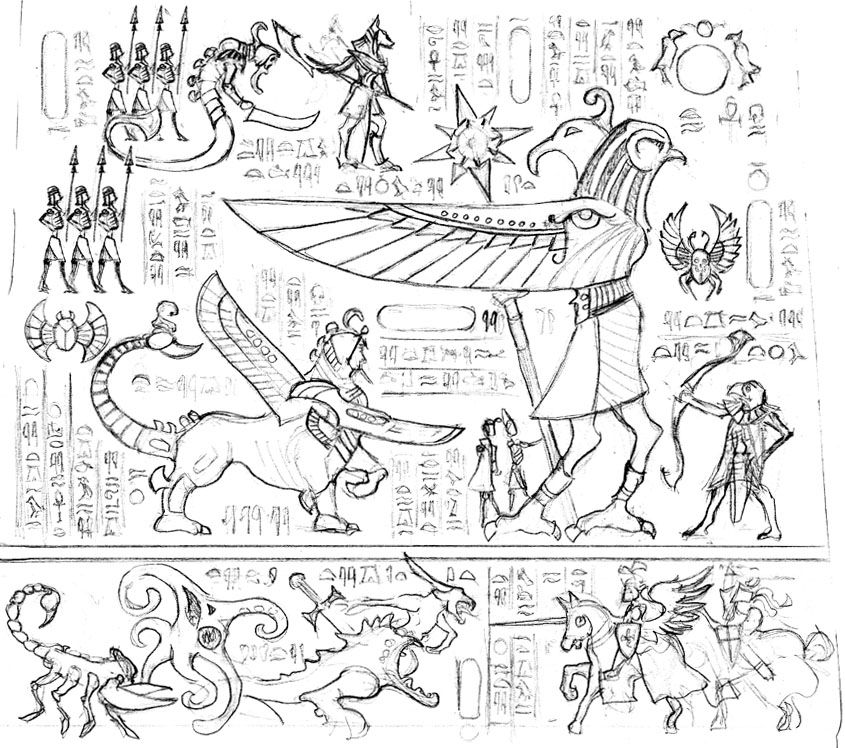
As the upper level of the display board moved on, it was time to turn the rough sketches I had made for the back wall into something usable.  At first, I thought it would not take very long to make finished. to scale drawings at full size.  I realized this was not the case!  It took much longer to make drawings that had enough detail to cover the two sections of the back wall.

I wanted to give the viewers at least a general idea of the story behind the Tainted Pharaoh and his new patron.  Lots of research was done using my 900 page reference book on Egyptian Tomb Art.  I knew that size matters, and that the most important characters had to be bigger, and so on down the line.  I tried to reflect this in how I drew the main protagonists. 

I also wanted to see some of the Tomb King units represented in pictorial form, so that it would not simply be a mimic of ordinary Egyptian art. :-)  Here is waht I came up with...

Photobucket

Photobucket