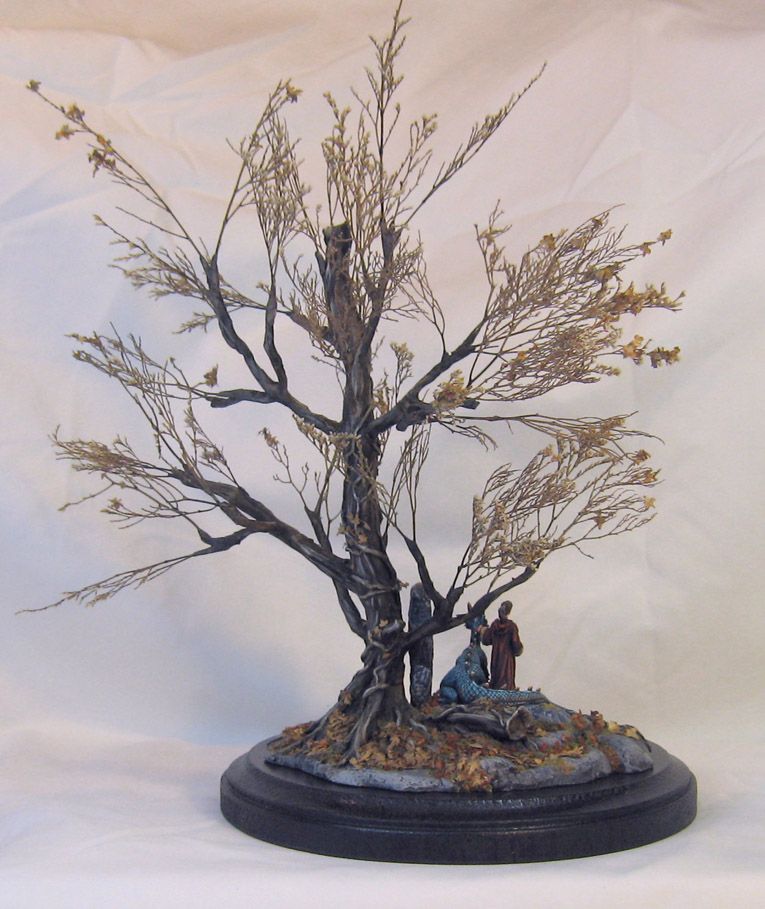
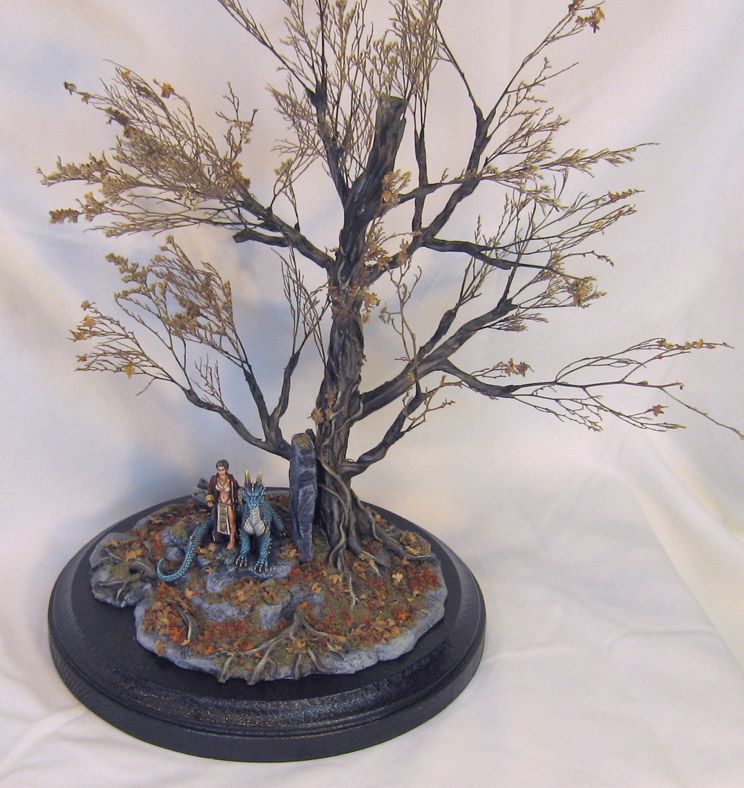
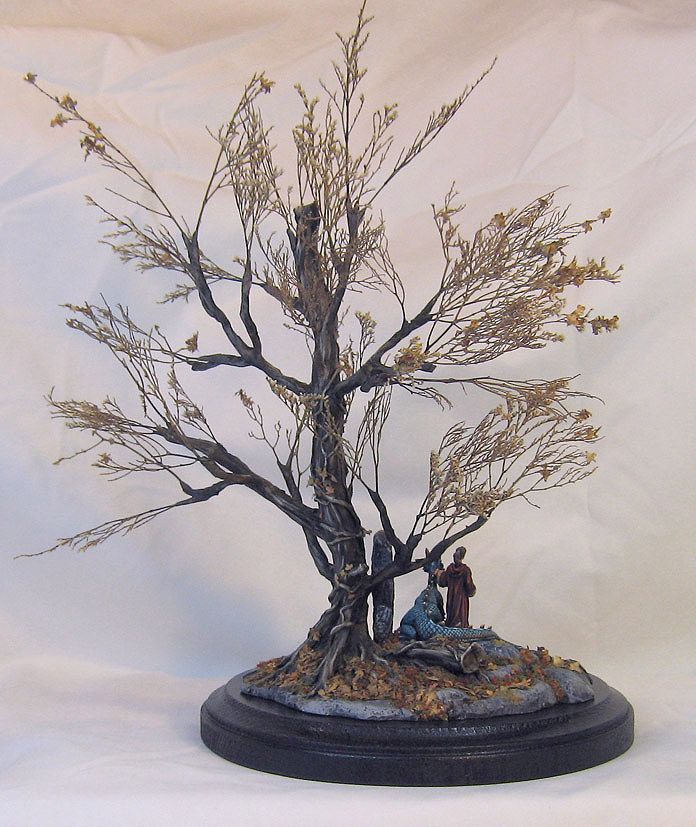
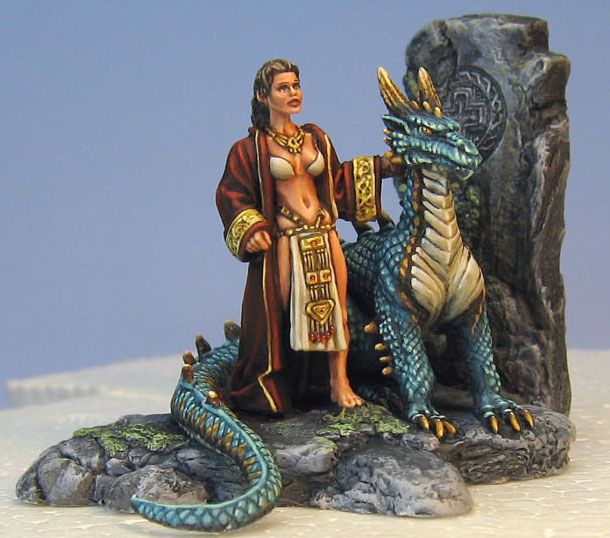
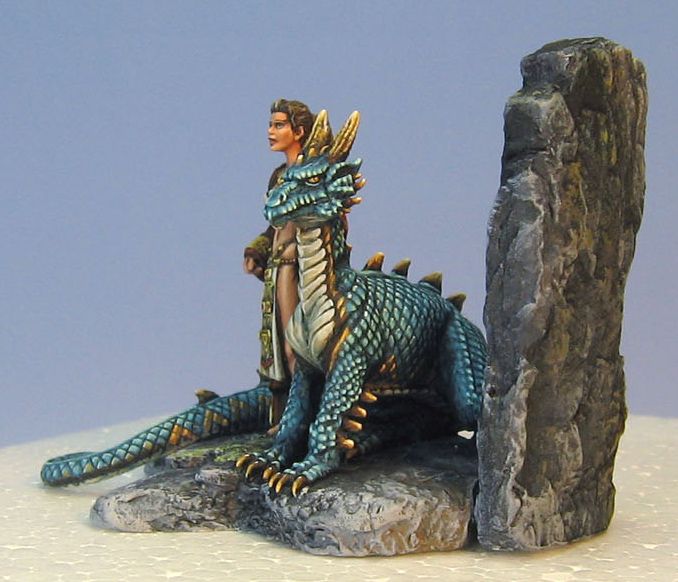
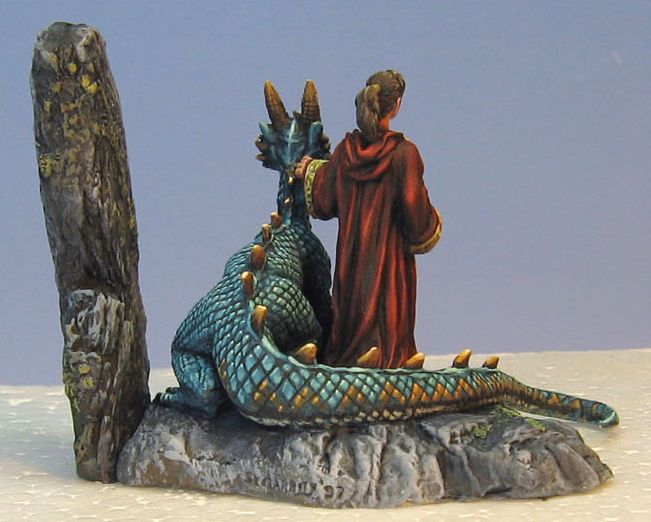
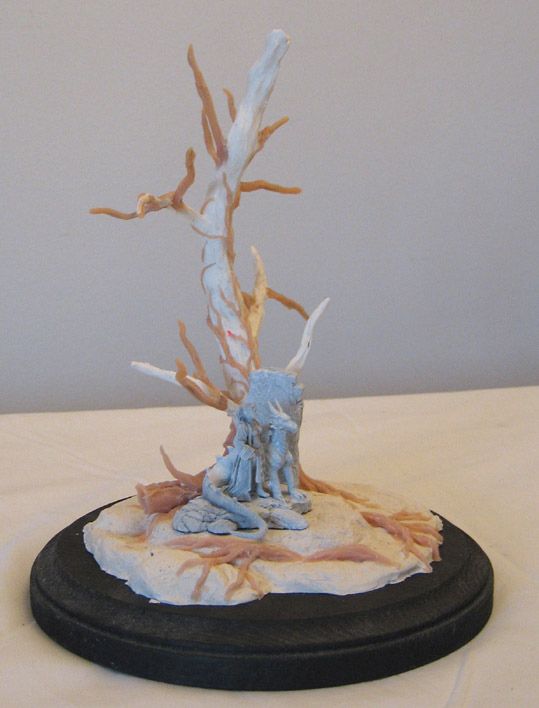
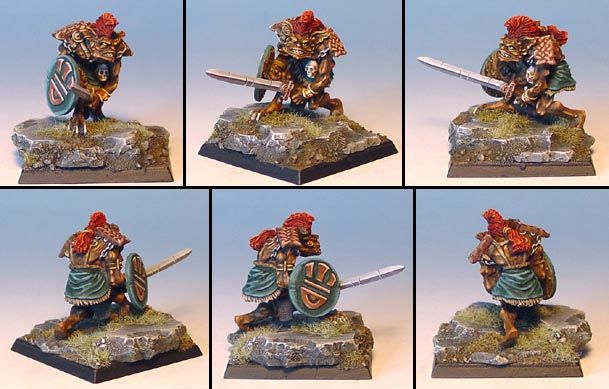
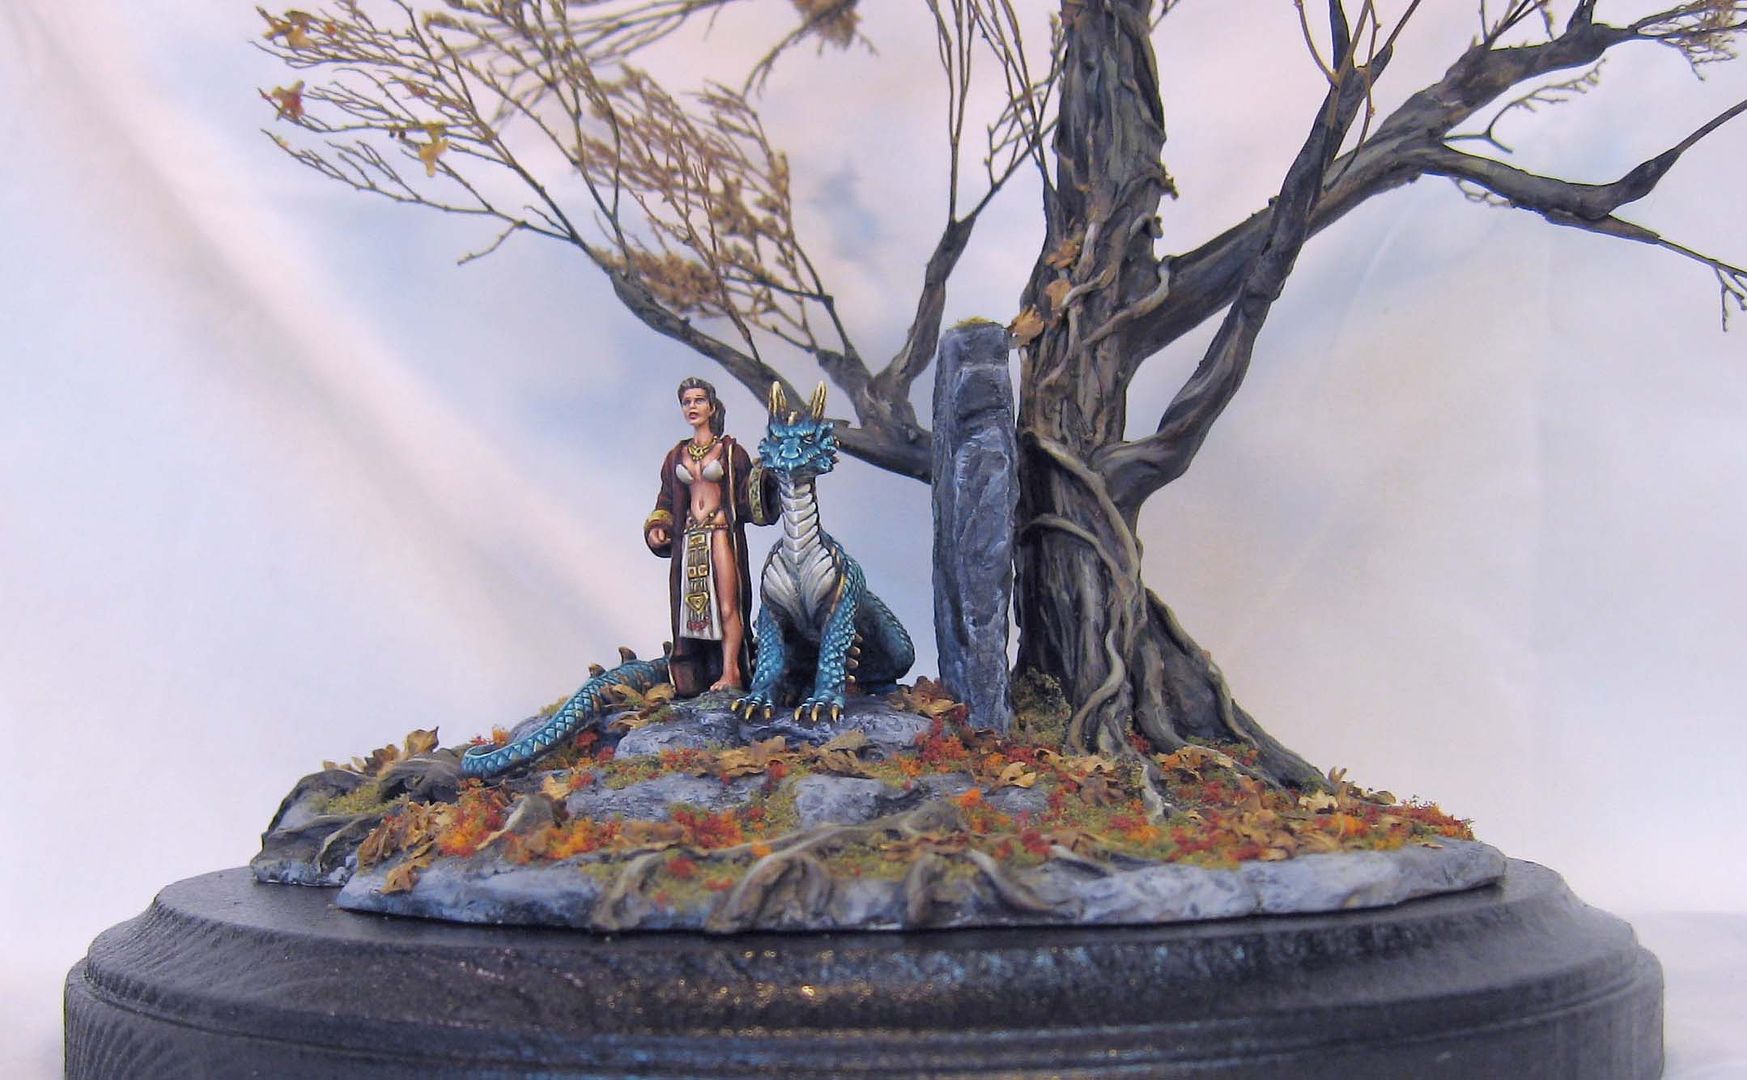
Here is something a bit different. Between 2004 and 2006, I did a number of dioramas such as this. They were based mostly on Larry Elmore paintings (the inspiration for many Dar Sword miniatures). This one is called Druid's Stone.
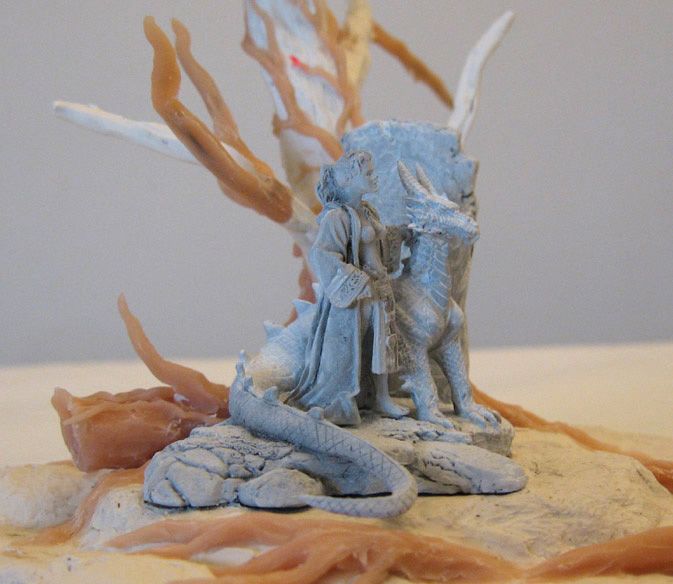
The tree was made from sculpey, and the branches were created with dried foliage The miniatures were painted and then attacxhed to the diorama base.
Now for the work in progress images:
A collection of images that feature my painted miniatures. It features many of my award winning figures and terrain pieces painted since 2001.
Pages
- Home
- Blood Bowl Teams
- Step By Step: Painting a Predator
- Using the 'Shaded Basecoat' Technique to paint Saurus warriors
- Step By Step armor for Tomb Kings Horsemen
- Step by Step painting of a Gamezone Cold One
- Painting a marble and tile flying base
- How I photograph my miniatures: A window into my photo booth
Wednesday, March 21, 2012
Dark Elf Hydra on sculpted bases
Unidentified Painted Miniatures... who made these?
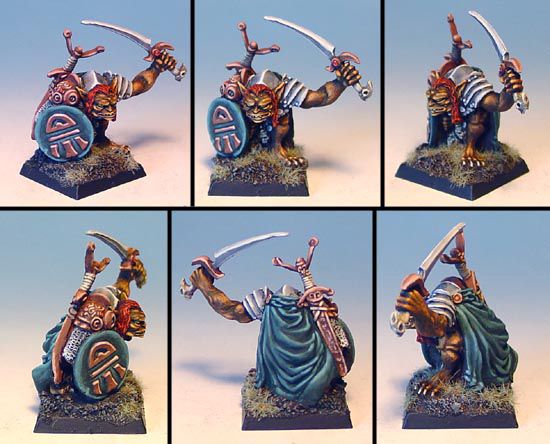
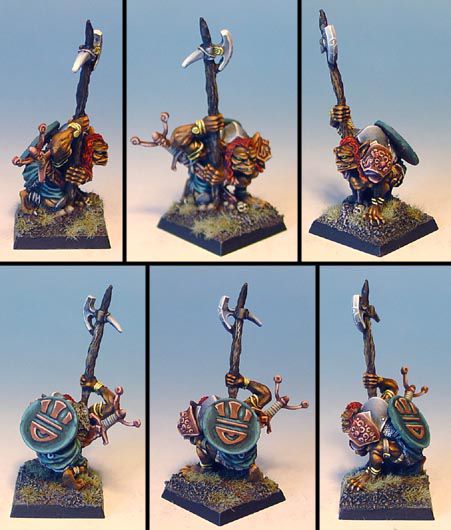
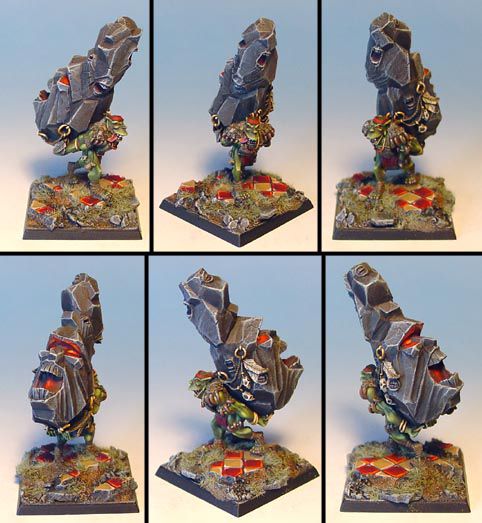
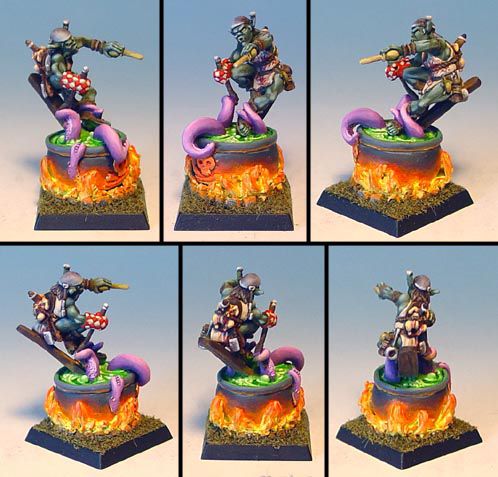
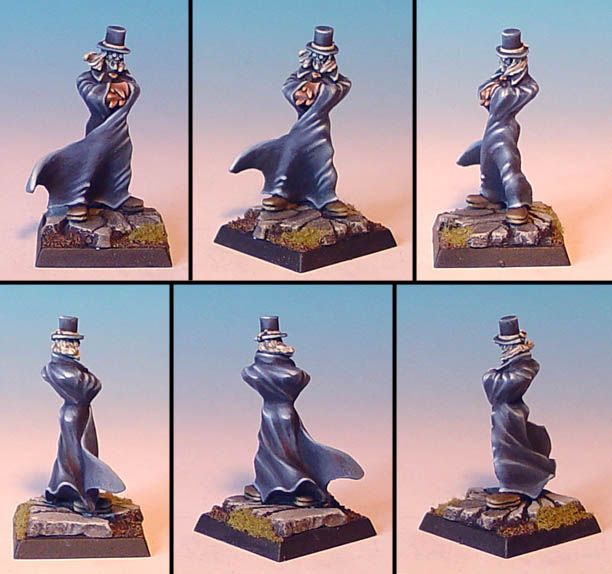
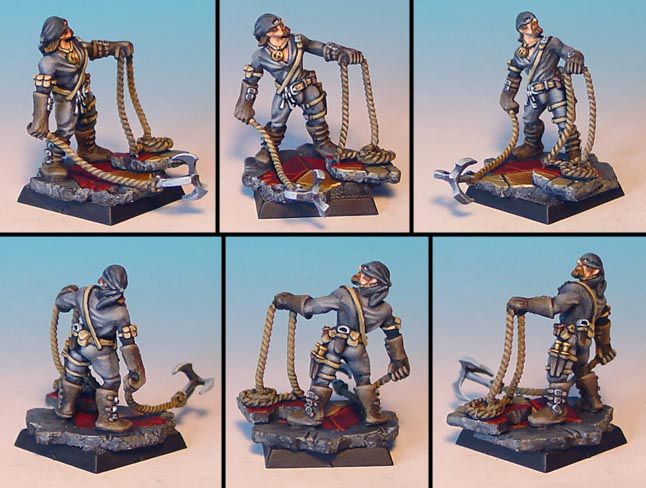
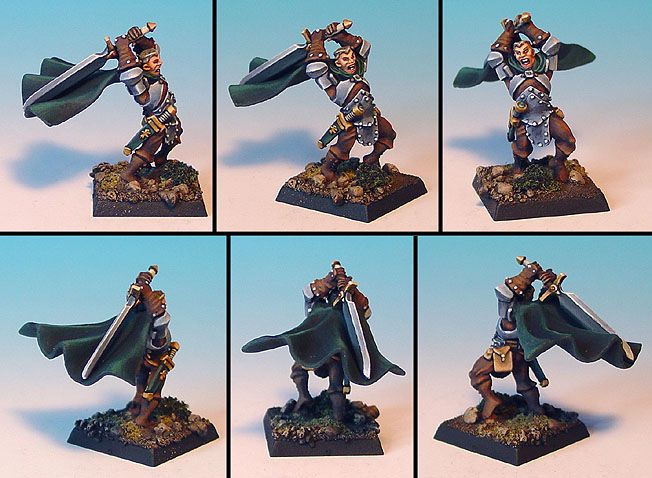
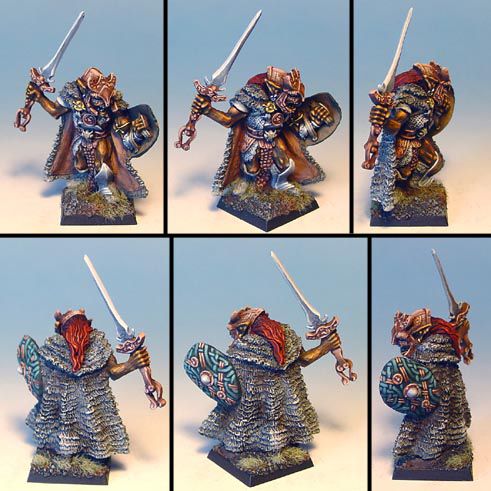
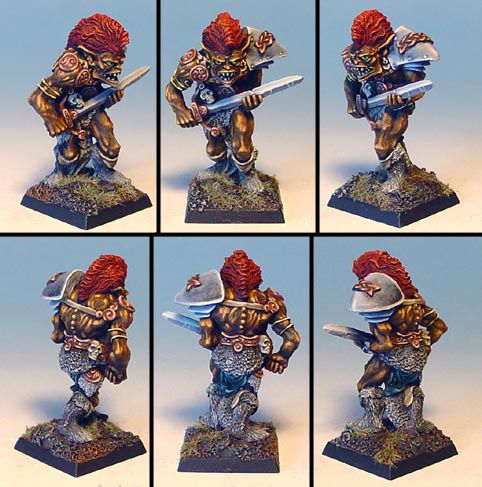
Here is a gallery of minis I painted 7-8 years ago. I think one of them is a Heresy mini, and an orc belongs to the Rackham line. Aside from that, I have no idea who made the rest.
My apologies for the small size of the images! After all, it was many years and a few cameras ago!
I liked the Fomorians... I thought they were fun.
My apologies for the small size of the images! After all, it was many years and a few cameras ago!
I liked the Fomorians... I thought they were fun.
Adepticon Team Tournament army: Civil War Dwarfs!! Bull Centaurs
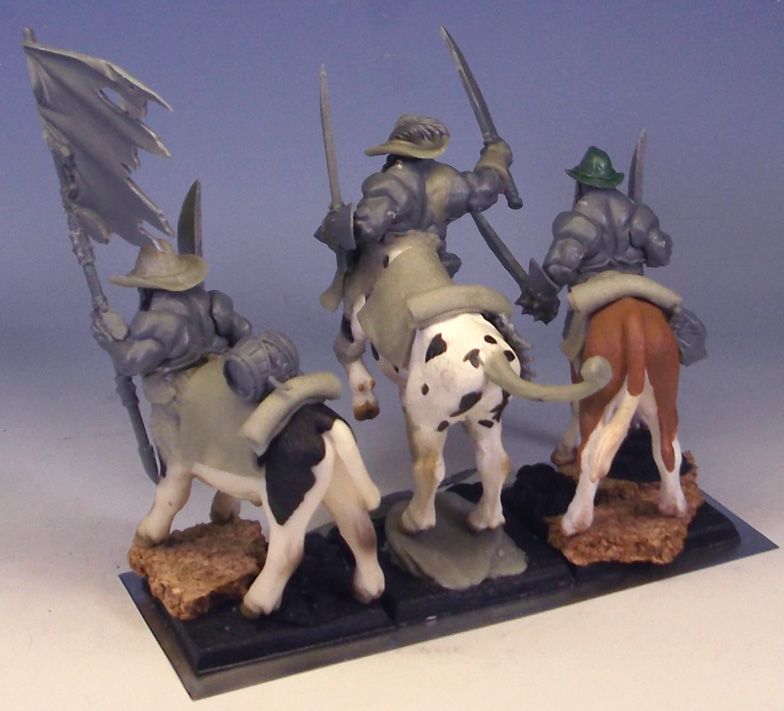
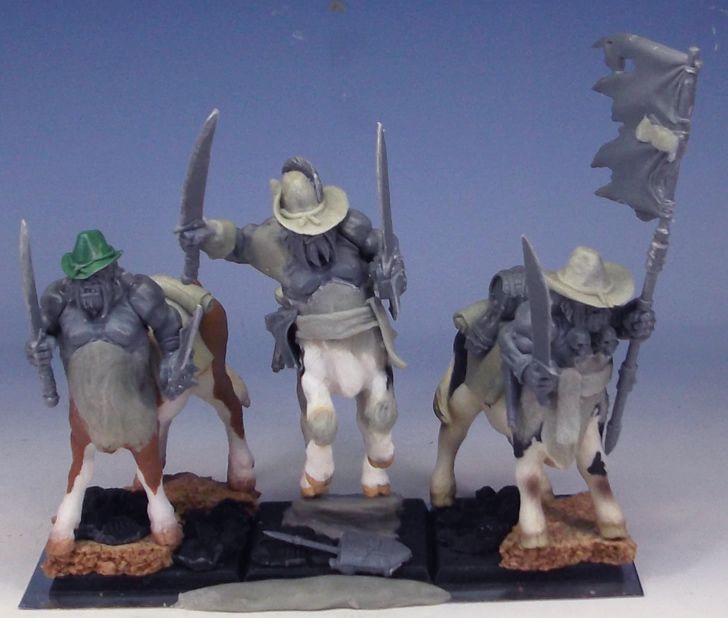
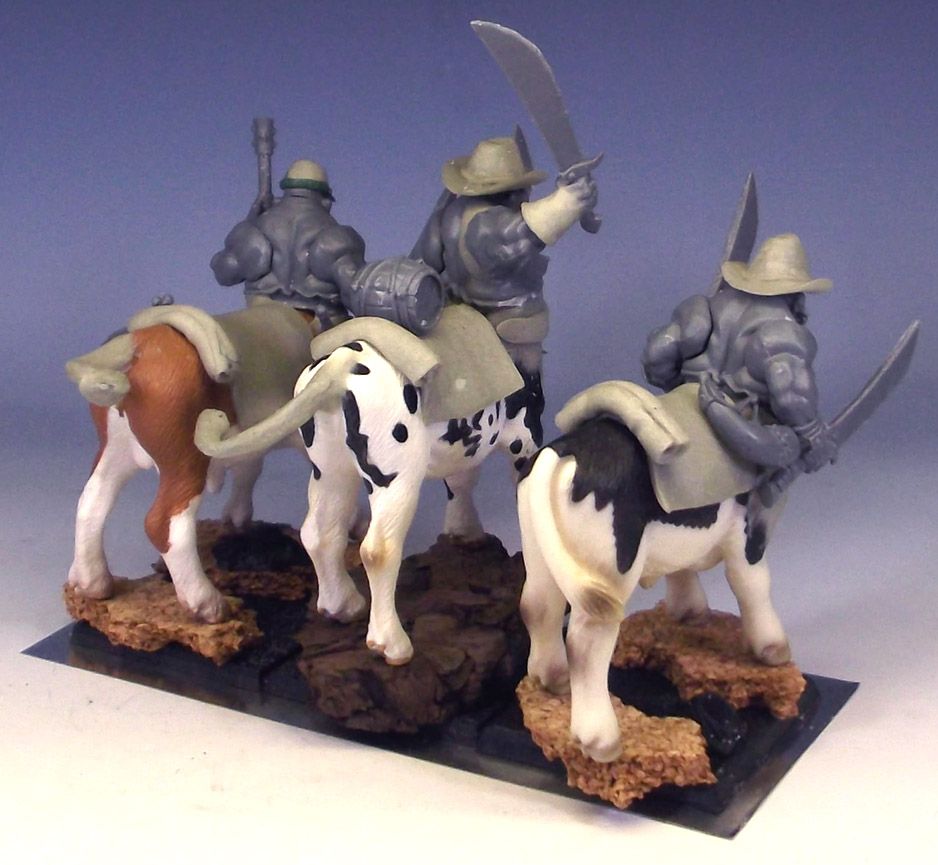
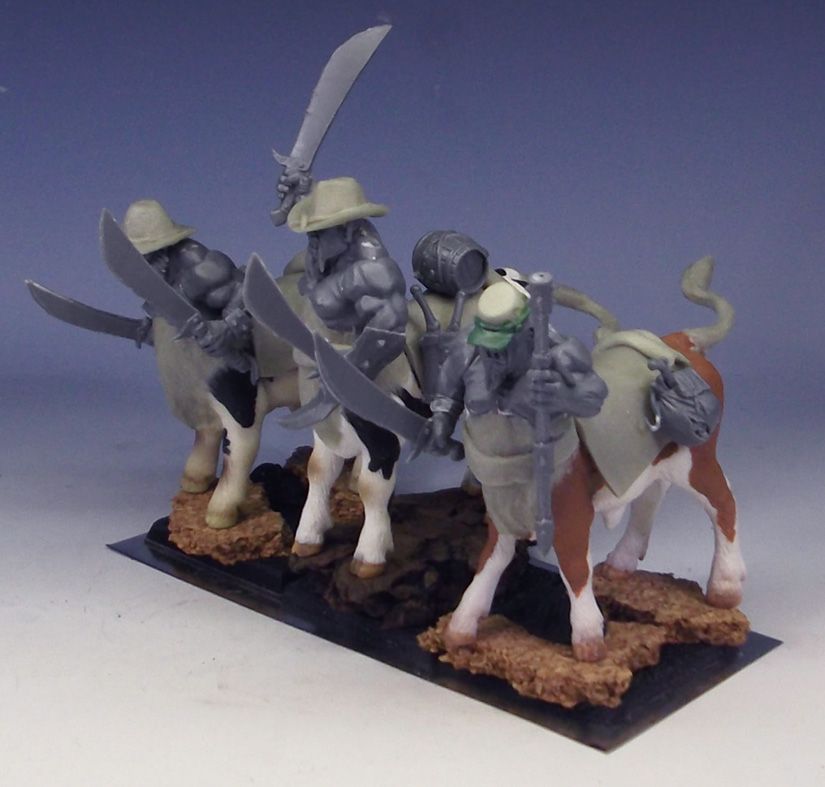
All right. As promised, the gallery of Bull Centaur WIP's!
On Sunday, Marty and I played a quick test game in which we discovered that the bull centaurs were nothing like previous incarnations. Had we played them like the dragon ogres that they are, our game would have been much different! Three wounds at T5 with the 3+ save is pretty nifty, and explained the vast points sink.
They hit pretty hard as it was, so we are looking forward to one more test game.
I did realize, however, that my current conversion of the old metal bull centaurs would just not cut it. They would look too puny on 40mm bases. My new versions are pretty huge in comparison, but they look much more cohesive with the rest of the army, as seen in the original post.
The next day after the crazy test game, my wife and I hit a hobby store on the way home and bought 6 plastic toy cows. It was difficult to judge the size in the store with no other miniatures to go by, and no bases (this was all very spontaneous!). Knowing that I was going to use ogre bodies which we had been saving to make dragon ogre conversions, we went with a slightly bigger version.
The toys were a bit rubbery, but at least it made them easy to cut!
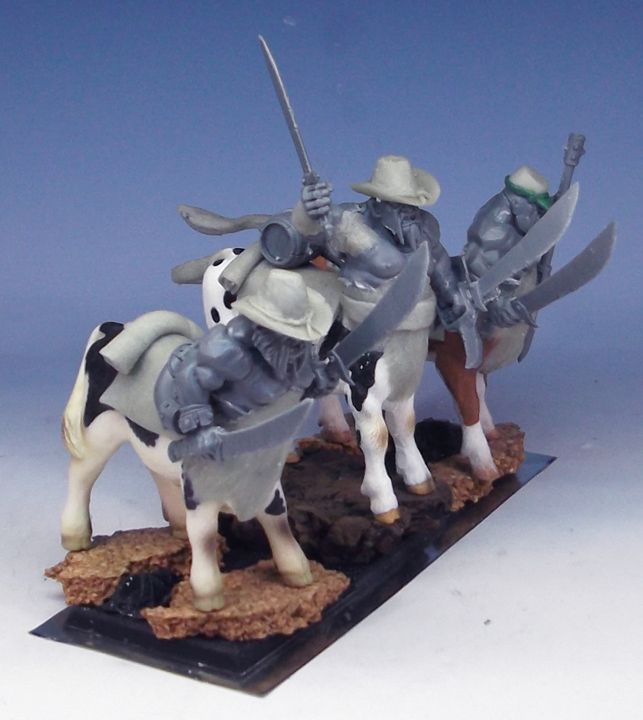
The heads were lopped off, and I started gluing ogre torsos onto them. I had to fill some large gaps with Apoxy sculpt, which is the grey material that you see in the photos. The weapons had to be fudged a bit, so that they looked a little but like sabres. Plus, there are no left handed swords for the ogres. More conversion.
I did the assembly knowing that they would be wearing field coats, sashes and cartridge cases, etc. These images show the figures right before the addition of those coats and gloves. The bases are also in the beginning stages. Onto the pictures!
This is JEB Stuart's unit:
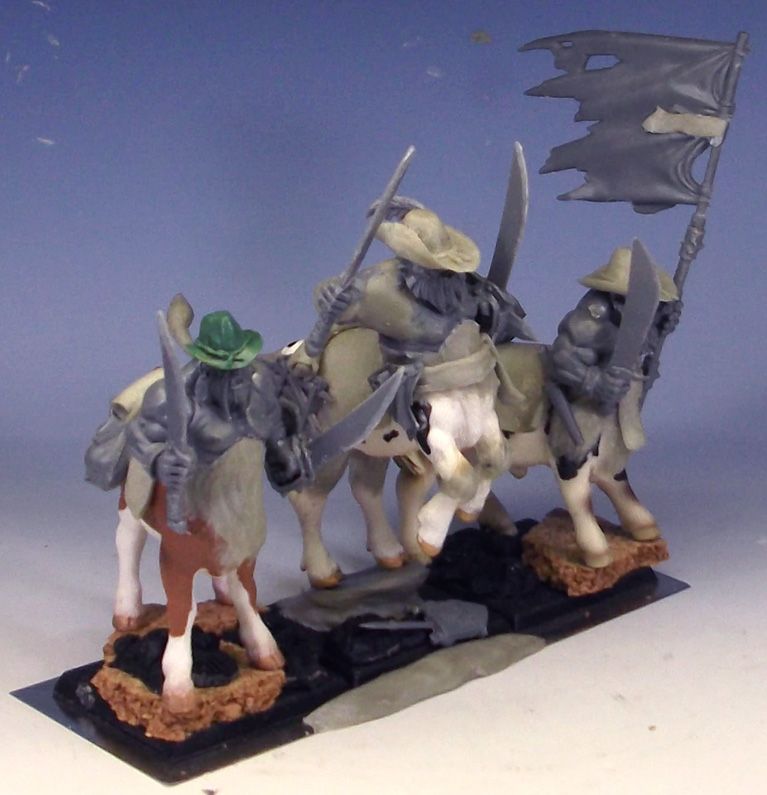
And now for the other unit...
I certainly had to learn some new sculpting techniques in a hurry! I am now very adepts at sculpting hats. The Apoxy sculpt can hold an amazing edge, even when it is paper thin. So different from green & brown stuff. However, it does not stick to other materials as well.
That's it for now. Stay tuned for much more!!
On Sunday, Marty and I played a quick test game in which we discovered that the bull centaurs were nothing like previous incarnations. Had we played them like the dragon ogres that they are, our game would have been much different! Three wounds at T5 with the 3+ save is pretty nifty, and explained the vast points sink.
They hit pretty hard as it was, so we are looking forward to one more test game.
I did realize, however, that my current conversion of the old metal bull centaurs would just not cut it. They would look too puny on 40mm bases. My new versions are pretty huge in comparison, but they look much more cohesive with the rest of the army, as seen in the original post.
The next day after the crazy test game, my wife and I hit a hobby store on the way home and bought 6 plastic toy cows. It was difficult to judge the size in the store with no other miniatures to go by, and no bases (this was all very spontaneous!). Knowing that I was going to use ogre bodies which we had been saving to make dragon ogre conversions, we went with a slightly bigger version.
The toys were a bit rubbery, but at least it made them easy to cut!
The heads were lopped off, and I started gluing ogre torsos onto them. I had to fill some large gaps with Apoxy sculpt, which is the grey material that you see in the photos. The weapons had to be fudged a bit, so that they looked a little but like sabres. Plus, there are no left handed swords for the ogres. More conversion.
I did the assembly knowing that they would be wearing field coats, sashes and cartridge cases, etc. These images show the figures right before the addition of those coats and gloves. The bases are also in the beginning stages. Onto the pictures!
This is JEB Stuart's unit:
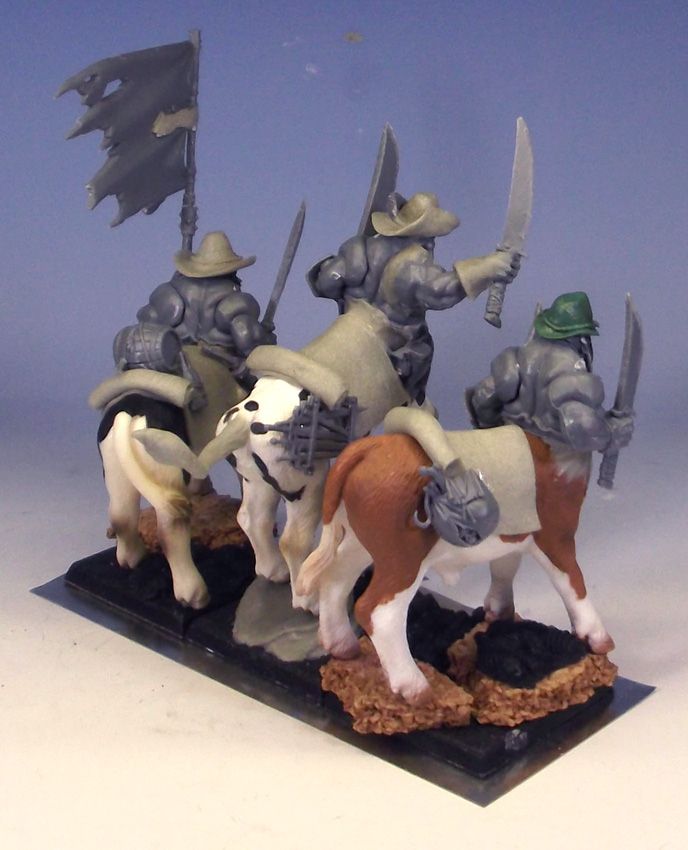
And now for the other unit...
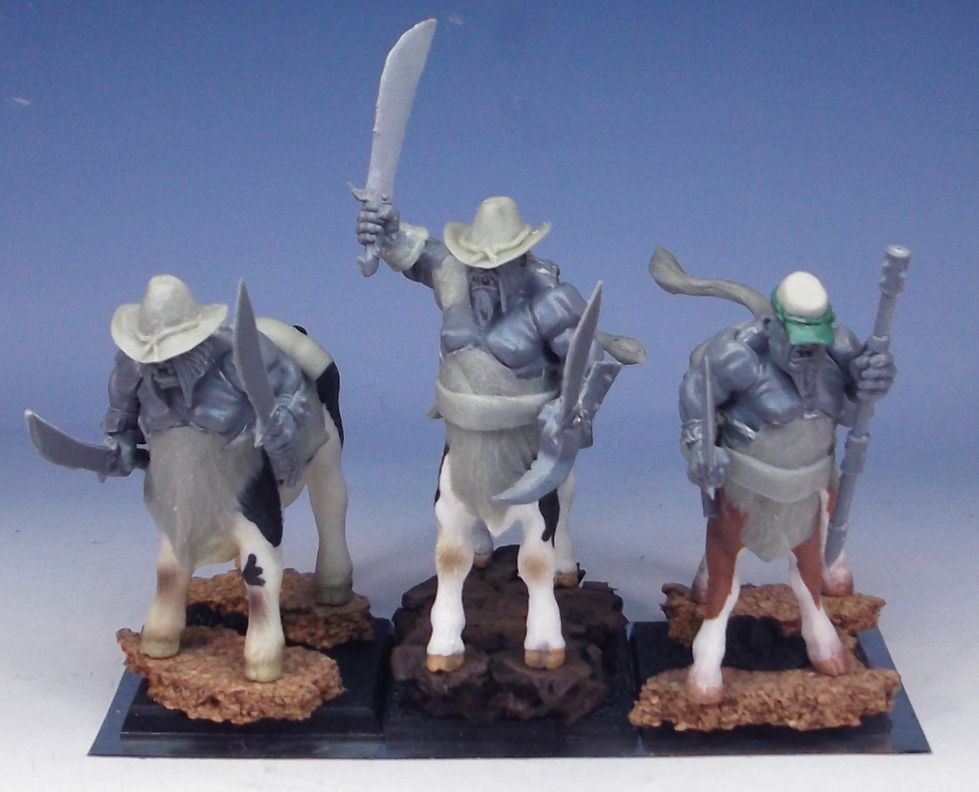
I certainly had to learn some new sculpting techniques in a hurry! I am now very adepts at sculpting hats. The Apoxy sculpt can hold an amazing edge, even when it is paper thin. So different from green & brown stuff. However, it does not stick to other materials as well.
That's it for now. Stay tuned for much more!!
Subscribe to:
Posts (Atom)