Glazing! We have an array of glazing materials out here, including some of the Secret Weapon washes. I have a range of reddish umber to more green/brown, all the way to blue and black.

Beginning with these blue and black glazes, I started to hit the darkest recesses of the metals. This is the key... glazes are controlled washes, so you target certain areas with them.

The glazes out on the palette. These are used in more of a watercolor fashion. They will be mixed together, and also with water.

So, a more pure mix is placed in the recess...

And the outer edge is drawn away using a watered down brush, holding it at an angle. You can see how the hard edge is gone, and it is 'feathered' to nothing! :-)

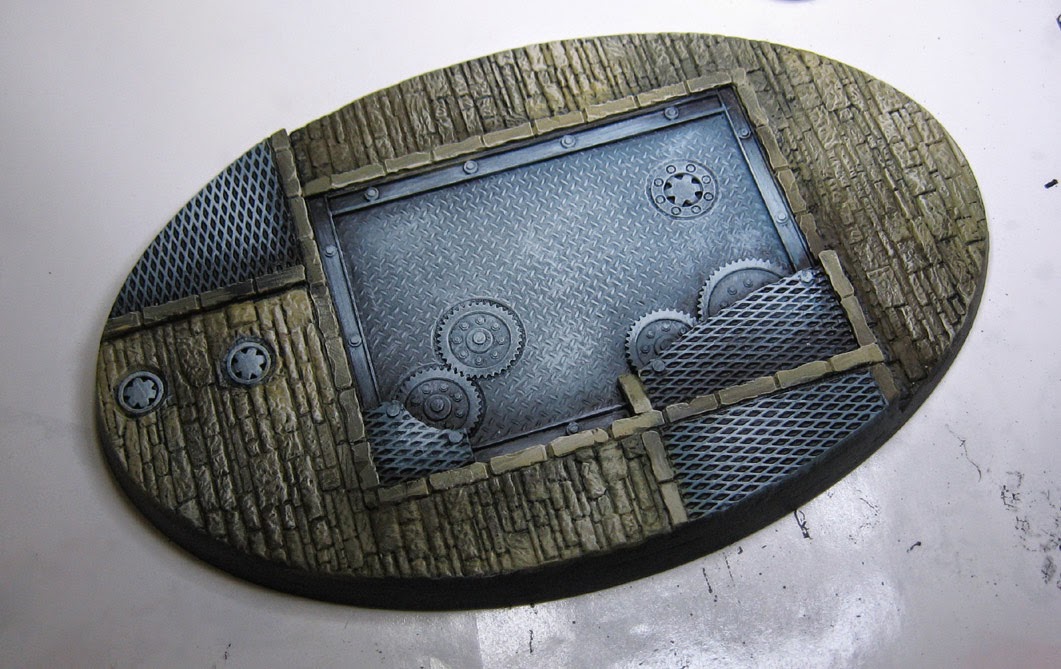
This is done in many areas of the metal, trying to create a variety of light and shadows. Notice how the lighter colors of the stone work are much more visible with the increased contrast.
I did something very similar with the stone work, using the sepia, armor wash, and baby poop. I also mixed in the blue and black in places, so that some parts would be 'warmer' and others 'cooler'.

Once again, the idea is to make the lights lighter by doing what is called "negative painting". That means painting the dark areas around a lighter color, as opposed to piling up layers of lighter colors.
I have said many times that several transparent layers take less time to apply than on or two opaque layers!

Now for the Reaper liner paints. I LOVE these. I use them all the time. They are super high pigment colors, but they are very dark. They are also relatively thin, which means that they can be excellent colors for enhancing dark areas with semi- transparent applications.

With these darkest colors, I began enhancing the lines between the stones, and also darkening entire blocks, so that it looked like it was either stained or a different type of stone altogether.

Now we are ready for weathering! Stay tuned!