Showing posts with label Reapercon 2015. Show all posts

Friday, May 8, 2015

Reapercon 2016: A clear future?


Working from my experience of last year's Reapercon, I learned that I could use the time before and after classes in the Main Hall to supplement what was done during those classes.

Time is always too short, and it seemed like continuing the lessons downstairs would give folks a way to apply what they had just been taught in a more controlled and supervised environment.


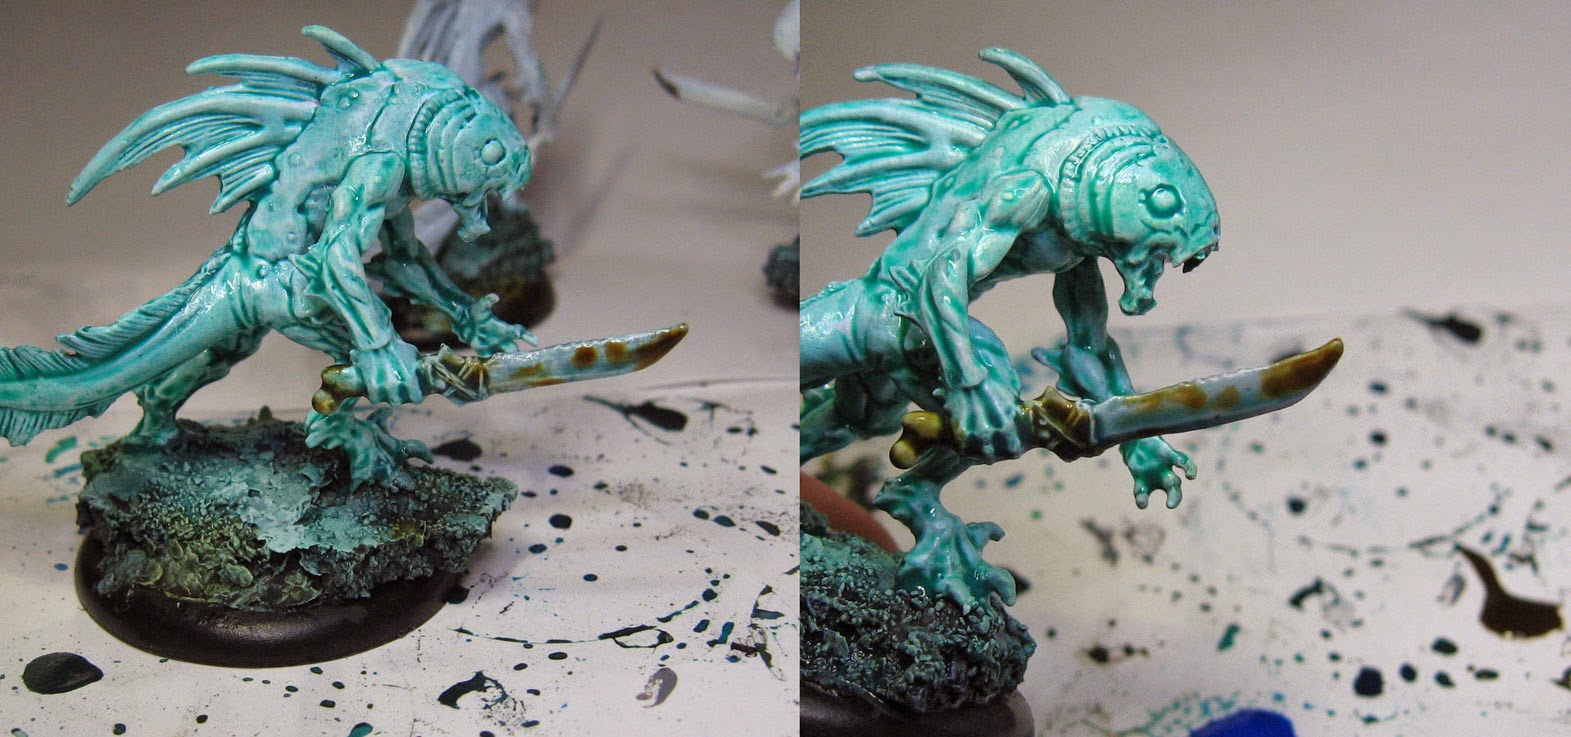
A number of "spot demos" and other learning events took place in the tables spread out through the Main Hall.  Since Reaper works so hard to have power at each of those tables, it makes this prospect even easier!!

In this example, we tried to examine a new take on the fire giantess, exploring the advantages of the Shaded Basecoat.


We grabbed a few paint colors from the rack, and set about turning our semi Shaded Basecoated figures into "Baberogs"... creatures made of lava.  Like a Balrog.


It didn't take long to reverse course and start adding very light colors.  These would be the base of the hottest areas.


A new Wappellian (and fellow baseball fan), does some very nifty brushwork on his giantess, which you will get a better look at later on.


While we didn't have the fluorescent paints, the Reaper clear colors helped us to create some nice translucent heat effects.

This would plant some seeds for future possibilities.


Work continues on both the base and the figure, getting darker each time.


Side by side!  The hair, lava and weapon are really taking shape!


Mine, on the left, is going to get a number of glazes.  We felt that leaving the other giantess with its existing cooler colors on the armor on other areas would be a neat experiment.


Check this out!  I was amazed to see the Giantess reappear the next day with this spectacular cracked lava skin tones!  Incredible idea.

Notice how the chunks of lava vary in size and intesity, and how they were made to look a bit like tribal tattoos.  That touch was simply pure genius!

This is why I tell every class that I learn as much from you, and why I love these post-class soirees!!


During the Glazing class, we experimented with a few of the Reaper clear colors.  I had only seen the Red clear, which I had used in blood effects.

Just a few moments of testing the clears made me think that much more exploration was required.  I asked the folks in the class if they would like to have a class based on these very interesting pigments.

The vote was unanimous, so I am hoping to put together some neat elements for a class in 2016!!

The class also joined me in my quest to have a new liner paint created.  We all made the sad puppy faces at Anne the paint alchemist, and she agreed to take a look.

It turned out to be a very fun challenge for her, and thus a new liner will be joining the other amazing pigments.  Yay!!!


Thursday, May 7, 2015

Round one: Notes from Reapercon


Howdy, partner!!

Reapercon 2015 was an amazing event.  

Having the previous year's experience to fall back on was invaluable.

As you can see, the classrooms got a lot bigger!

They were not quite big enough to avoid being trashed by our basing class... thanks to Mike and his fabulous bark.


Bark, Sculpey and Oxide paste everywhere!!!


Here's the table set up in the main hall, being manned by a new Hobby Lawman... from Wild West Oxidous, of course :-)


The BONES shrine.  


This year, I went out to the courtyard tables in the Main Hall, so that I could be joined in by those who were curious, or wanted to follow up on a class.  That would be one of my class veterans on the right.  He survived one after the other, mostly intact.

And my Birthday Brother from up north, Paul!  We were separated at birth by several years and national borders.


Re-convening downstairs after the classes was a great way to supplement them.  One of the things we tried to do was take the figures that were worked on in the Shaded Basecoat class, and see how easy it was to take them in a completely different direction than the original intention.

That's one of the principles behind that technique.  The ability to change things radically, since you don't already have lots of time invested in one section or another.


This was the Reaper Hall of fame banquet.  Humans and cows alike were called to the Mothership!  It was great to have Mr. Justin there as well. :-)


The wild and whacky speed painting event proved that I could 'out MacGyver' Mac Gyver.

Yes, that's me painting with my hair!  Only the finest Wappel Sable.  Very rare, as the beast can only be found on the South Side of Chicago.


Here's a quick view of the awards ceremony.  Anne gets though all of them so quickly, but you don't even realize how rapidly it's moving, as everybody is having so much fun!


And from the good folks at Parallax, the entry that won a Gold in the Painter's Category.

More to come, including pictures from the Main Hall, and a field trip to Denton.

All of the Reaper folks were incredibly generous with their time.  I have said it before, but they were beyond amazing, staying with us late into the night, enduring long days at the con, at the shop, and more.


Tuesday, May 5, 2015

The girl on fire


Here's the mostly finished Reaper Fire Giantess.


There's more that I will add to her, but the idea was to keep the working time to a minimum.  In fact, I believe it was less than three hours.


Another thing to keep in mind is that this was a BONES mini, so much of my typical glaze techniques are not going to work out as they normally would.


I will take some more images once I have added the additional touches.


Monday, May 4, 2015

Bringing down the shades

 
This Reaper Fire Giantess made an excellent candidate for one of my classes at Reapercon.
 
She was actually used for the shaded basecoat class, but let's check out some after basecoat glazing!
 
A few of the usual suspects come out...

 
As always, I try to mix a variety of deep color washes to use for the darks.

 
In this case, I was putting some darker tones on the hair, and shifting them a bit more to red.  This was something we did a LOT in the glazing class. Shifting and tinting...
 
 
The same sort of shifting and tinting goes on with the back of the armored cape, placing dark reds to match the proximity to the lava.

 
More structure is created with each dark glaze, getting down into all the hard to reach shadow areas.

 
The armor plates on the legs and the hair are developed more with each layer...

 
This development moves up through the torso, while I also begin to set up the framework for the lava reflections.  Standard use of Vallejo fluorescent paints as well!

 
Things are starting to take shape as I have created enough cooler dark shades to compliment the reflections.  I am also refining the skin tones.

 
A lot more work on the face, and highlights on the hair, making sure that those are more towards the cool side.  Let the lava be hot!

 
The hair is refined more with each layer.  Sometimes I had to go back and forth with adding more shadows, or adding more lights.

 
Ready to go!!!


Tuesday, April 28, 2015

Gone fishing... time for Reapercon 2015!


It's that time again... time for all good little kiddies to get their filberts and craft brushes ready to do some fun painting at Reapercon!!

As you saw in the last post. I was hashing out the colors on the Reaper Fishman.  It's at this stage that I start to mix other dark colors with the washes.  In this case, Reaper Blue liner paint.

Those who frequent the blog know how much I love that stuff!  It's got a lot of pigment, but it is still somewhat translucent, and very thin.  This makes it an ideal addition to the darkest glazes.


With those dark glazes completed, it's time to move on to that fun mixture of regular light paint colors and the washes.


I mixed a small amount of light flesh color with the green and with the blue washes as well.  This created a few middle tones that were both opaque and transparent.  They are excellent for evening out any rough areas left by the glazes, and add some depth to the overall color.


I worked my way around the figure very quickly to build in more definition and detail.  Another factor to keep in mind is that all of this has to take place in about 25 minutes maximum.


This is what approximately 30 minutes of total glazing can yield.  Not too shabby :-)


This is fun.  When I worked with watercolors, I used to take a few special colors that had an odd chemical property and "drop" them into existing washes on the paper.

The colors would react to each other, often repelling each other, and creating very nice random effects.  I took a few drops of Vallejo Sepia was and added them to the storm cloud Secret Weapon wash.

Now it has a very corroded look in about 3 seconds of work!  Life is so hard sometimes...


A little stage by stage setup.


The three figures to the left are the figures I will be using during the initial demo.

Since I don't have time for washes to dry, I wanted to have one that was all set to go, so that I could grab it and keep up the rapid pace, leaving more time for the students to try this out for themselves.

As always, the goal here is not to create a masterpiece, but rather to bring out the essence of the technique, and make it something that is easier to absorb in a short period of time.

Eventually, I want to do this sort of thing via Google Hangouts.


Monday, April 27, 2015

All the fishies in the deep blue sea.


All right!  Some fun with glazing, just in time for Reapercon classes!

Let's get things started with some fish dudes...


And bring out some handy wash colors.  We have a fun selection of Secret Weapon washes on the right, and a few Vallejo washes on the left.

The miniature is not completely white, but I did much less action with the shaded basecoat.  I wanted to do as much with glazing as possible.  Since this is all about the glazing class, I need to get much deeper into the various elements right away!


The colors arrayed on the palette.


I started adding glazes to the base, darkening the edges a little more, and using sepia around the bottom section...


Here's another base.  I am trying to create a bit of a spotlight effect, almost as if a diver is shining a light on the sea floor.


I took some of the green Secret Weapon wash... adding a touch of the cool grey.  This is just an initial layer, one that will be built upon several times with additional glazes.


Some of the very bright blue was mixed with the cool grey, and I started to darken the carapice and fins.


Keep in mind, I am pushing this much more than normal.  Typically the color would already by here via the Shaded Basecoat.


Another darker layer is added...


Looking at the other side of the figure, prior to these darker shades, illustrates the difference.

In the next series, I will be working in 'regular' paint colors into the dark areas, plus mixing light colors together with the glazes.

I want to demonstrate that semi-transparent light color scenario which you see me use so often on my own minis.  Stay tuned!