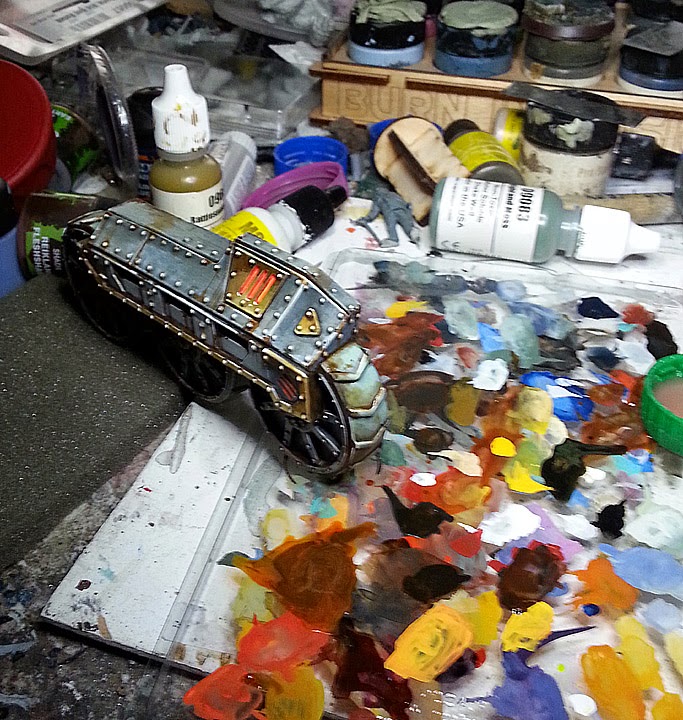
When we last left our massive heavy support vehicle, gravity was being used to help make the washes flow in the correct pattern. Again, the idea is to get the darker shades towards the 'top', leaving those lighter colors to show reflected light.
That glazing must be done across all the various surfaces in this manner, which is another reason why I didn't assemble the entire thing from the beginning.
I have the ability to hang onto these pieces at any angle, without wiping away any paint from raised areas such as rivets...
More layers of darkness!!
At this point, I wanted to see if things were shaded dark enough for my RJ-1027 lighting effects, glowing freehand, etc.
Obviously, lots of Vallejo fluorescent orange and yellow!!!
I am also starting to pick out some highlights... balancing that against the brightness of the RJ glow...
Here's a look at the fluorescent paints, and the effect on the rail gun. In this case, I started with the lightest color of the glow, and gradually worked the edges darker and darker.
Glow complete! Ready to blast some Outlaws and Abominations!
Time for rust effects!!
Done in the same method as before... mixing regular paints with the Secret Weapon orange wash. The chemical properties of the orange wash are such that you get some wonderful random effects when it's mixed with those 'regular' paints.
You can see why I made the wheels the cooler seafoam green, so that I could have my brownish-orange rust/stains show up even more prominently.
A bit of rust and staining on the prow. Once all the weathering was complete, it was time to put it all together!!! Yay!! Stay tuned for the finished images :-)


