
With the Shaded Basecoat technique complete, it's time to get to work on the Glazing stage. I have a few glazing colors out from Secret Weapon Miniatures and Vallejo. Each of them have very different properties.
The Vallejo glaze colors are thicker, and even somewhat opaque in a few cases. But, since they dry to a dull finish, I like to mix those together with the Secret Weapon washes, which can be a little more glossy.

That's one of the things I really want to show here... that glaze colors can be mixed together, or even be allowed to mix together randomly on the surface. This way, you can make any sort of glazing color that you require.
Also, by Glaze, I mean a very controlled wash. The idea is to target very specific areas. You are not taking a giant blob and washing down the entire figure at once like dipping.
I put out a number of glaze colors on the palette, so that I can make those mixtures more easily.

I really like to mix the blue with a sepia color, since that can be more greenish, more brown, etc. Should I not mix them together too thoroughly , they will do that random color transition that I mentioned earlier.
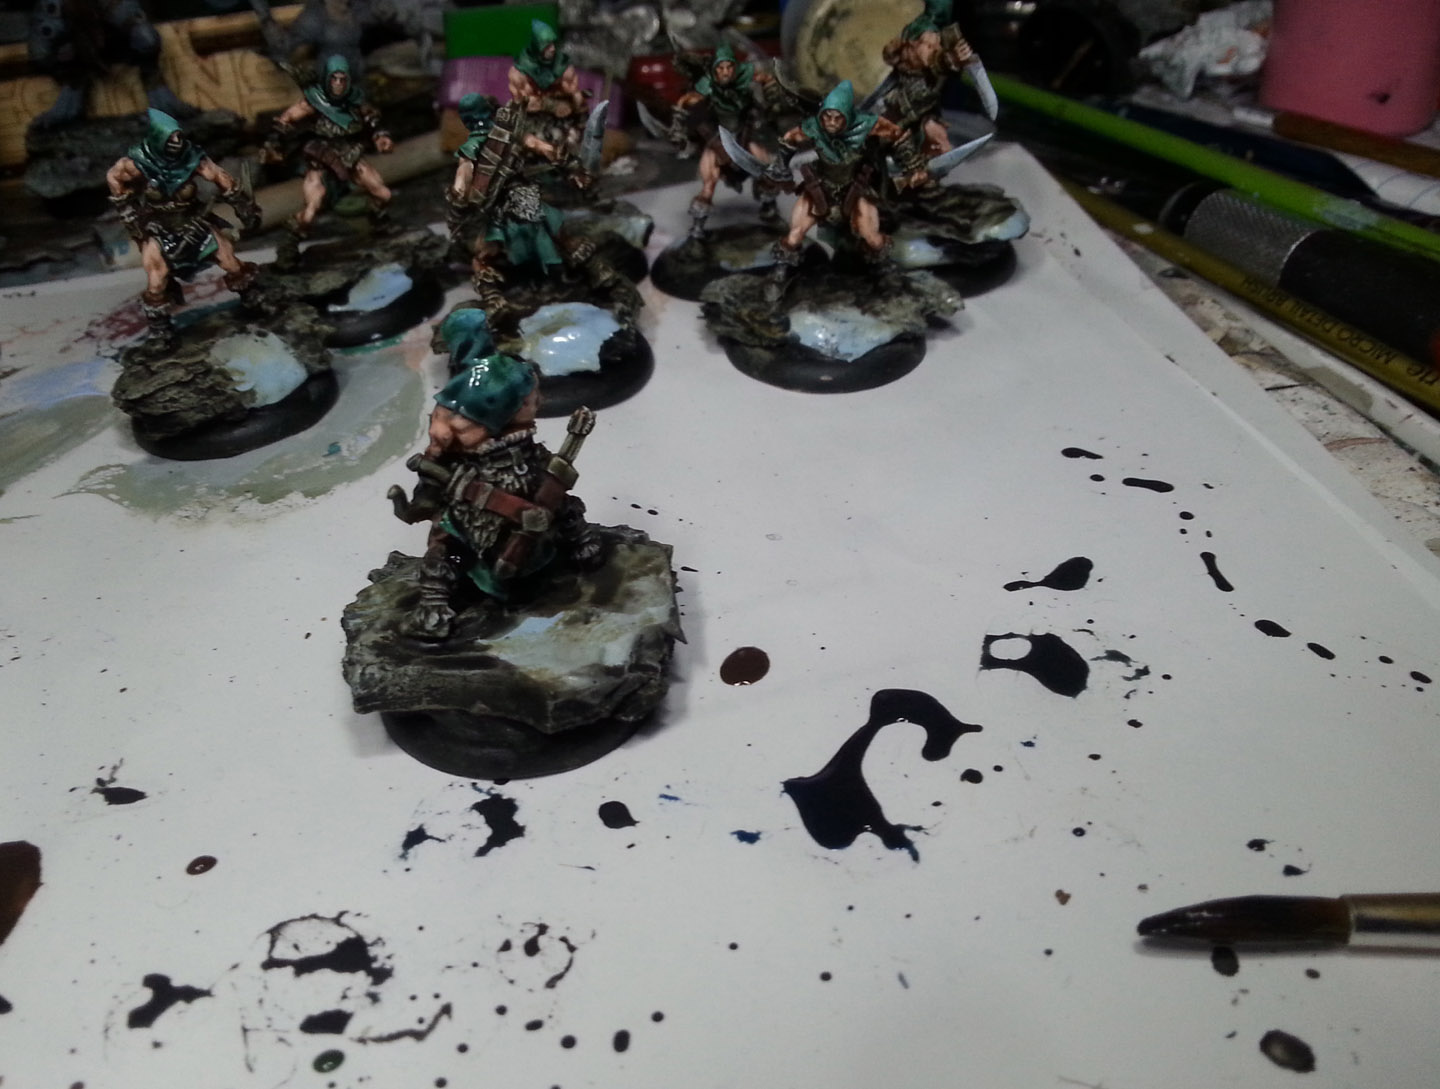
I applied these glazes to the bases, changing from a black/sepia color to umber to a blue/sepia mix.

While the glaze was still wet, I took a piece of tissue and dabbed away at certain points which I wanted to be lighter. This is a watercolor technique that I used to employ in my 2D art, and it's very handy here as well!!

These glazes were also brought up onto the boots, so that both the boots and bases would tie together a little more.

This black/umber/sepia and blue mixture was also used on the fur sections. It's one of the main reasons I used the same few colors early in the Shaded Basecoat phase, because I knew the base and the fur would be very similar in color... and that the same glazes would work to shade and tint them.
Tinting is something that will be emphasized more on the hoods and cloaks.

I also used this same set of glazes on the quivers and scabbards, but I let more of the sepia enter the mix.

The next area I want to glaze is the skin color. I will let all these glazes dry first, so that it does not get pulled in by the subsequent skin glazes.

The first layer of glazing on the skin involves two of more opaque glaze colors... flesh wash and umber wash. These are also more 'sedimentary', in that they tend to deposit more particles of color in the recess areas.
The approach here is very important. These glazes must be very tightly controlled, so that I don't have to do too many subsequent layers of regular opaque colors to clean things up!

This mix is mostly flesh wash with a touch of umber. It is lightly applied, and even removed from highlight areas by swiping it quickly away with your fingers. It's impossible to show that in the photos here, since I don't have 5 hands :-)
However, it is shown quite often in all of my painting videos, including the Glazing Away" video that covers all of this technique in depth. It's available here:

Another thing to remember about glazing is that you can do multiple layers to make a surface be darker... not all at once! You can go over certain shadow areas two or three times to make them even darker.
The benefit to this is that it's a lot faster to apply than layers of regular paint, and you can tint along the way. For example, adding a touch of blue wash to the darker layers would give me a hint of green in the shadows. That's a lot easier than endless layers of color mixing, praying that it stays wet for hours! :-)

Now I will glaze the hoods. Since these are supposed to be almost black, some tinting is involved. I will be using some green, some blue and black glazes here.
You can see the comparison already. Remember, I use my fingers to remove glaze colors from areas that I want to remain a little lighter.

I think I put 3-4 layers of glazing on this section. The first layers were more about tinting, whereas the last few were more about making the shadow areas as dark as possible.
The glazing stage enters a new phase in the next episode, so stay tuned!!!


