A collection of images that feature my painted miniatures. It features many of my award winning figures and terrain pieces painted since 2001.
Pages
- Home
- Blood Bowl Teams
- Step By Step: Painting a Predator
- Using the 'Shaded Basecoat' Technique to paint Saurus warriors
- Step By Step armor for Tomb Kings Horsemen
- Step by Step painting of a Gamezone Cold One
- Painting a marble and tile flying base
- How I photograph my miniatures: A window into my photo booth
Thursday, August 9, 2012
Ilyad: They never fail to impress
I realize that there is nothing earth shattering about these two minis, but the quality of the sculpting lines and the casting never cease to amaze me. Everything fits together EXACTLY as it should, virtually NO air bubbles, and so on. And these things are several years old. It keeps me wondering what people are doing wrong now, with so much more technology available.
Anyway, sorry for the gripe fest. It's be a strange couple of days.
Let's look at more pretty pictures.
Here are more individualized shots:
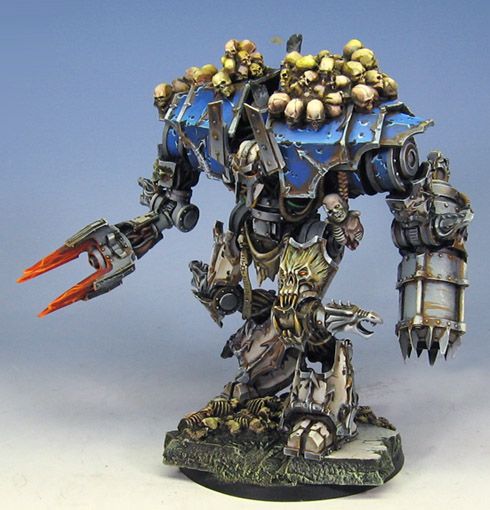
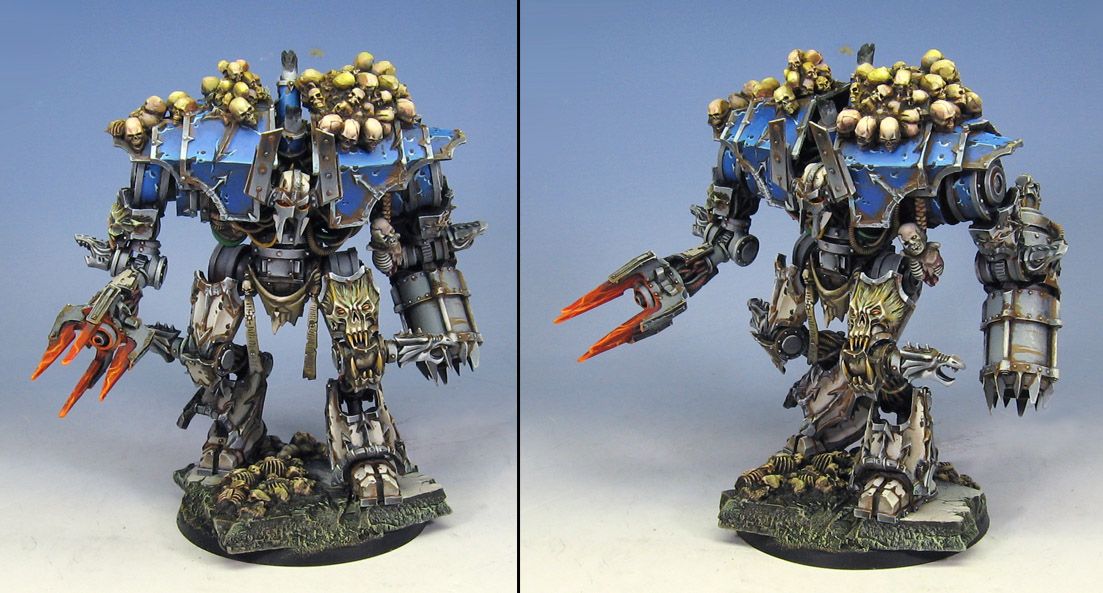
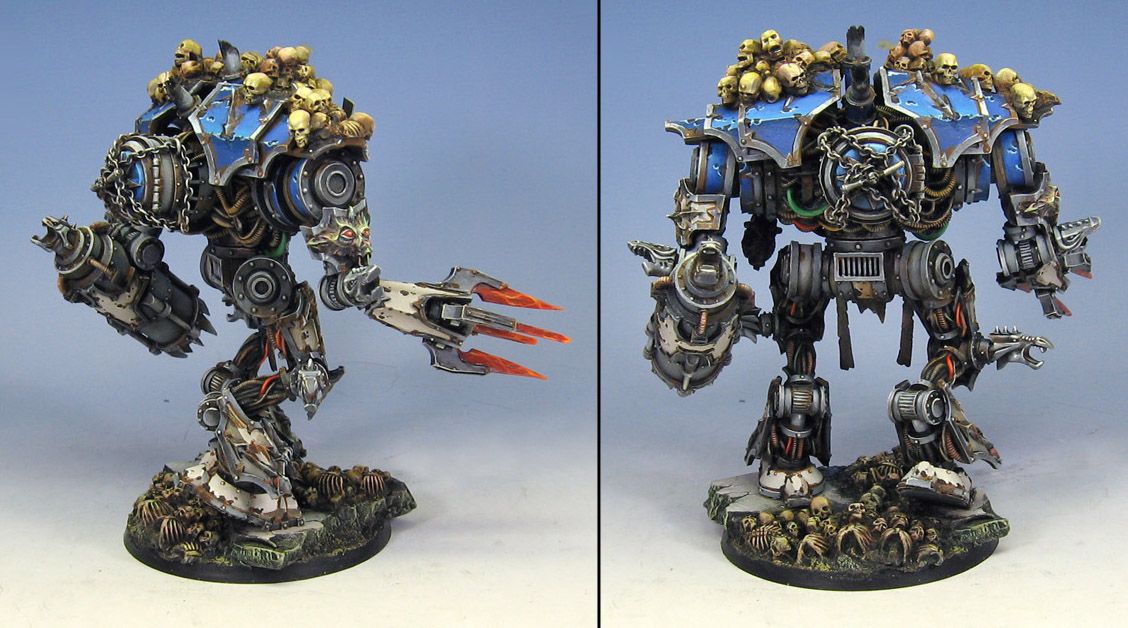
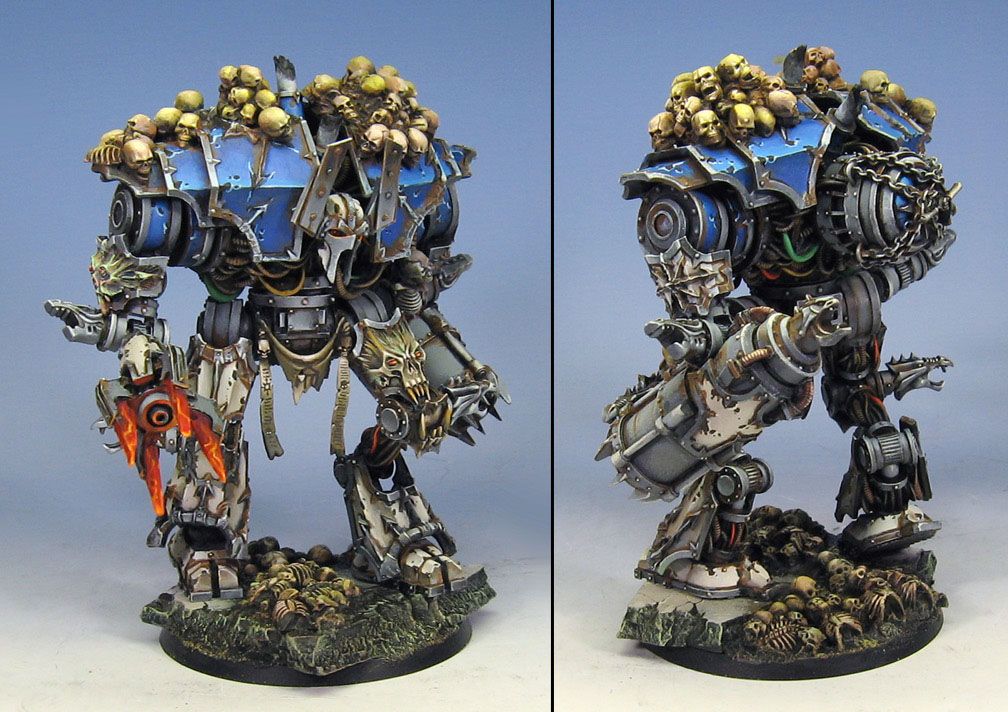
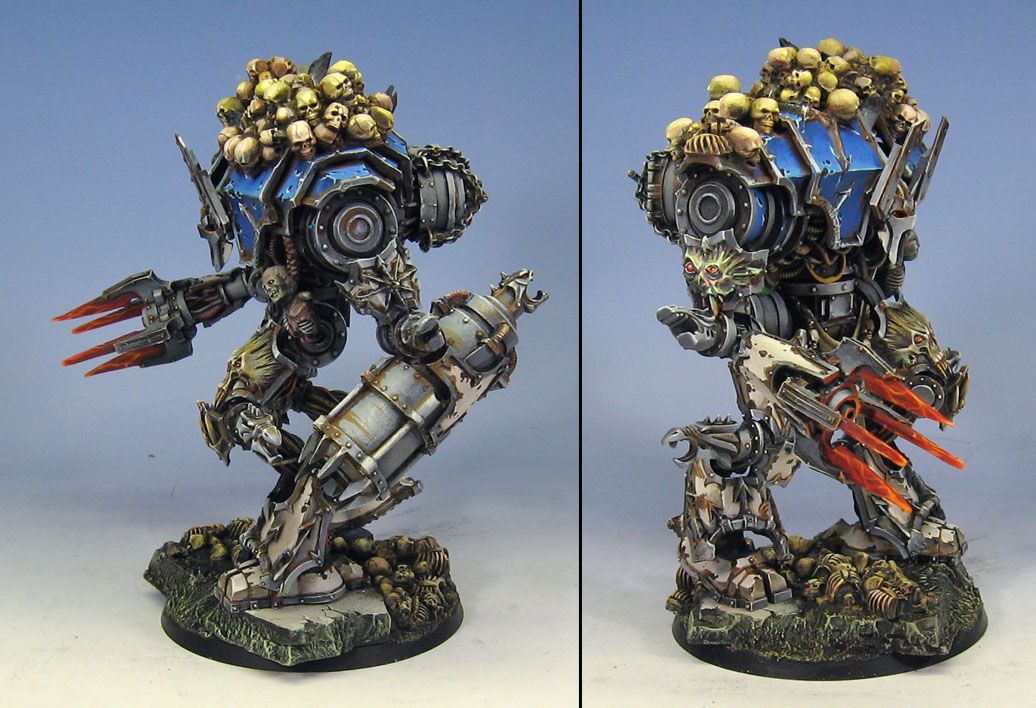
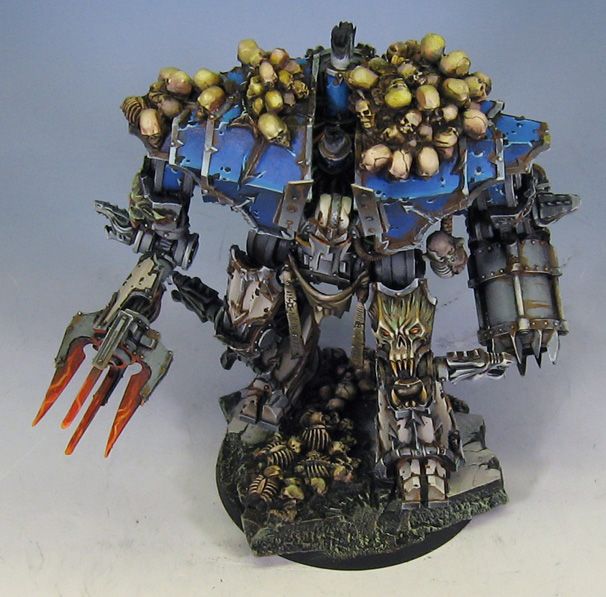
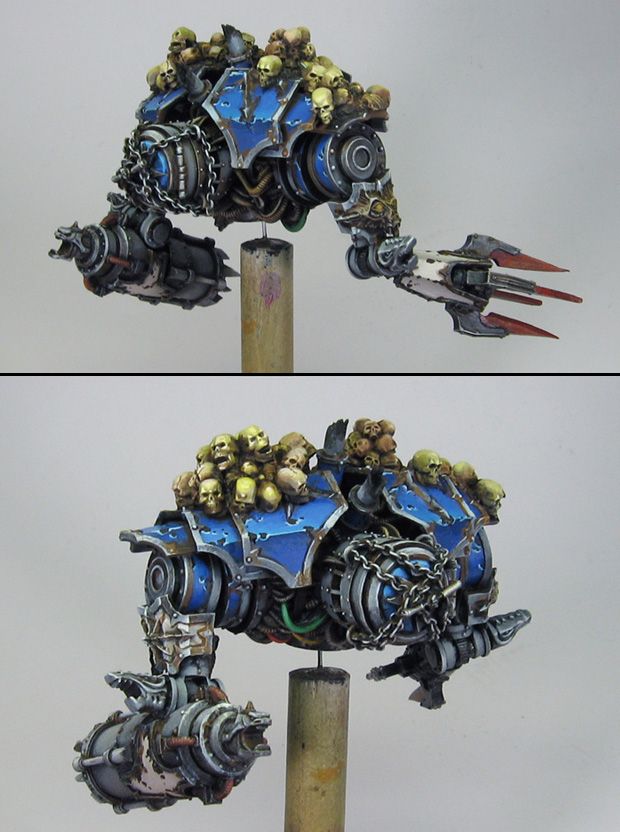
Finished 'Tainted' World Eaters Decimator
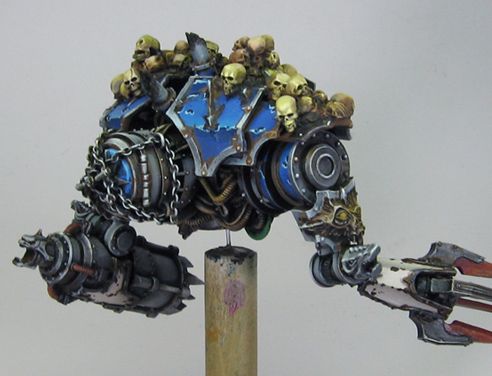
Glazing stage, Tainted World Eaters Decimator
These pictures give you a bit of an idea of how the glazing and tinting altered the look of the Decimator, especially when you compare them to the images of the"Shaded Basecoat" set.
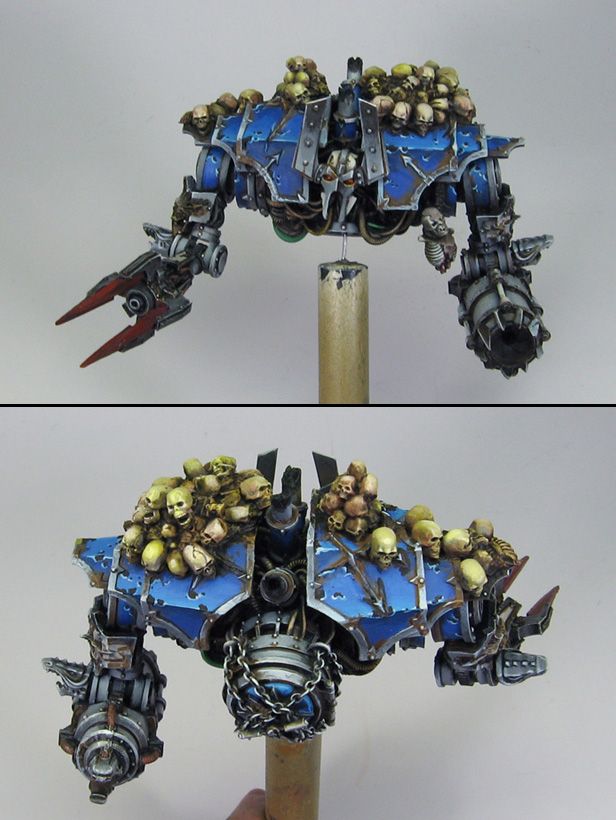
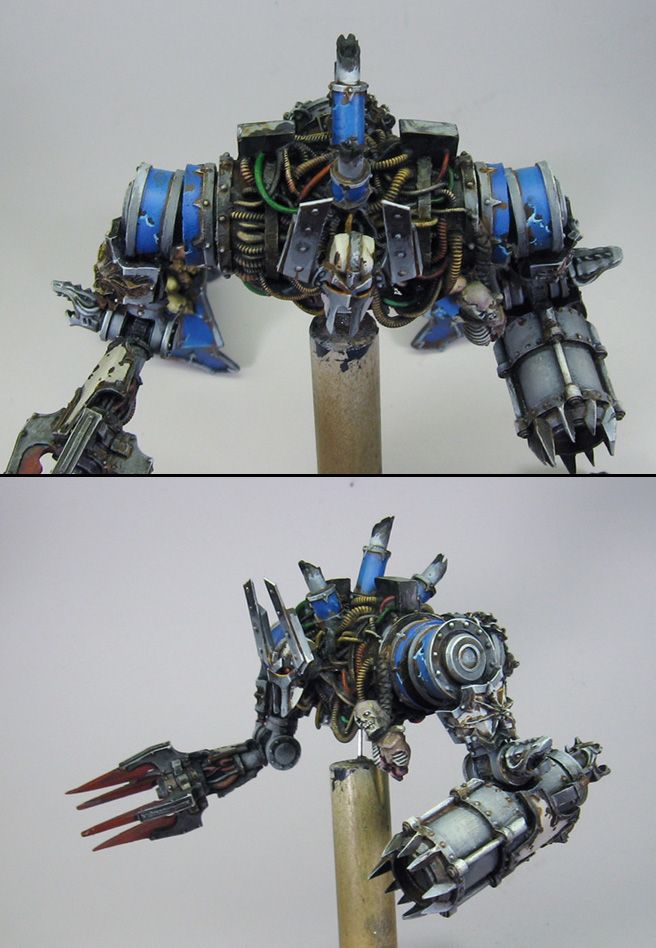
The torso:
This view shows all the work you have to do just to cover it up with the shoulder pads!
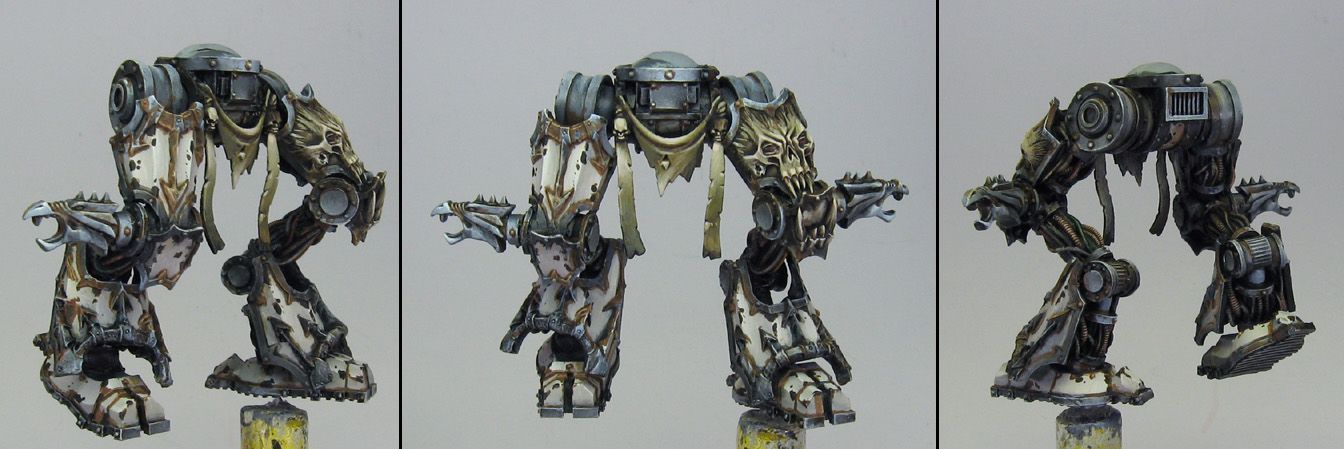
The legs:
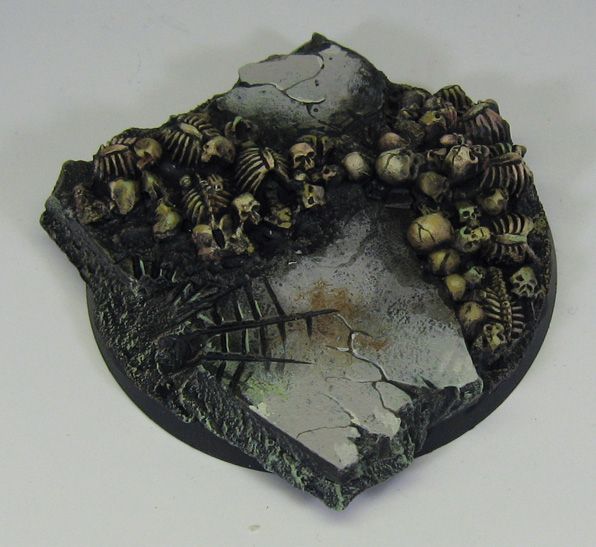
And the base:
Subscribe to:
Posts (Atom)