Now that the Great Osprey is available for purchase on Coolminiornot.com, I figured it was time to do a series of posts on how to build and paint your new miniature!
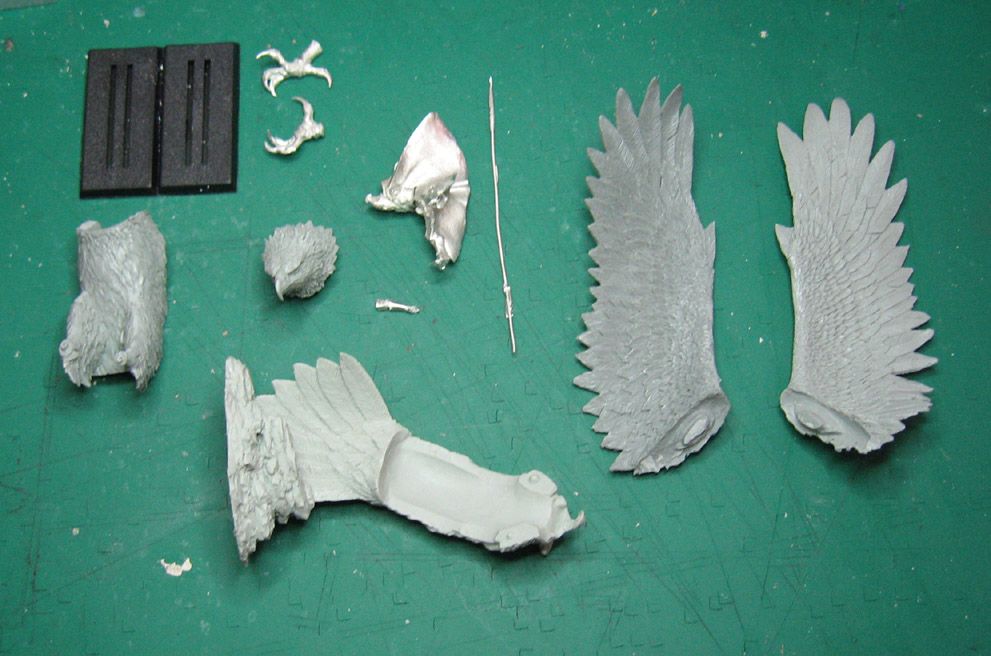
First, all of the parts need to be washed. These days I use dish soap in warm water. Once that is done, it is time to take care of mould lines and other casting byproducts.
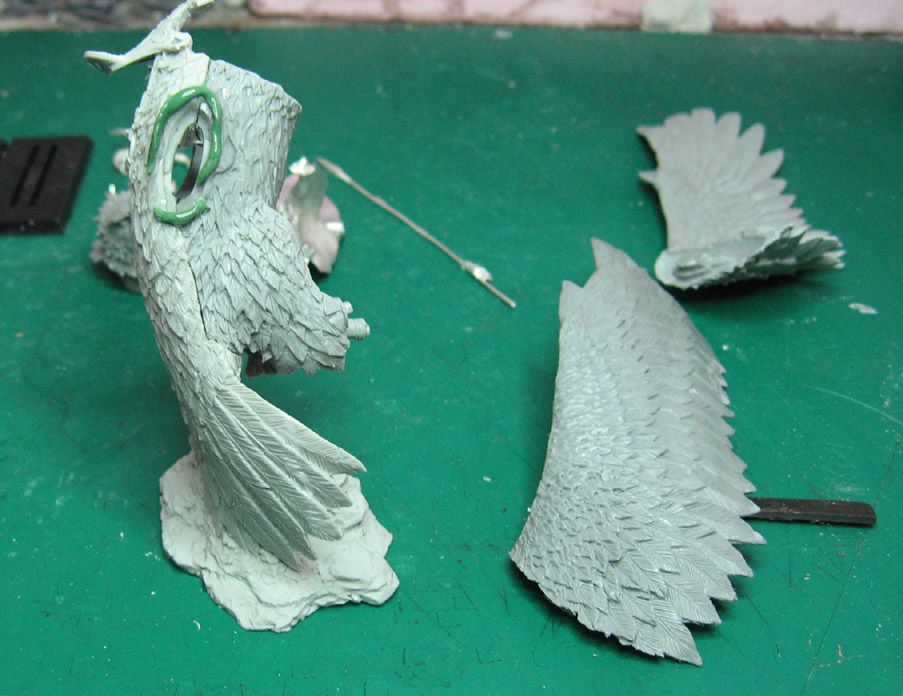
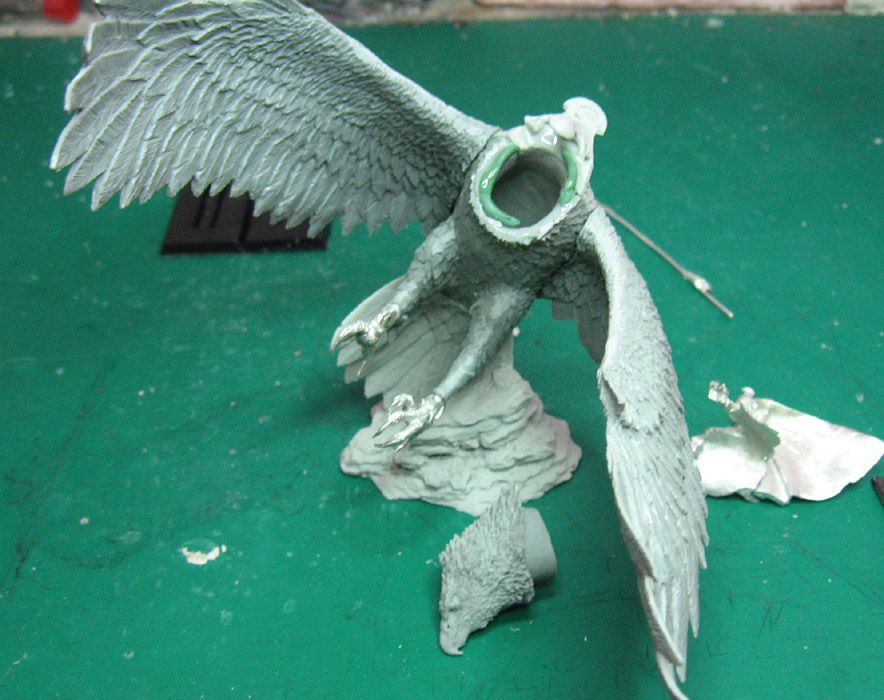
Now you can get down to putting it together. Last year, I started using a technique called "glue/greenstuff/glue" to assemble pieces that may have odd shapes, such as these! It also works well on small parts, or pieces which you just can't pin.
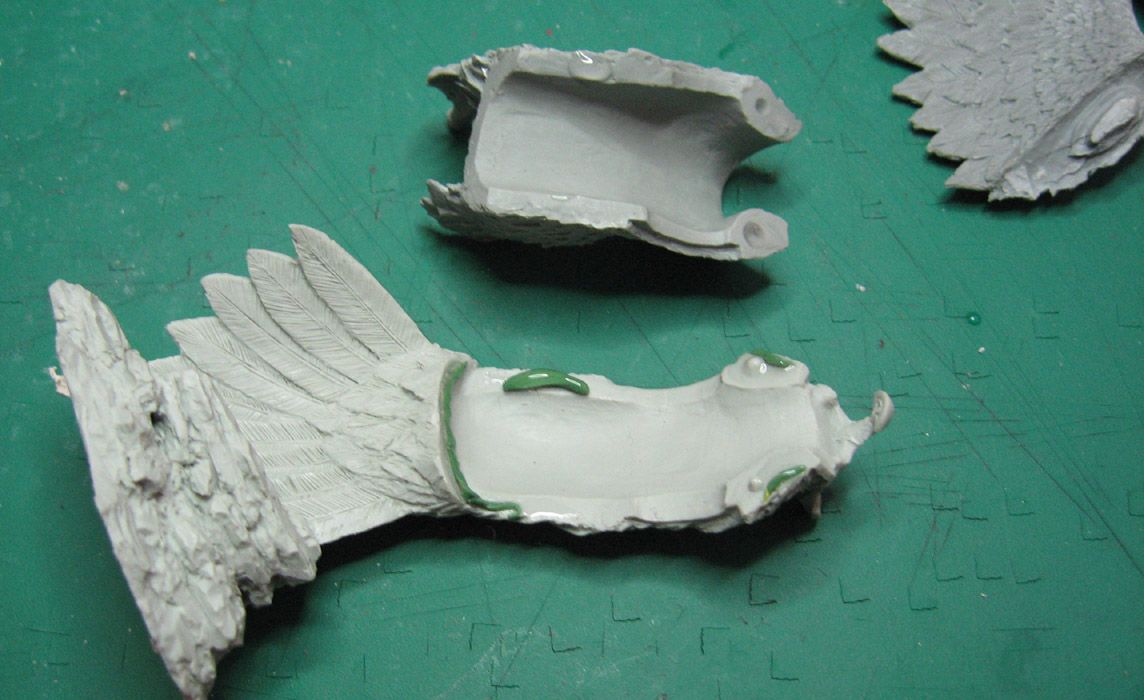
This image shows that technique. You can see the ring of green stuff around the area where the wing will go. There is glue underneath that, and glue on top. When you press everything together, the glue fills in the gaps, creating a stronger joint.
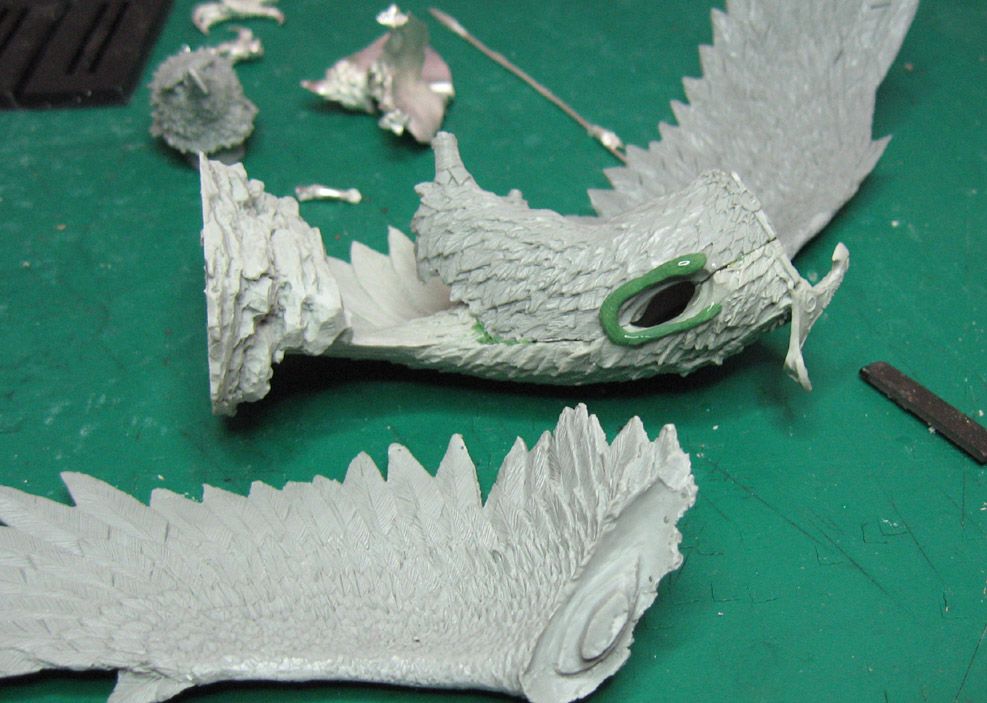
The same for the other wing:
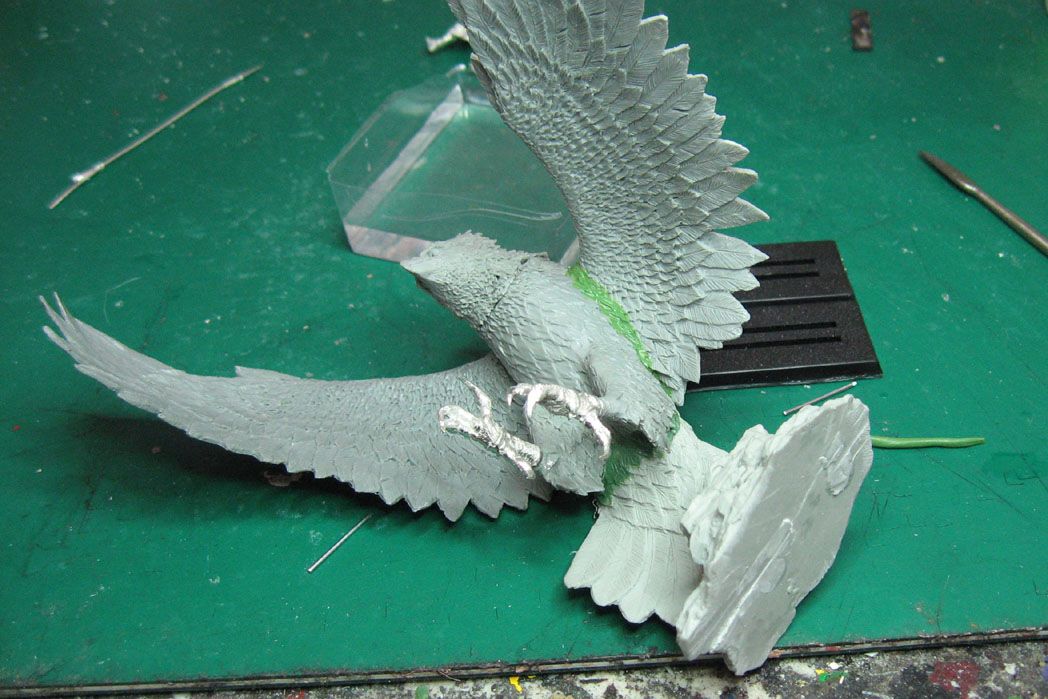
The wings are finished, so now I pinned the metal feet and got them ready to attach:
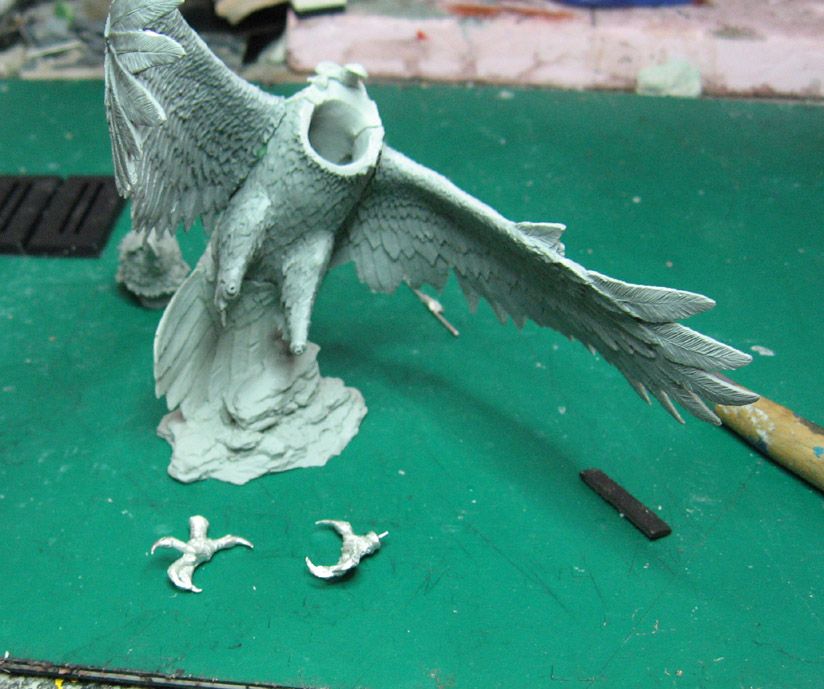
I used green stuff in the glue process here as well, to make sure there was no instability.
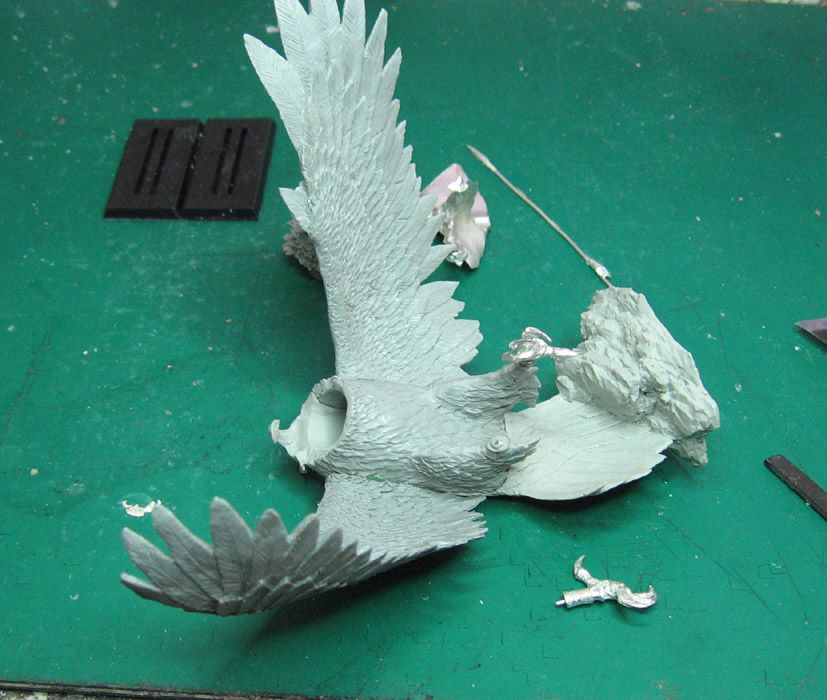
Once so many of the pieces of the body have been assembled, there is even a greater possibility that gaps will be created. I made an even thicker green stuff ring to make sure that there would be a solid joint, and that there would not be any gaps.
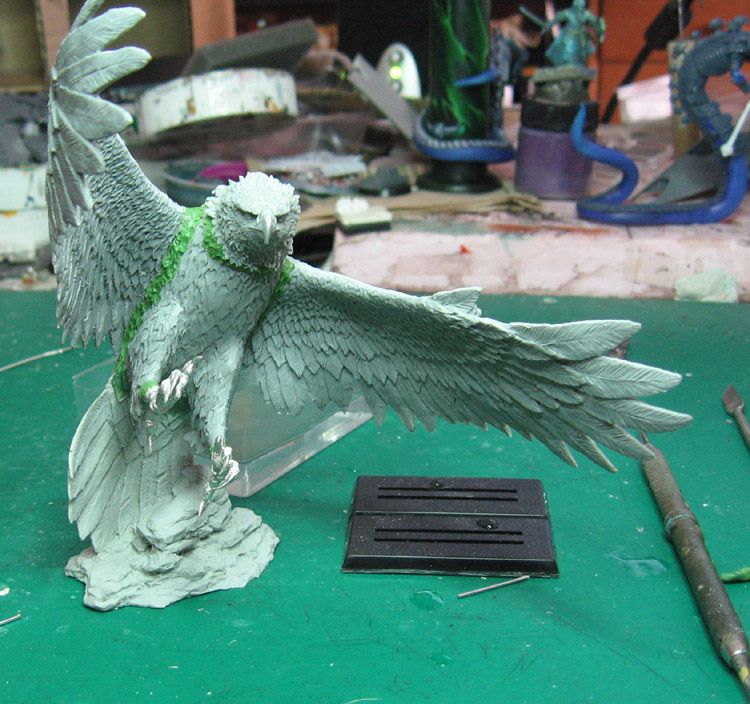
Now that all the parts are attached and set up, it is time to do the finished green stuff work. This will make sure that all the feathers appear to fit seamlessly together. I started with the "inside" joints, so that I would not smash the soft green stuff as I moved on to the next joint!
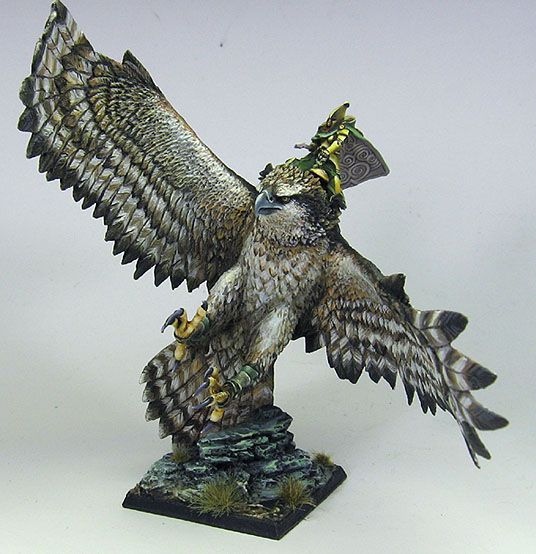
I worked my way around the wings and the head, sculpting feather texture where needed.

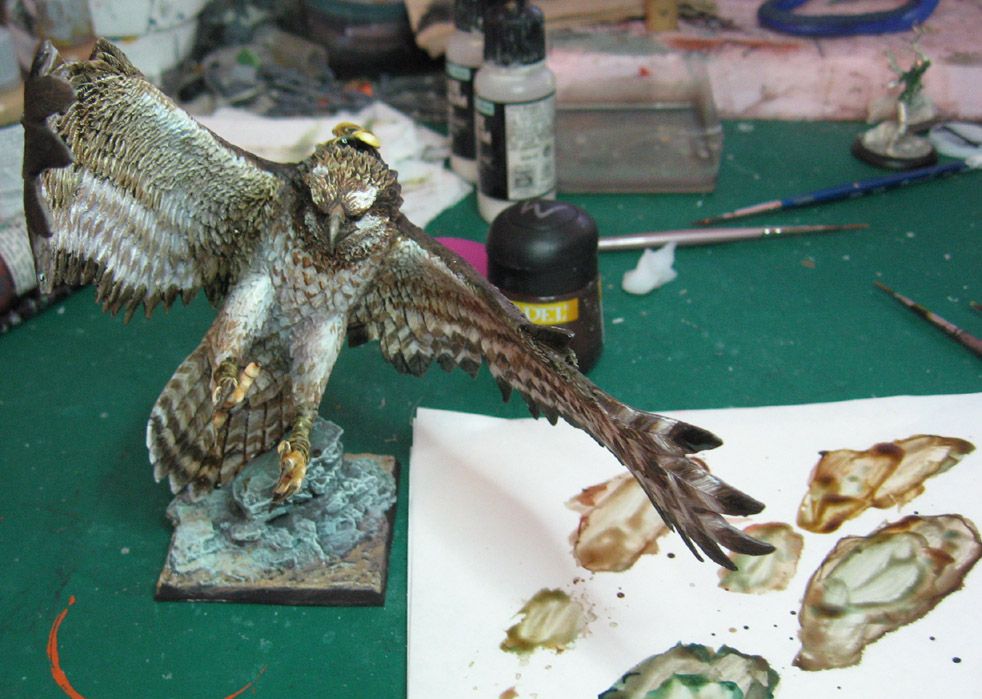
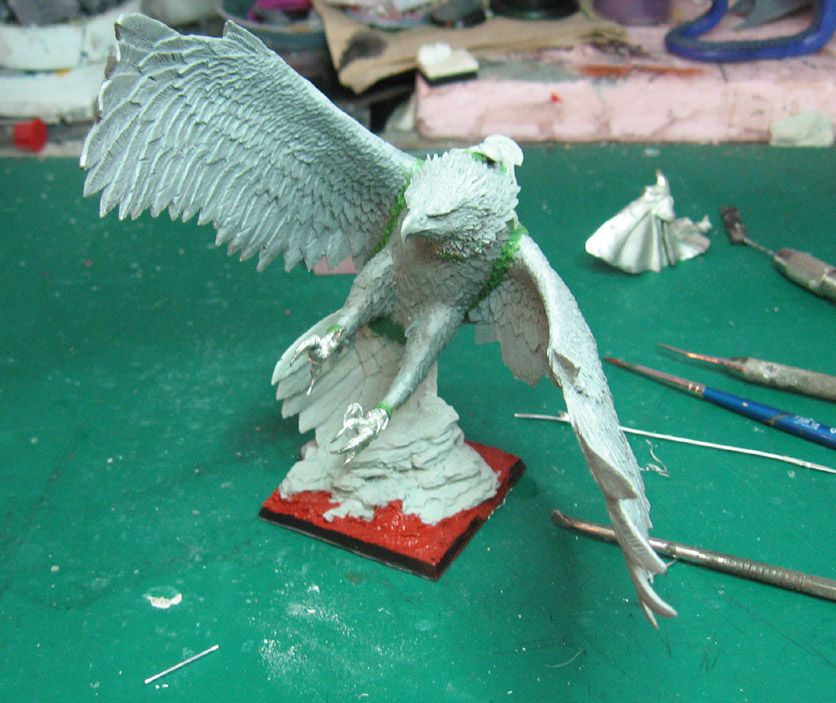
OK! All the green stuff work is done! Time to attach it to the base. I put this bird on a Warhammer base, using oxide paste to fill out the corner areas. Cathy discovered that if you use a flat sculpting tool to apply the paste, you can create a slate texture, as opposed to the more natural rough sand.
Lets not forget the rider! Here are a few images showing the green stuff work:
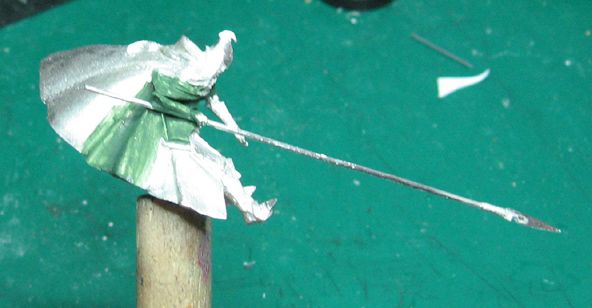
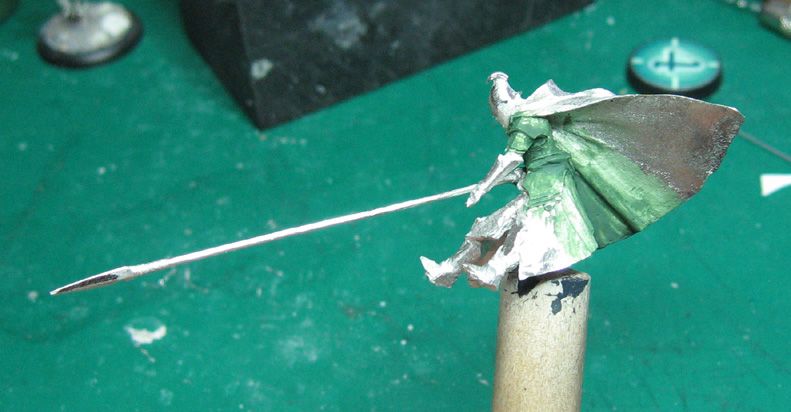
And a preview of the next set of images... Painting the Great Osprey!