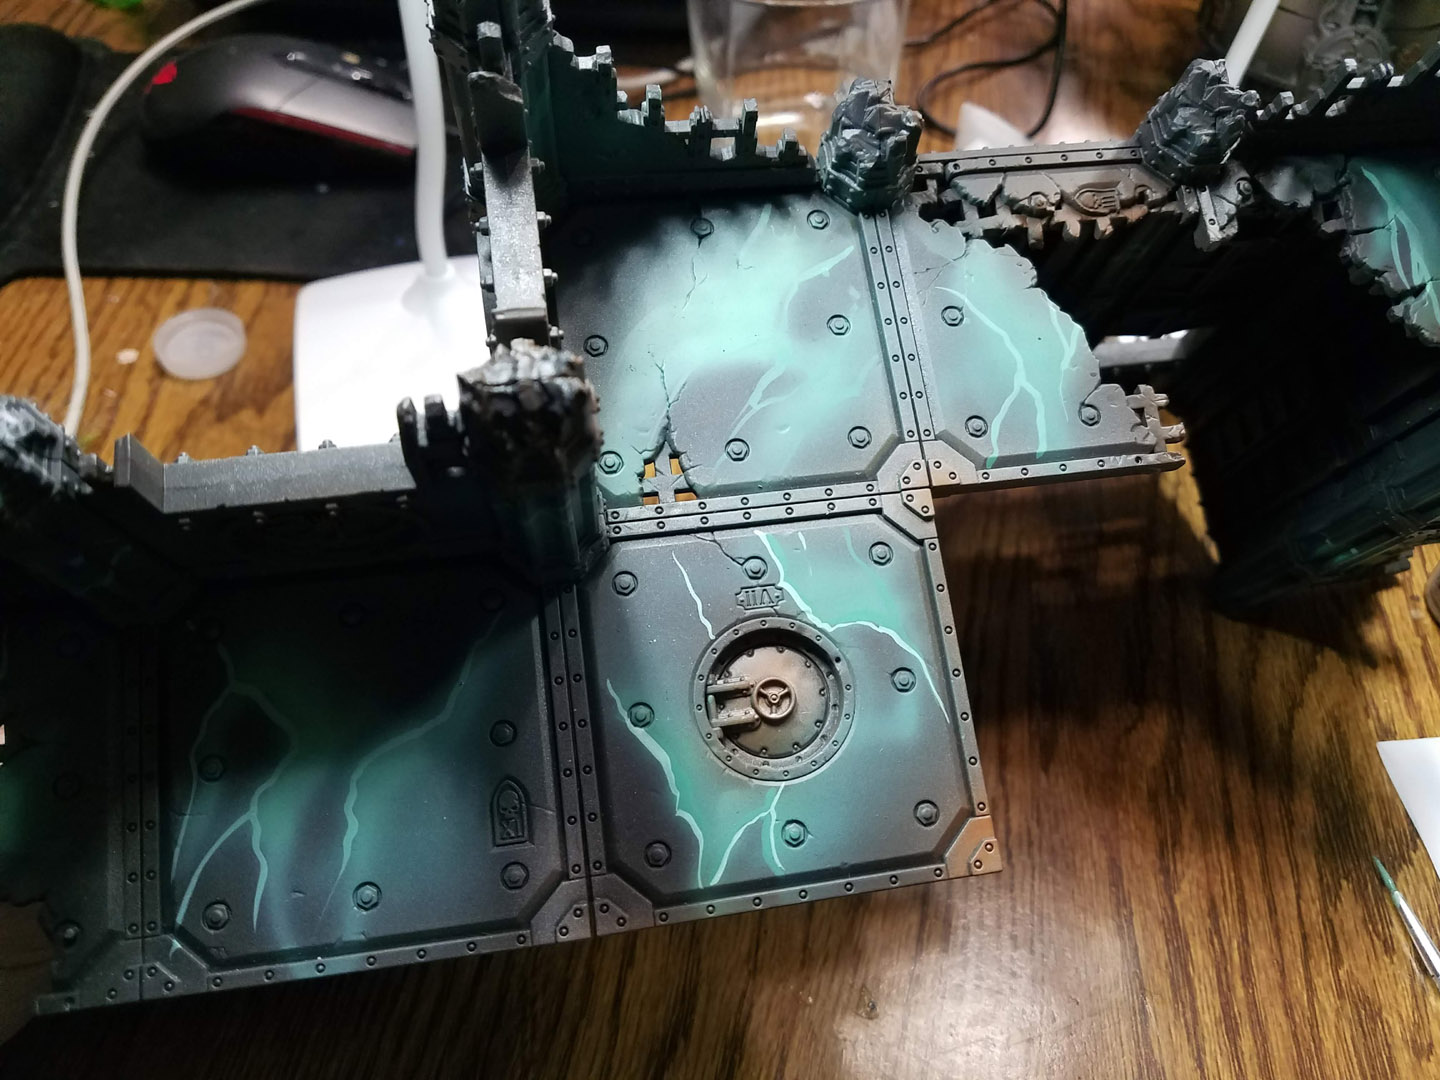
I was able to snap a few shots while I did the marble effects on one of the Adepticon terrain pieces. Each one started out with some initial layers of Badger Stynlrez primer, and some regular paint colors too. In this case, I used an interesting teal green to get some 'starter' marble pattern.
I have done some previous articles on using torn paper towels as masks when the lighter tones are airbrushed on. This gives you an idea of where to place the 'veins' of the marble later on with a regular brush.
I tell people all the time that we used to brush on Badger Stynlrez primer with regular brushes... and the Badger paints too!
I started to make a sharper delineation of the marble veins by brushing on the color of Badger paint which was used in the last airbrush layer.
I did the same on the columns, which was trickier due to the shape. I was using my normal #8 round craft brushes, but holding them on their side, so that they were almost parallel to the surface.
You can see more of that here. The idea is to 'push' the brush across, making a more random pattern.
The inside of the wall section was even more difficult, as it was harder to see. You can tell by the massive shadow that getting light there was no easy task!
I started to add some lighter colors to the mix, working on one "side" of the veins. I usually chose the side where my sharper brush stroke just up against the darkest color. You keep adding broken lines or veins on that side with progressively lighter tones.
Again, this is not so easy on the fluted columns!
When I add those lighter colors, I also draw in additional (but thinner) veins. You don't want to go overboard with these, as they will ruin the effect.
Once all the marble was done, I started to do some weathering washes with the Secret Weapon Miniatures paints. I started with an Old Rust, then to Orange Rust.
You can see some of that weathering over the painted areas and the metals. I will be posting some more images of the finished buildings soon! Adepticon is just a few days away now!


