Now things are going to get very interesting!!
My original thought for the mural was going to be the usual angelic visage, painted in the classical style. While this is something I would have enjoyed very much, a random thought crossed my mind to try something quite different.
Given the kinds of documentaries which had been playing in the background for all the endless hours of preparation for Adepticon, Byzantine architecture had been featured on more than a few of them.
As a result, I thought that a more stylized art form would be more interesting in appearance, and certainly a greater test for me.
A quick search revealed a number of great images, but I had to choose one that would be more simple, and less iconic.

I had to sketch the design out quickly, making sure that it would not only fit, but be large enough to translate with the two figures in front of it. If the image was not taller than the two minis, that could be a visual nightmare.

The first colors were blocked in, as I would do on any miniature. I was not sure if the red would have to be taken out for another color... perhaps even white.

The only red on the two Elohi is the flaming sword at this point. What little cloth they have is blue, to match the robes of the mural. I still was not sure at this stage, but that is the advantage of the Shaded Basecoat technique, even in 2D!

Slightly more definition emerges, and the idea of putting some actual metallic gold comes to mind. That works very well from the start, and it expands to other areas besides just the halo.
That touch of metallic will create an ideal center of interest, boosting the already high level of light and dark contrast of that spot.

More details are pulled out of the wings. The side benefit of this color is that they will now look very similar to the miniature's wings. Both figures are holding flaming swords, which are casting reddish glow on the wings.

Just as I would on any miniature, I work in more shadows, and hit more highlights to build shape and substance.
Some slight blueish gray color is added around the head and wings to sharpen the contrast, and make the character pop out from the wall a tiny bit. I am working on the face area in more detail as well.

I decided to put a scepter in the right hand, using gold there as well. The face gets even more detail.

I started working in more depth on the hands, which was very difficult. Instead of painting them as 'normal', I had to stick with the more stylized versions, in a way that was very alien to me. It's very strange how some parts of this were easier than anticipated, and the oddest parts proved challenging.

I guess that's the whole point of experimentation!
From this point, I had to begin considering how much contrast to put in the "clouds" the character was standing on...

I thought this view might be interesting for you.

I decided to boost a few more light shades on those clouds. That kind of grayish blue should make a nice backdrop for the flaming swords, but also mimic the colors of the armor on the minis.

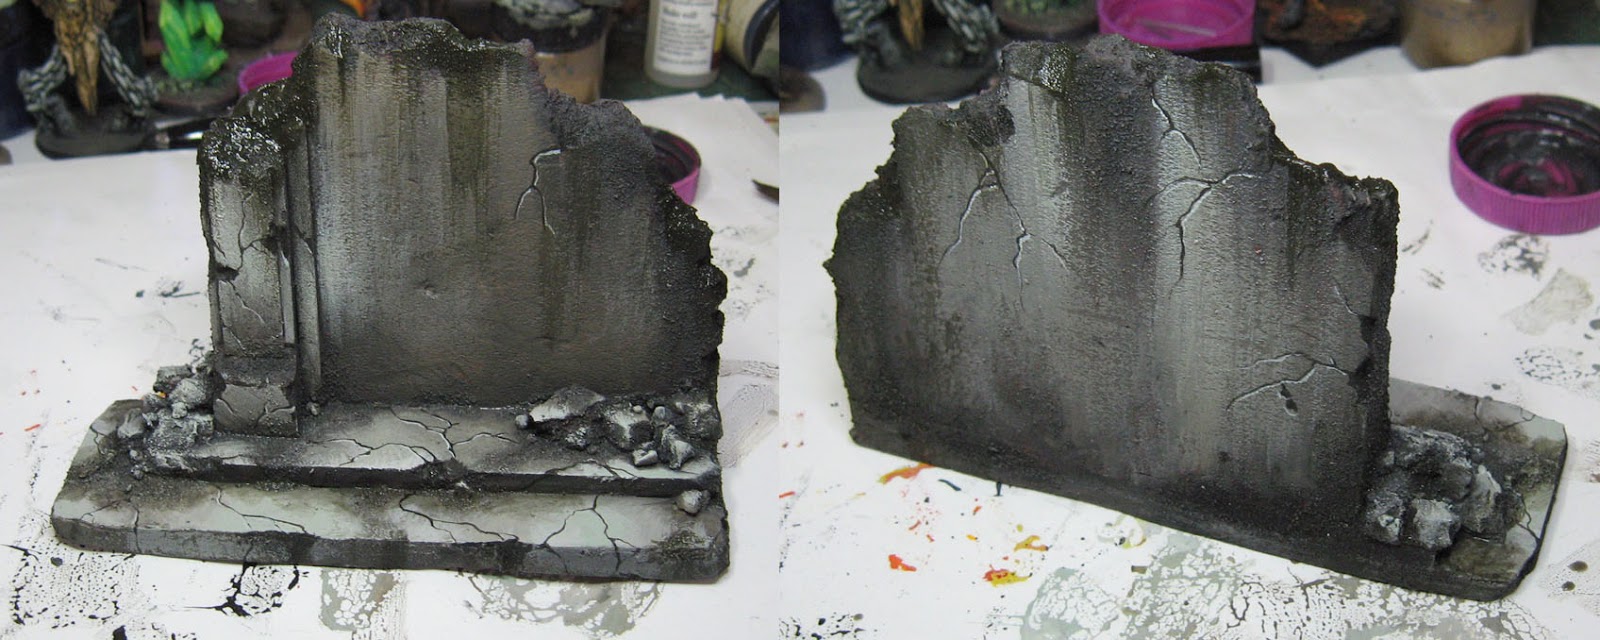
I used that Secret Weapon dark paint again to re-weather the surface of the mural.
My original plan was to try the crackle medium as well, but time and my allergies kicking in meant I would be more limited in scope. Watery eyes, sneezing and scratchy throat was a challenging enough environment.
That is still a plan for future murals such as this, and perhaps even on some vehicles.
We're not done yet, folks!! Stay tuned for the next episode, where we get some foliage and even our own custom cut leaves to finish off this piece.