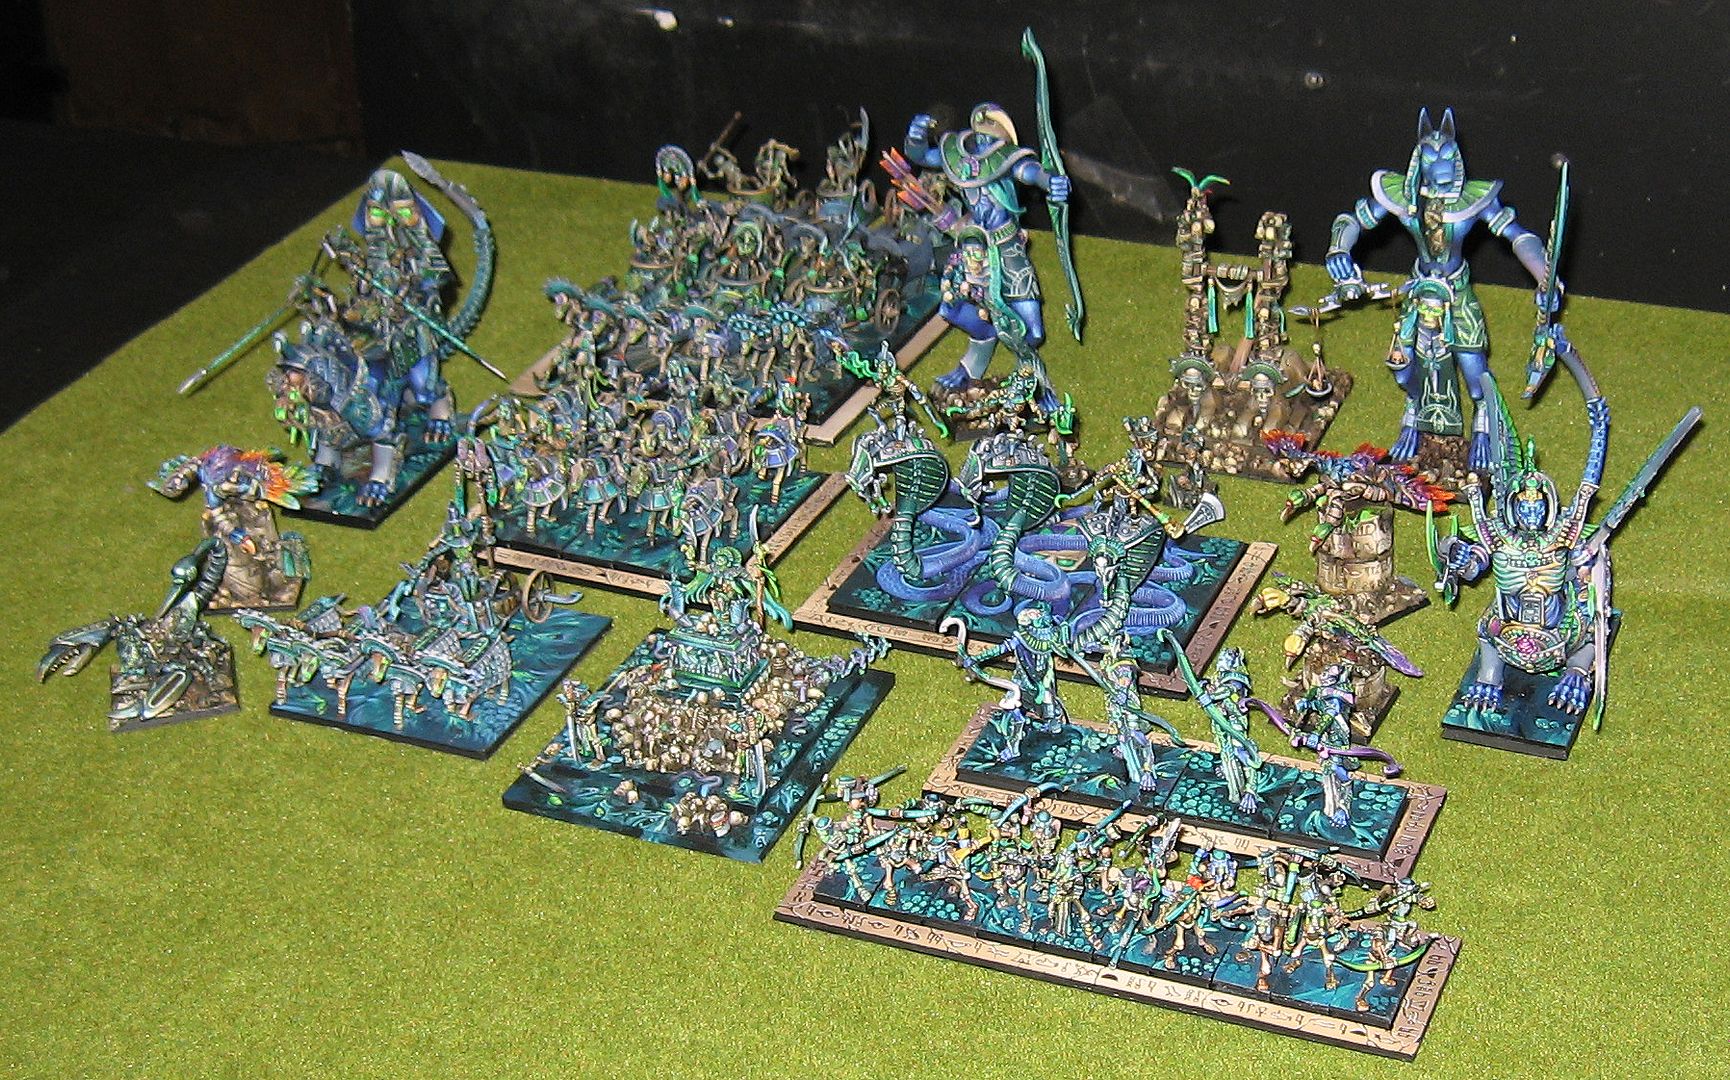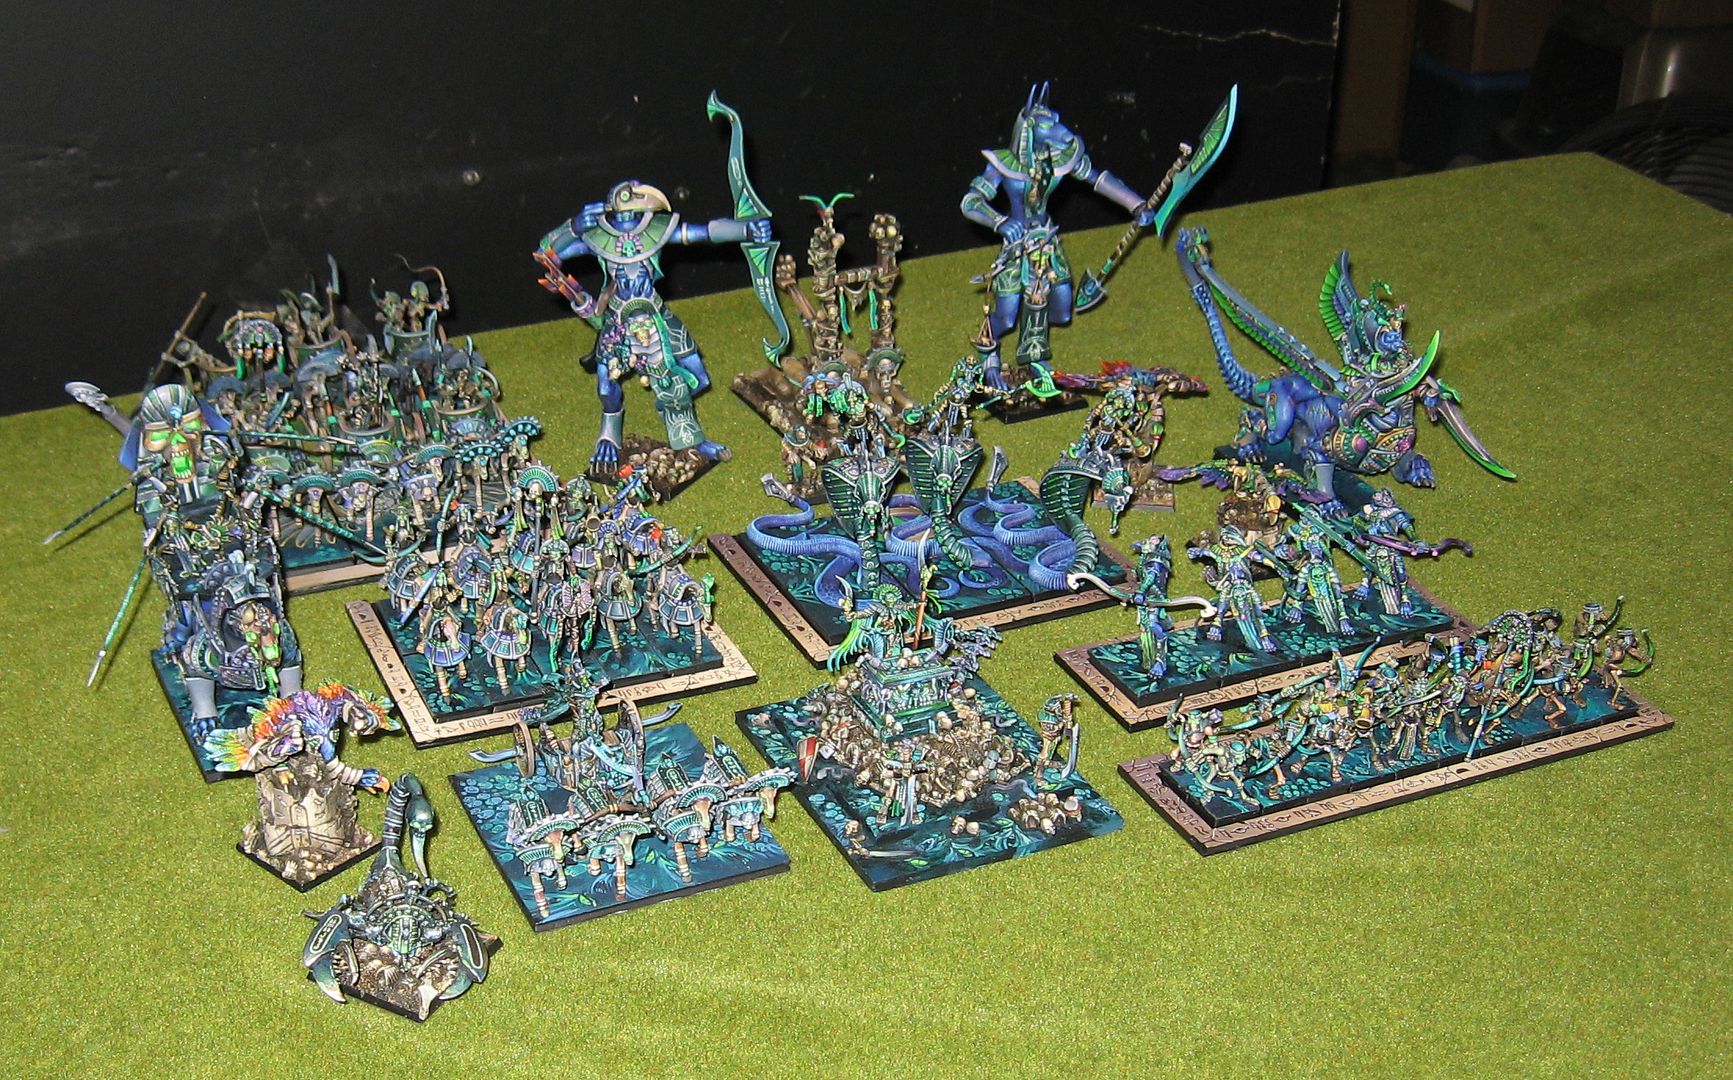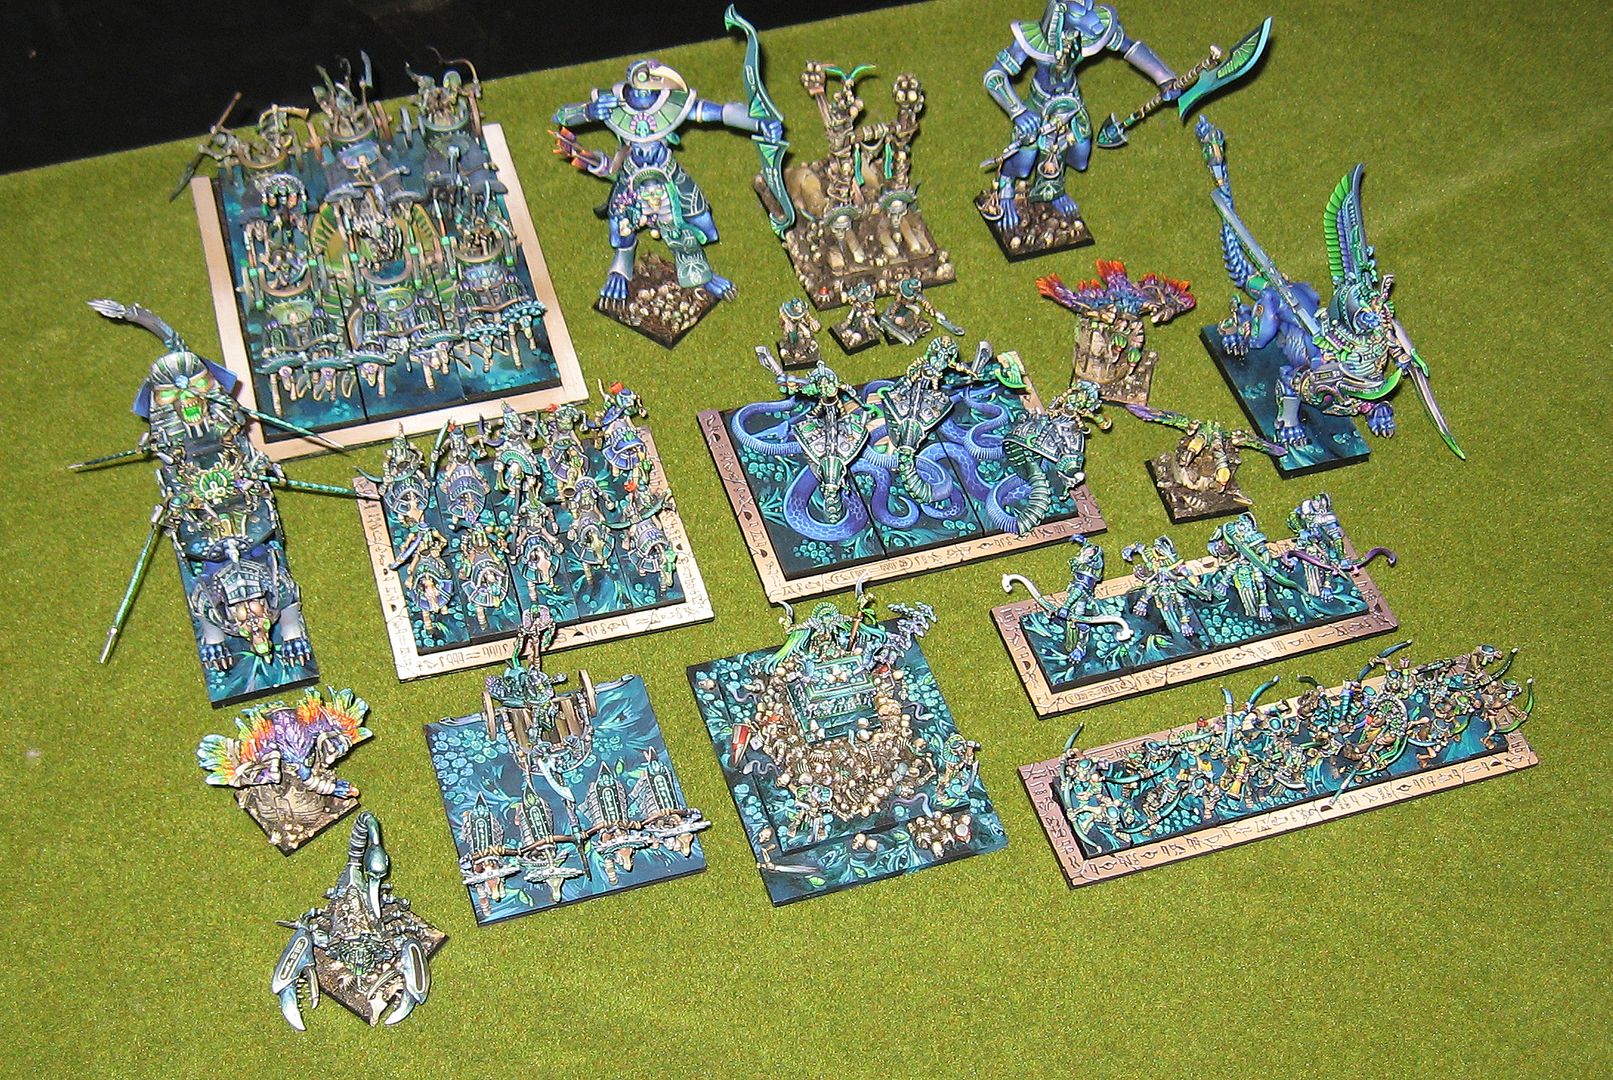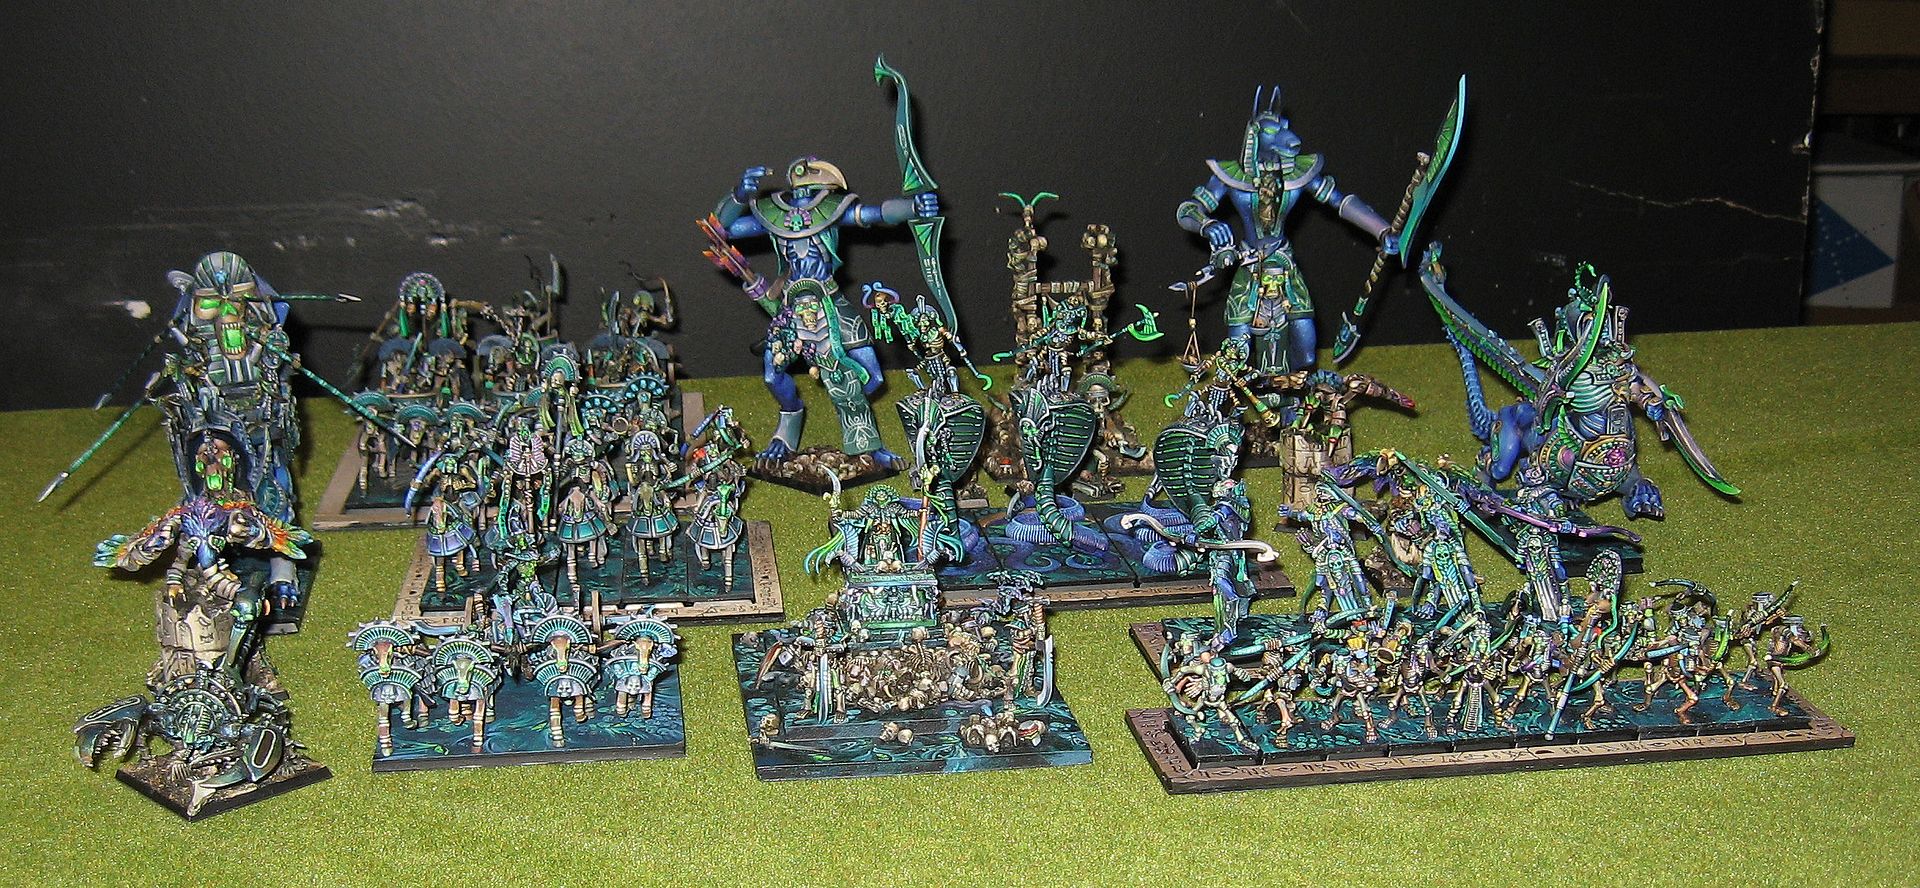
A collection of images that feature my painted miniatures. It features many of my award winning figures and terrain pieces painted since 2001.
Pages
- Home
- Blood Bowl Teams
- Step By Step: Painting a Predator
- Using the 'Shaded Basecoat' Technique to paint Saurus warriors
- Step By Step armor for Tomb Kings Horsemen
- Step by Step painting of a Gamezone Cold One
- Painting a marble and tile flying base
- How I photograph my miniatures: A window into my photo booth
Wednesday, August 8, 2012
The Tomb Kings army so far...
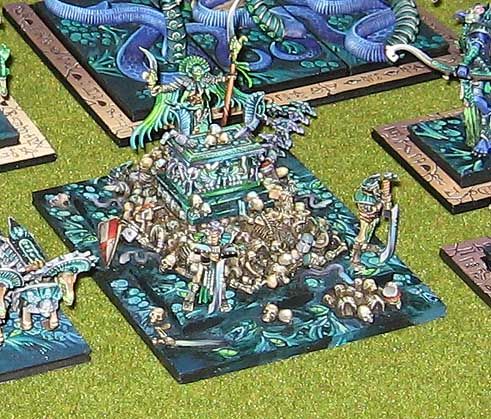
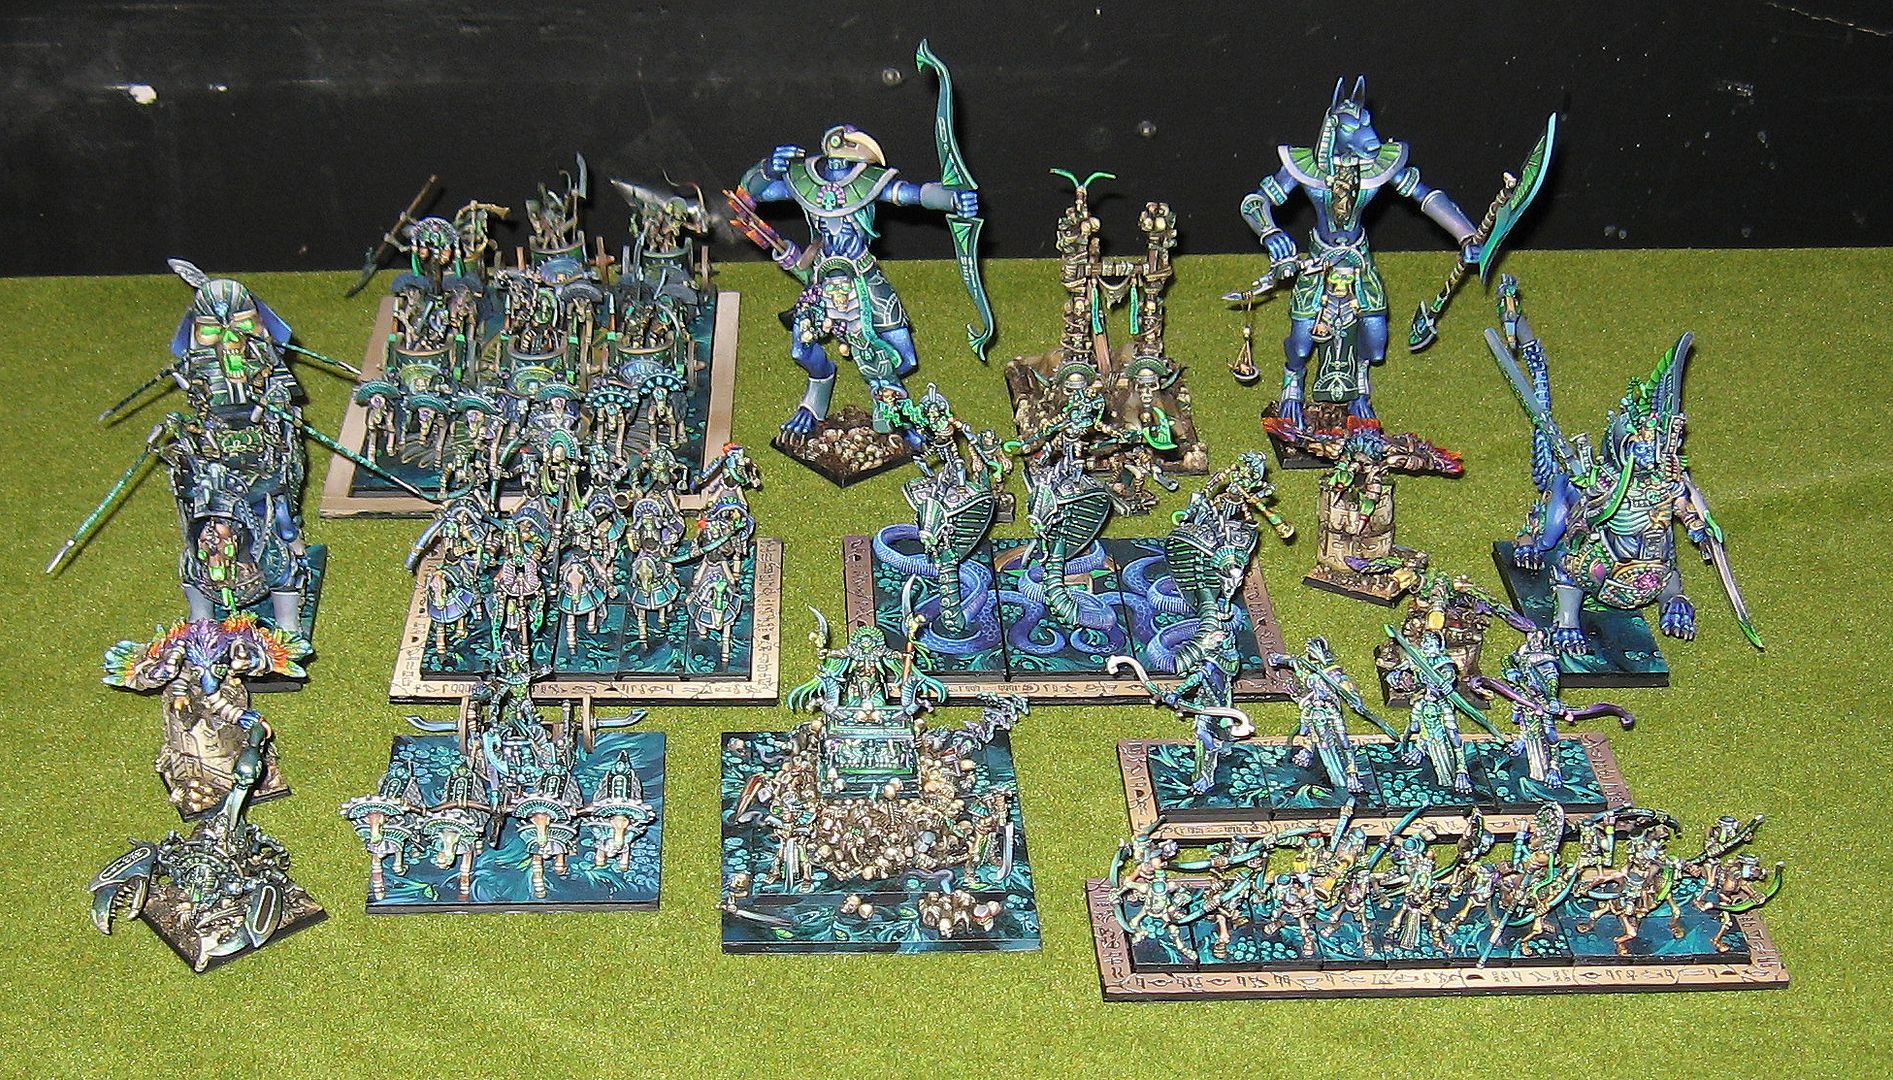
OK! Here is a bit of a "Family Portrait" to show what the army is looking like as a whole... sans display board. :-)
Now that several of the movement trays are painted and units completed, I wanted to snap a few shots to see what it all looked like on a table, as opposed to the Tomb board. Pretty different when they are on a table, aren't they!
Lots more to come. In fact, there is a pile of stuff coming for the Tomb Kings that is just about as big as what you see on the table here.
Now to the pictures:
WIP images: Shaded Basecoat technique on the Tainted World Eaters Decimator
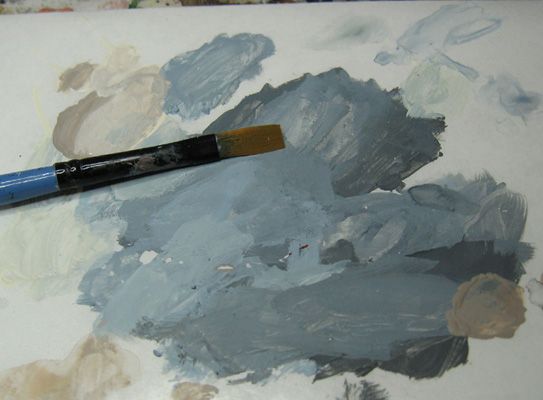
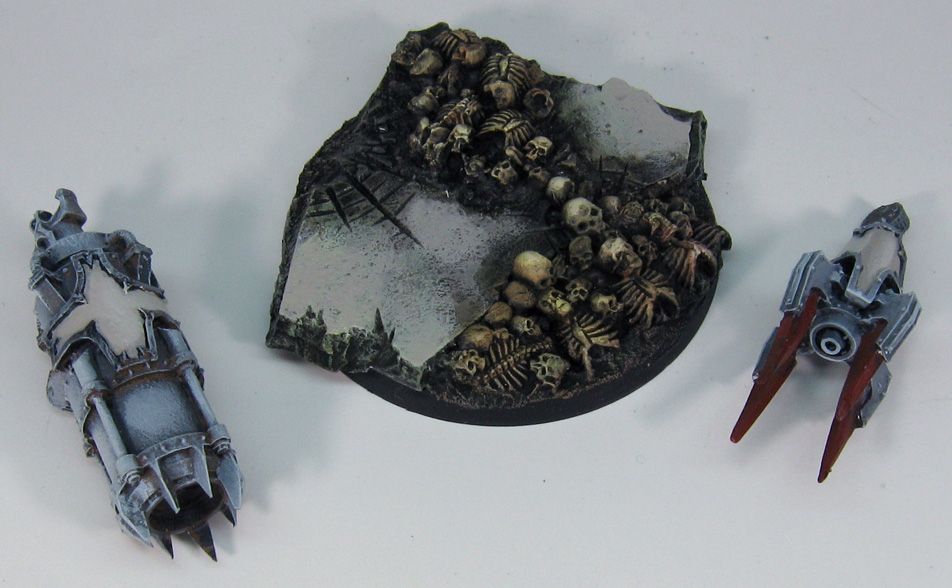
Here are a few quick images to illustrate the use of the "Shaded basecoat" technique once again. For those who are not familiar with this term, you can check it out in the "how to" pages of the blog.
The first image shows the size of the brush which was used to paint everything thus far. That is the whole point of the technique... to get pigment on every surface as quickly as possible.
These next few images were taken not long before I started the glazing and tinting process. We start with the torso...
And now the legs:
Here is a view of the base and a few of the weapon arms:
Subscribe to:
Posts (Atom)