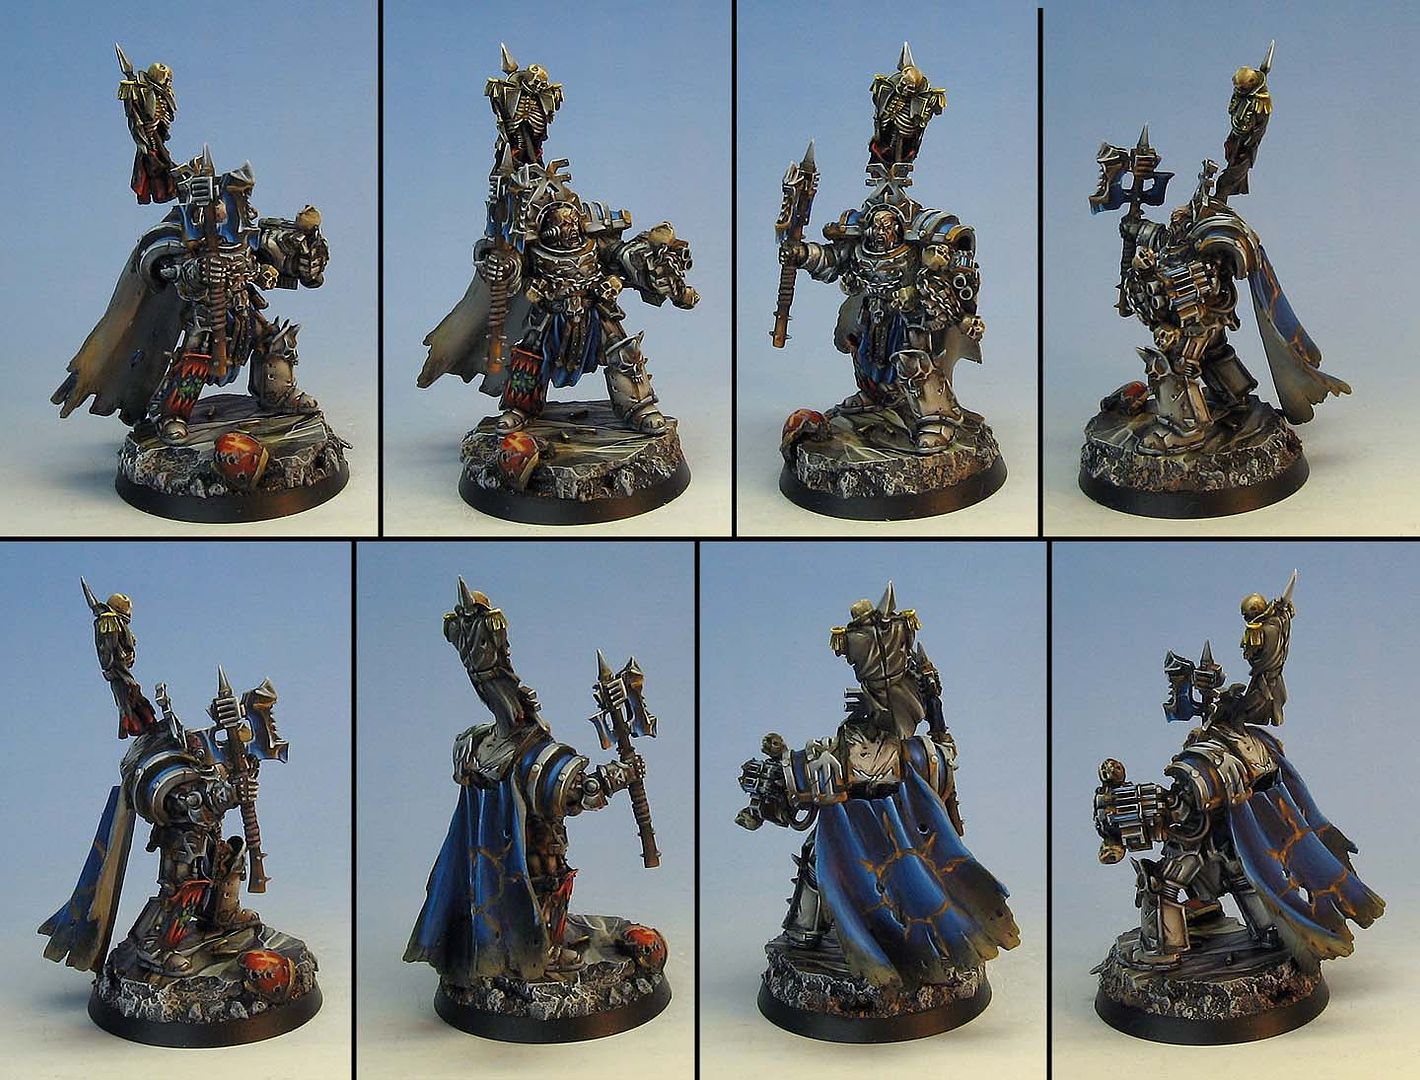
A collection of images that feature my painted miniatures. It features many of my award winning figures and terrain pieces painted since 2001.
Pages
- Home
- Blood Bowl Teams
- Step By Step: Painting a Predator
- Using the 'Shaded Basecoat' Technique to paint Saurus warriors
- Step By Step armor for Tomb Kings Horsemen
- Step by Step painting of a Gamezone Cold One
- Painting a marble and tile flying base
- How I photograph my miniatures: A window into my photo booth
Sunday, May 27, 2012
Snow diorama
This was an experiment to see just how wintry I could make a diorama :-) It presented many challenges. The foliage, the icicles, the snow pack, all of those were things that had to be figured out. Oh yeah, and there was a miniature on there as well!
The part I liked the least was putting the snow on the foliage. Getting the foliage onto the trees was hard enough, and I got my usual "green thumb", as a huge amount of the foliage was super glued to my hand.
I used some woodland scenics spray glue to try and get the snow flock to stick to the trees. Needless to say, that process was very messy!
All of the rocks were made with white sculpey by pressing a varity of small landscaping rocks into the clay prior to baking. Some special water effects was used to create the icicles.
Skirmishing Movement trays for skinks stage TWO
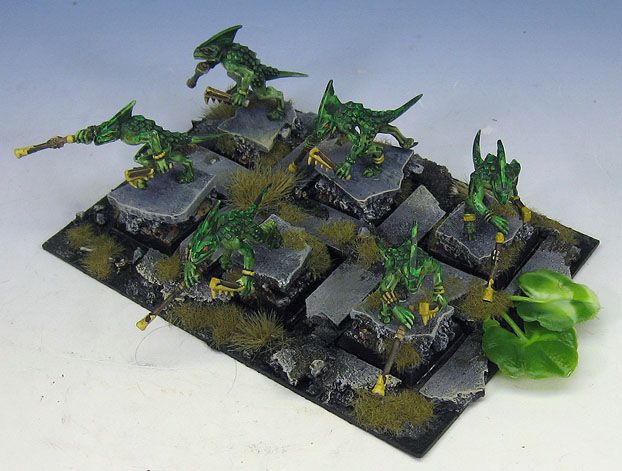
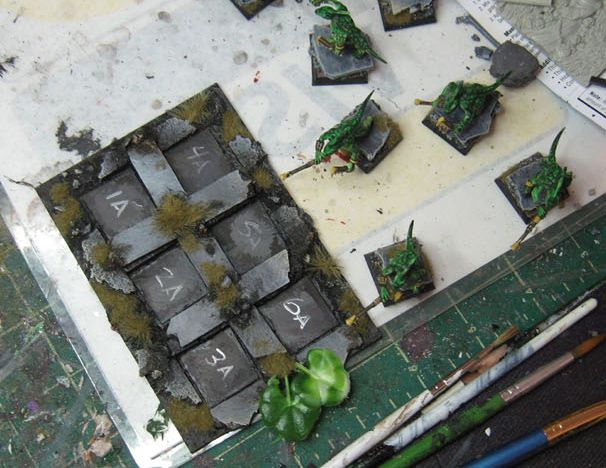
Following yesterday's "how to" post about skirmishing movement trays, I have the second stage.. the painting process! This was the final result...
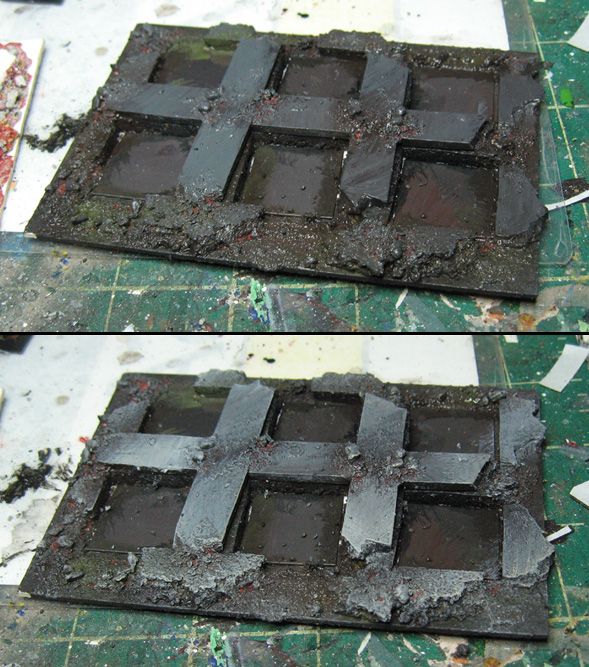
My first layers had a variety of darker colors. I had a dark grayish blue, some green, and some dark brown. I tried to make sure all the deepest crevices were covered, while also varying my colors. I worked relatively fast, so that I could do some wet into wet blending on the broken temple parts of the tray.
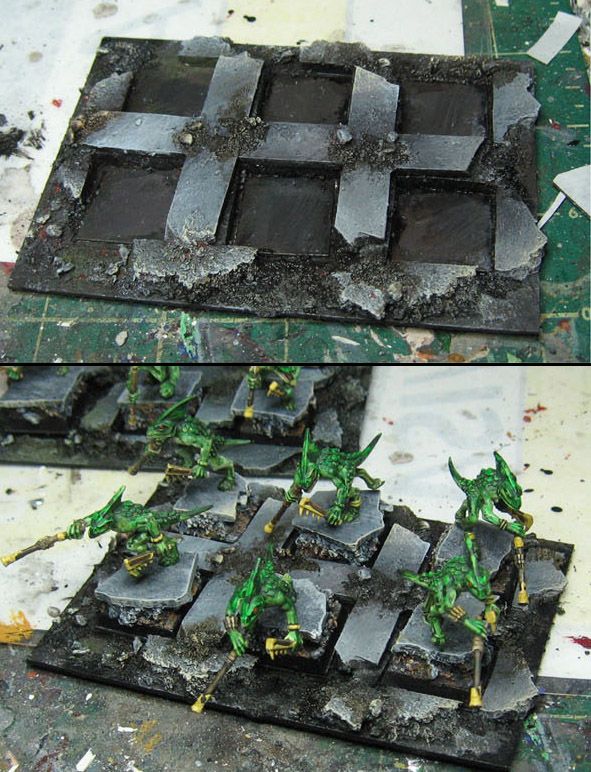
At this point, I put the skinks onto the tray to compare how light I needed to go to match their bases to the tray. I experimented with some of the new GW dry paints, which I like to mix with regular paints to create a de-facto foundation paint.
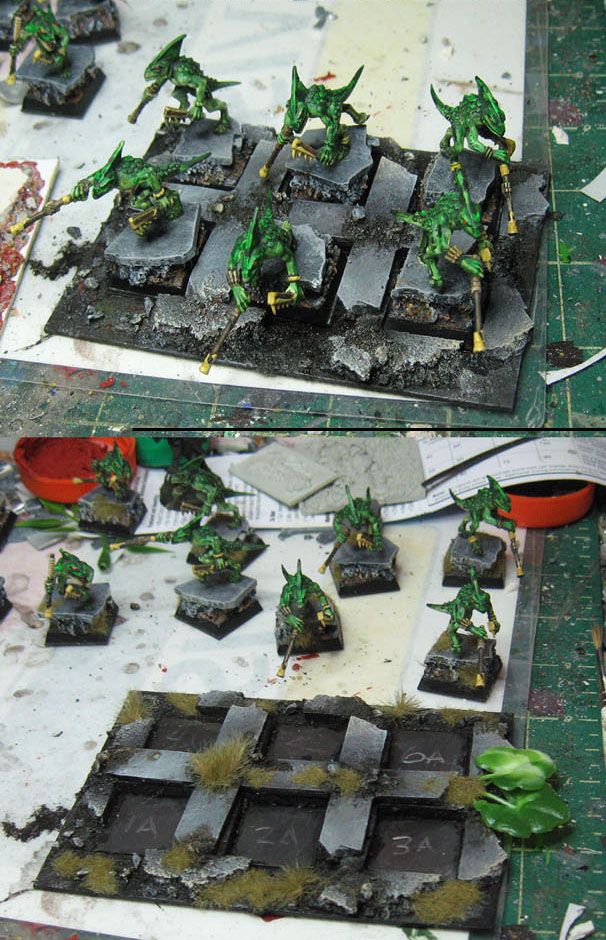
Now it's time for final highlights, and for adding some plants and flock. I used some of the same Aquarium plats as I had on previous units, and brought out a few kinds of flock and static grass.
Finally, I number all the of skinks, and their places in the tray. I use the direction of the numbers to tell me how that particular skink should be facing so that it fits on the tray and looks good from a compositional point of view :-)
Slaneesh Chaos 40K Hell Talon (no flying base)
This was a very fun piece that I painted for a buyer who just needed the vehicle itself painted. That's why I don't have pictures of this thing sitting on a flying base :-) I really enjoyed the freehand designs to give it that Slaneeshy kinda look!
I also have it up on CMON, so all loyal Wappellians can cast their votes here:
http://www.coolminiornot.com/306675
I think this vehicle forced me to develop some new technique that I use on a regular basis today. I don't know if the photos of some of the metal areas show the variations or not. It was one of the first times where I used a whole rainbow of grayish colors on my metal surfaces, rather than carrying the same shade all across the piece.
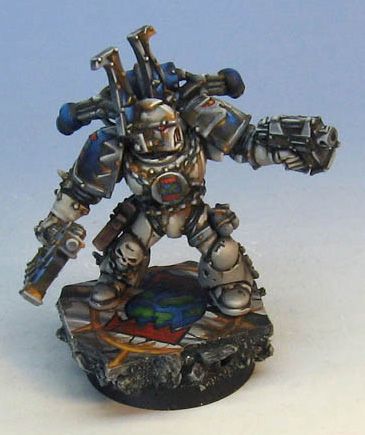
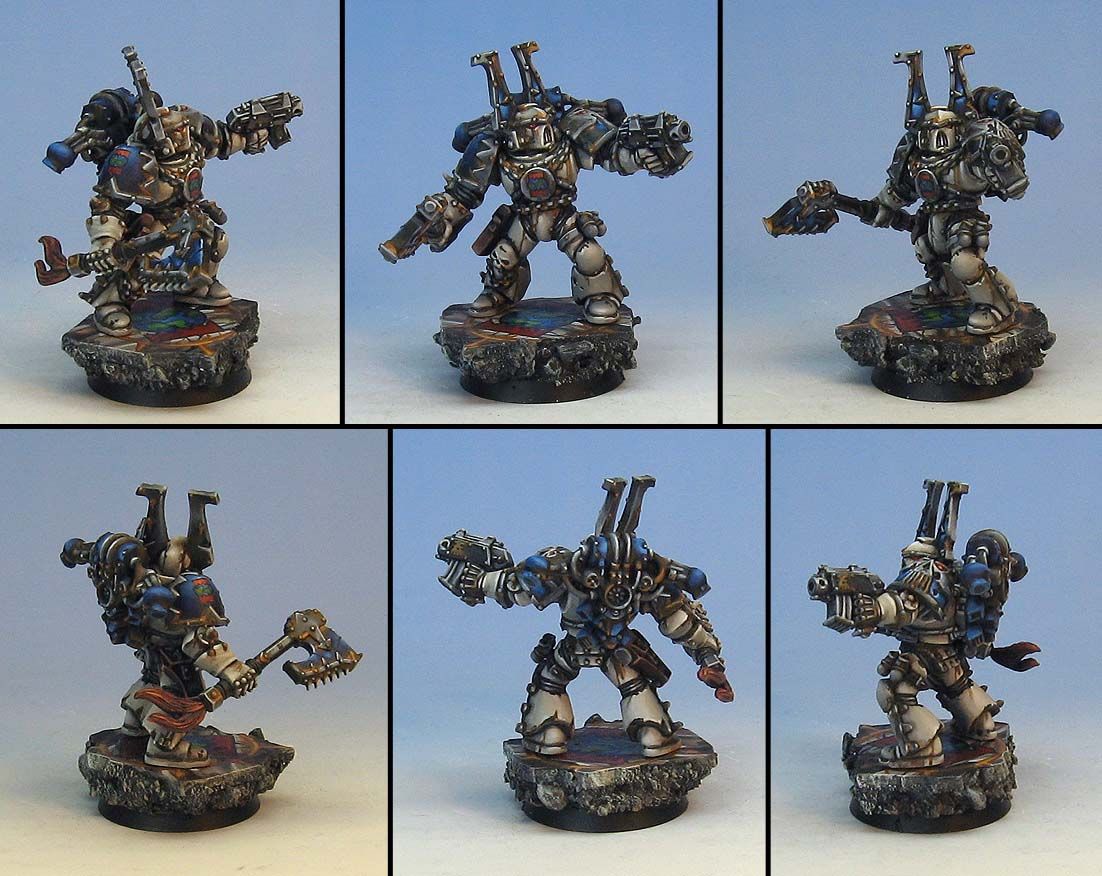
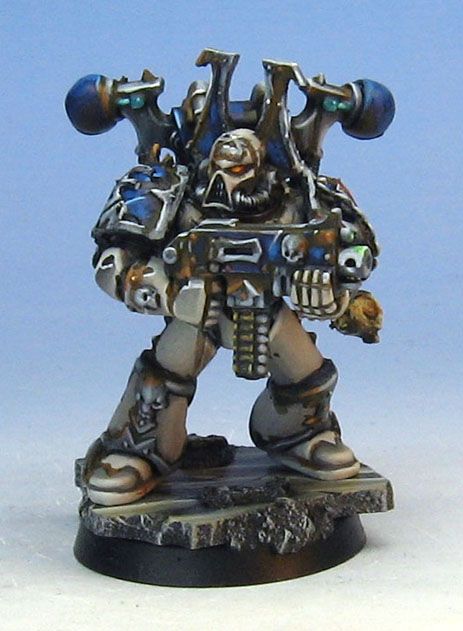
Test figure for the World Eaters and some extras...
Subscribe to:
Posts (Atom)