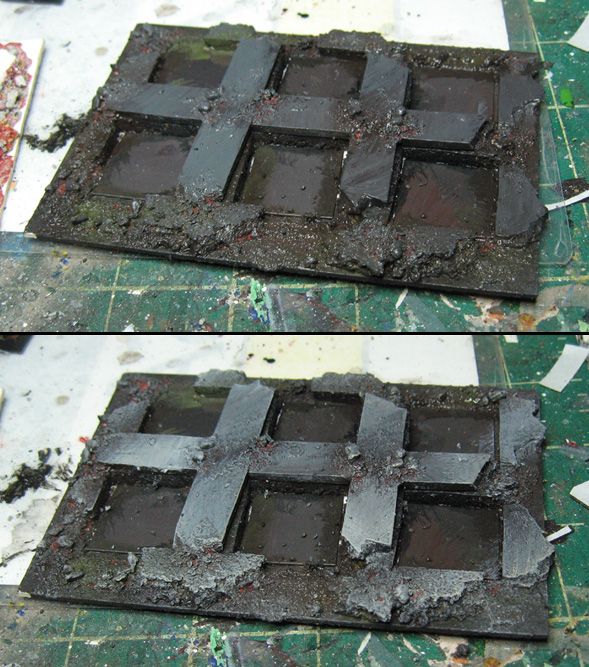
My first layers had a variety of darker colors. I had a dark grayish blue, some green, and some dark brown. I tried to make sure all the deepest crevices were covered, while also varying my colors. I worked relatively fast, so that I could do some wet into wet blending on the broken temple parts of the tray.
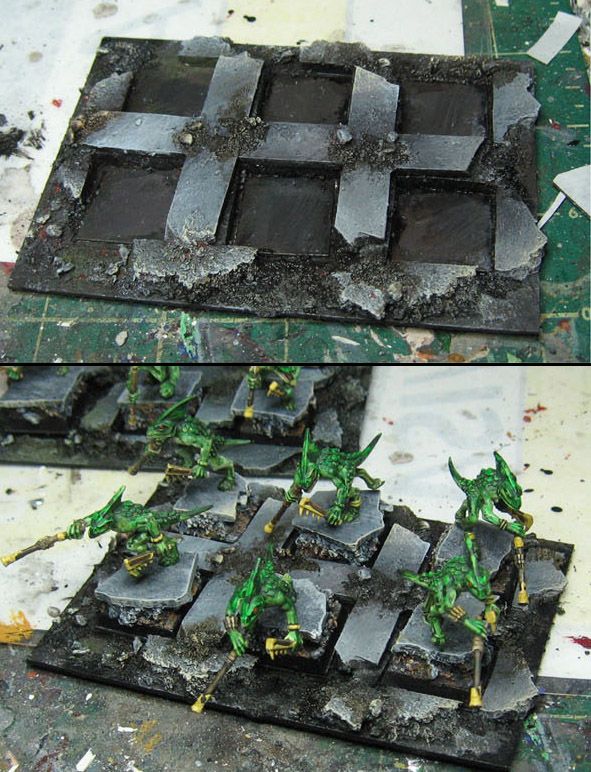
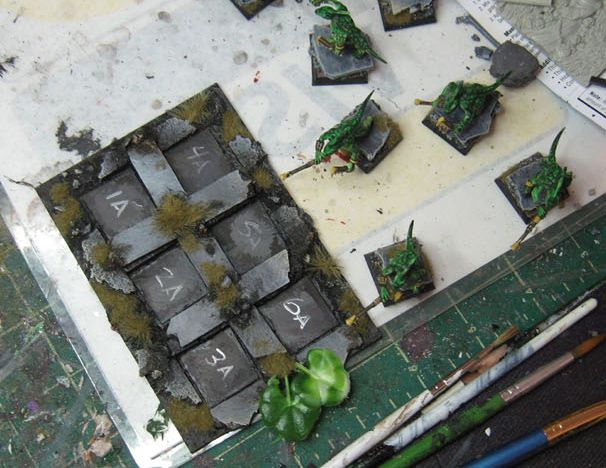
At this point, I put the skinks onto the tray to compare how light I needed to go to match their bases to the tray. I experimented with some of the new GW dry paints, which I like to mix with regular paints to create a de-facto foundation paint.
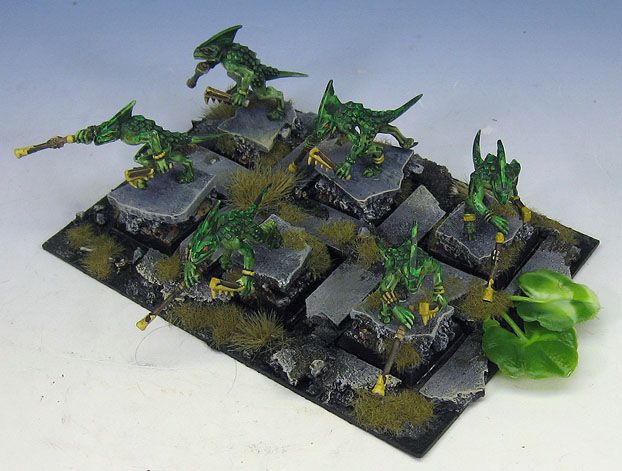
Now it's time for final highlights, and for adding some plants and flock. I used some of the same Aquarium plats as I had on previous units, and brought out a few kinds of flock and static grass.
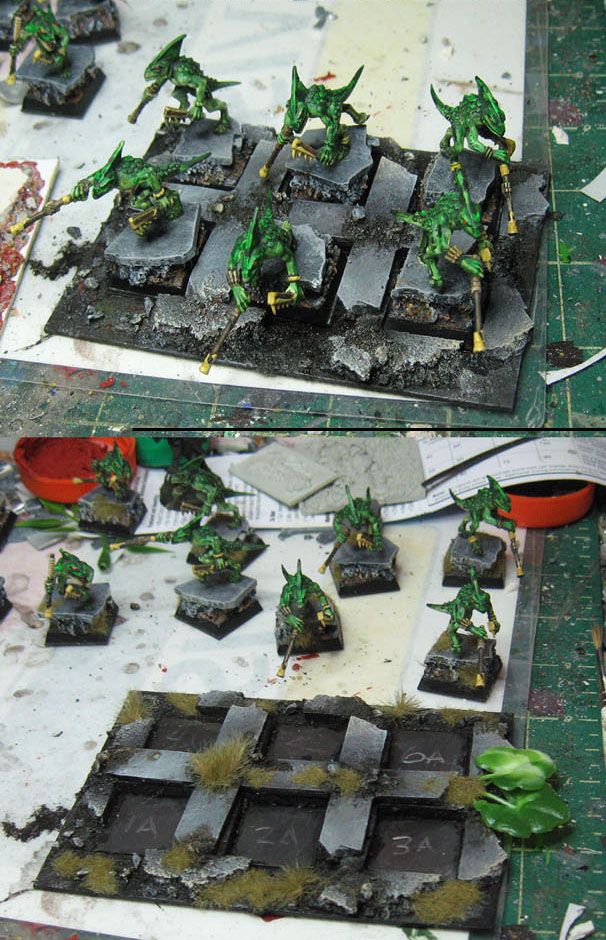
Finally, I number all the of skinks, and their places in the tray. I use the direction of the numbers to tell me how that particular skink should be facing so that it fits on the tray and looks good from a compositional point of view :-)
No comments:
Post a Comment