When we last saw our intrepid Axis partners, things were looking a wee bit dicey. Since it only took four victory points to secure an Allied victory, each unit was of vital importance.
I was unable to move the heavy German units on the right very far, since the order cards just weren't there.
However, that would soon change, as they launched an all out attack on the US infantry squads.
The damage was not as much as I had hoped. Fortunately, the US was not able to do much in response... leaving them even more vulnerable to my heavy units.
Just the trick! A massive attack, spearheaded by all the armor I could bring to bear.
The American units would suffer heavily, and the survivors were forced to flee!
This put a serious dent in the Allied offensive, and gave me a chance to re-position my units.
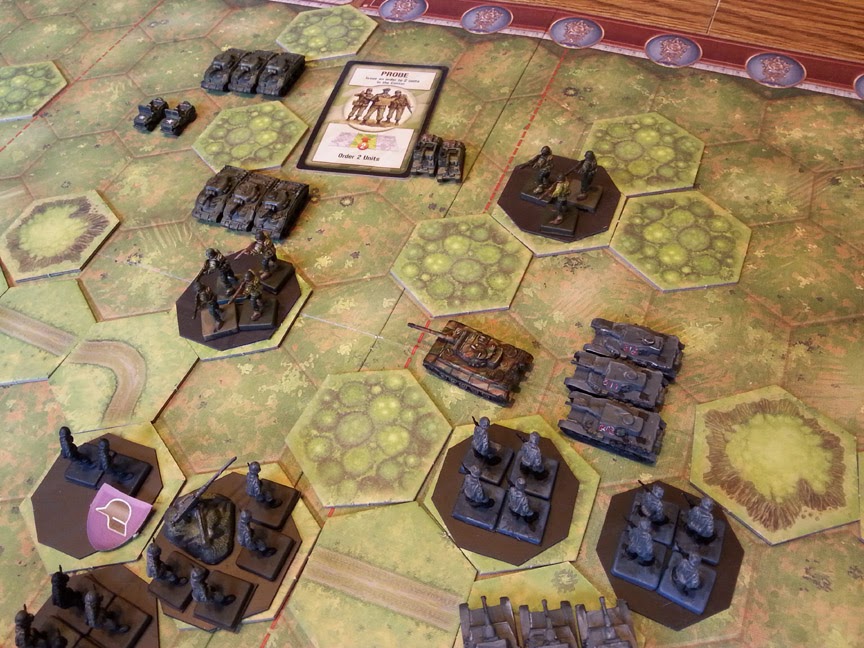
Yet another all out advance. Even the infantry units join in. The S.S. squad valiantly assaults the tank unit, wiping it out!
More American infantry units suffer major losses and retreat. These critical delays allow me to press my own offensive.
Alas, the S.S. unit ends up sacrificing itself in an effort to take out the mobile artillery.
Worried about the heavy losses they had taken, and the menacing approach of Tiger and Panzer units, the survivors of the American infantry dig in.
However, my spotters notice this action, and give advance notice to my own troops. Clearly more well trained and battle hardened, my own units dig in for an even more solid defensive posture.
This meant that I could unleash my Tide of Iron without the worry of giving up those last few victory points. That is, unless the Capitalist Pigs are able to eliminate those Italian units which have been trapped in the town.
The Americans attempt to bring in their own feeble Sherman tanks in a desperate move to eliminate on of the dug in German units.
Somehow, that unit survives! This means that I can set up one last final push...
Look out! The US have a prime chance to kill off that last member of the infantry squad stares death in the face... and death blinks!!!!
Now for my Ace in the Hole. A card that allows me to move any four units of my choice. This spells doom for the Americans, as I can now surround one hapless mobile artillery unit.
They are so frightened by the encounter, that they become mobile enough to flee off the board... thus ensuring an Axis victory!
Rich did a great job writing this scenario, finding as much balance as possible. I really should have lots, but 4 key cards allowed me to stave off destruction and launch those deadly counter-assaults.