Let's continue with the scratch sculpted Laffly truck.
This image shows that I have finally begun to apply actual 'regular' paint colors!
Yes, until now, everything used has been primer. I believe this was a German Uniform Grey from Vallejo. It was also painted on to most of the anti-tank gun and gun shield.
With each layer, a little more shape emerges. As I mention all the time when I'm demoing this sort of thing. I like to cheat a bit with the placement of my lighter colors. I try to place them strategically in areas where I want to have more paint chipping.
Doing so makes it a lot easier to show chipping, and the resulting rust streaks flowing down the diagonal or horizontal surfaces.
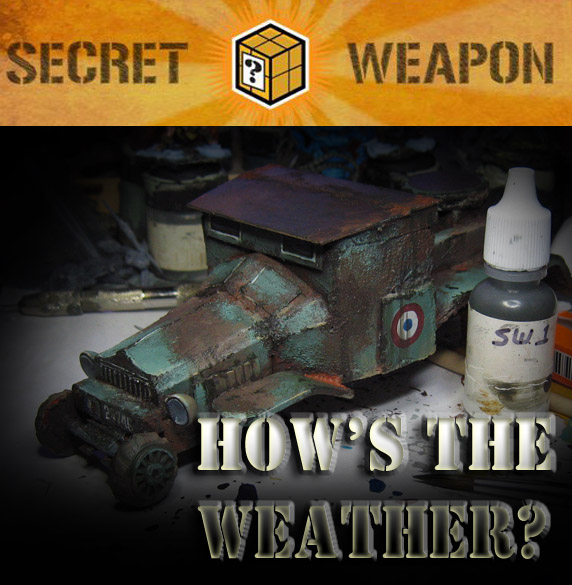
I wanted to try something with one of the new Secret Weapon paints to create some dried mud effects in a hurry. As a reminder, I had very little time to paint these guys! This meant trying to get the most out of every single application of paint.
I watered down this color, and hoped that it would sink down into crevices like a dark wash. It did just that, because it is designed for just that purpose! I dabbed away some of the excess on the raised parts of the tire treads, leaving the deposits behind.
I had all six tires dusted up in no time at all! I'm sure this would work just as well on tank treads, so that's in the cards when the time comes for my own tanks.
I thought that I could 'kick up' some dirt deposits on a few areas around the tires. There are no mud flaps on these, so I tried to anticipate where mud might be kicked up onto the bottom of the chassis.
Much more will be added to these when I get a few spare moments, including some weathering powder and crushed glass mixtures with realistic water.
That method would give areas like these even more dimension, as the mud would have some glossy moisture to it, and more 3D shape as well.
One way I knew I could save serious sculpting time on both of these vehicles was to paint in small details instead of actually sculpting them. In this case, painting in the grille, headlights and vision slits on the cab gave a better sense of shape to the entire vehicle.
Ideally I would have liked to sculpt it all, but that was not the plan.
As I painted in those unsculpted details, I painted some insignia and markings.
While I could certainly add more later on, I felt that putting just a few hints here and there would break up the larger open surfaces, and make the green appear less monotonous.
This Secret Weapon color has become a favorite of mine, since it works wonderfully for so many techniques. I am able to add paint chips, streaks, and even oil stains with this one color alone!
When it is thinned down, you get a fantastic greenish shade which you would not expect at first, since it is a brown after all. However, like many of the new paints, it is designed to do more. It is supposed to change color and tint when thinned down. Quite handy!
There are a few different paints that work perfectly for rust as well.
I used this to enhance the rusted areas that I initially created with the orange primer, and to add some extra depth to some of the paint chips with rust streaks.
The underside of the chassis got one more layer of rusty paint once the wheels were glued on.
Paint chipping and rust were added to the gun and shield. I am very glad that I magnetized this piece, since I could potentially use it as a regular gun emplacement or even a tow.
Stay tuned, because there is still some quick additions to do on this guy to finalize the painting. I want to add some quick foliage and see what happens!
Then I will be sure to get you some shots of the finished vehicle, and it's companion.
One of my favorite videos in my Painting Pyramid series that I created was A weathering and battle damage instructional video. It's 100 minutes long, and shows many of the same techniques you have seen.
This is a preview video that gives you an idea of what it's like: