A collection of images that feature my painted miniatures. It features many of my award winning figures and terrain pieces painted since 2001.
Pages
- Home
- Blood Bowl Teams
- Step By Step: Painting a Predator
- Using the 'Shaded Basecoat' Technique to paint Saurus warriors
- Step By Step armor for Tomb Kings Horsemen
- Step by Step painting of a Gamezone Cold One
- Painting a marble and tile flying base
- How I photograph my miniatures: A window into my photo booth
Friday, June 22, 2012
Two minutes for boarding... the second round of painting images of the army board.
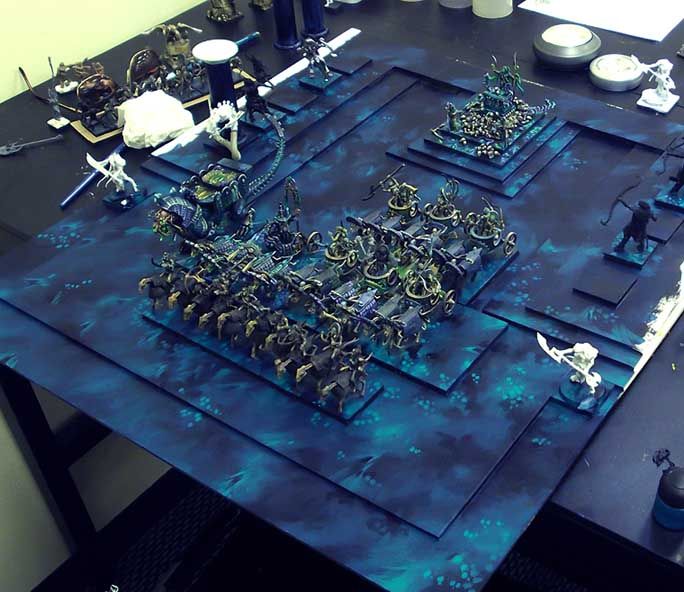
This post gives you the rest of the WIP images of the process of painting the army board. Once again, I cannot say enough how impressed I was with the magnetic primer!
In this image, you can see more of the eyes begin to emerge as they get a bit of an outline...
This is carried all throughout the tomb:
I also made sure to continue carrying the patterns onto the bases of the units. It slowed me down a bit in painting the overall board, but it needed to be done anyway! :-)
A closer view of this...
I made sure to do the Ushabti bases as well...
At this point I started to define the skulls more clearly...
Another closer view, this time showing the more advanced skulls...
The next post will have lots of pictures of the construction of the upper, or "ground" level.
Why does it always have to be snakes? Tomb Kings Armies on Parade WIP
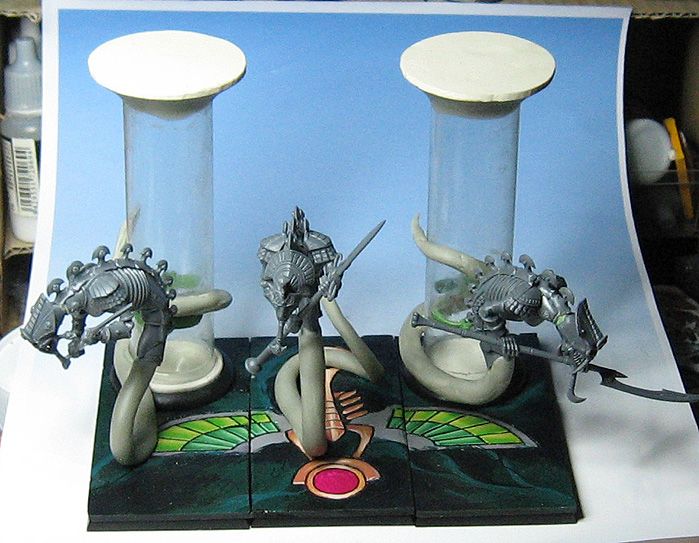
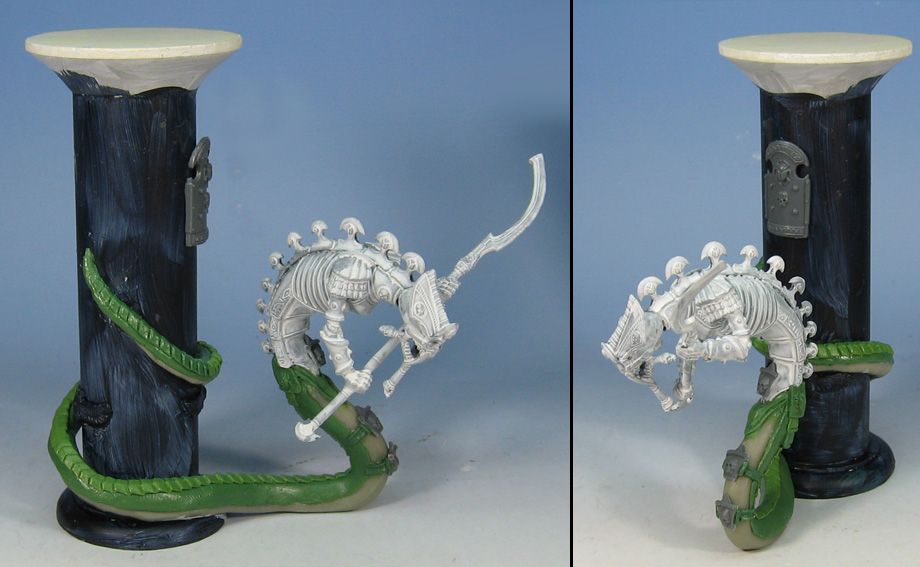
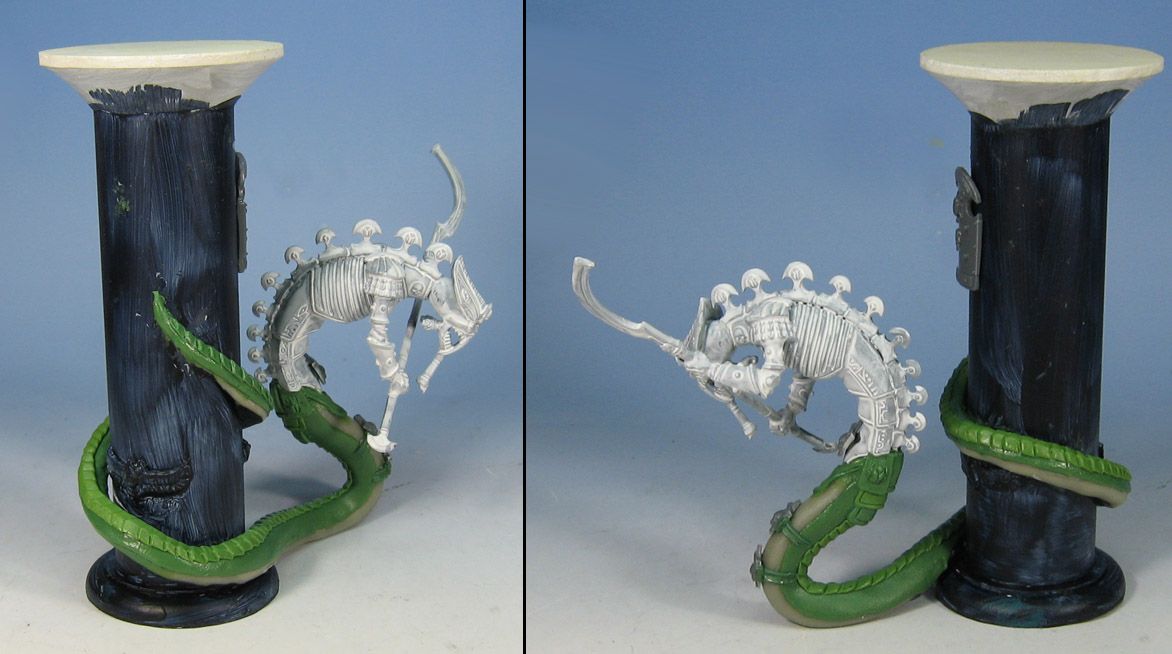
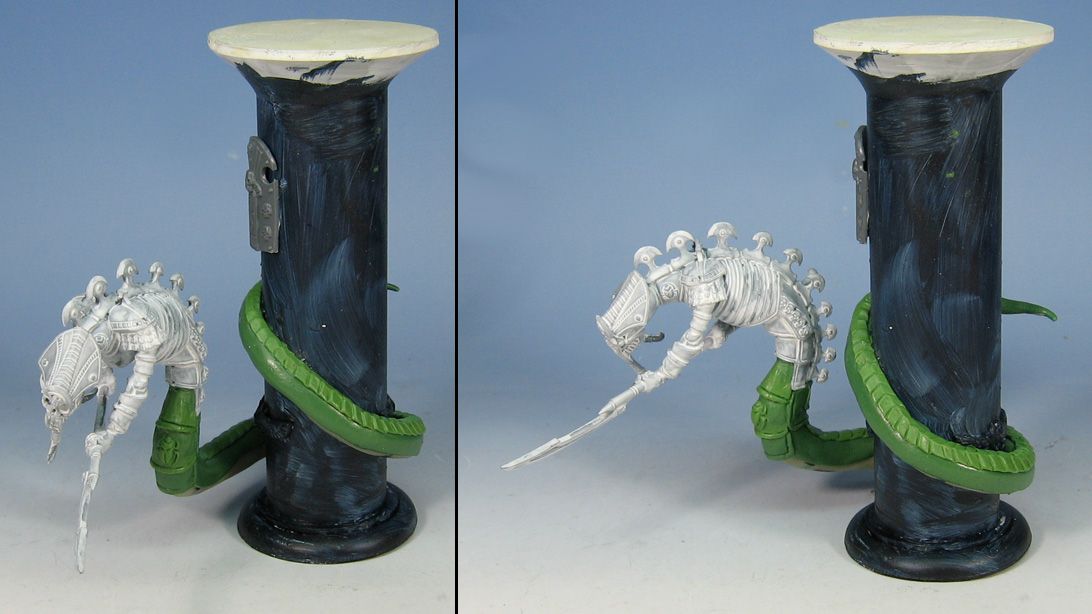
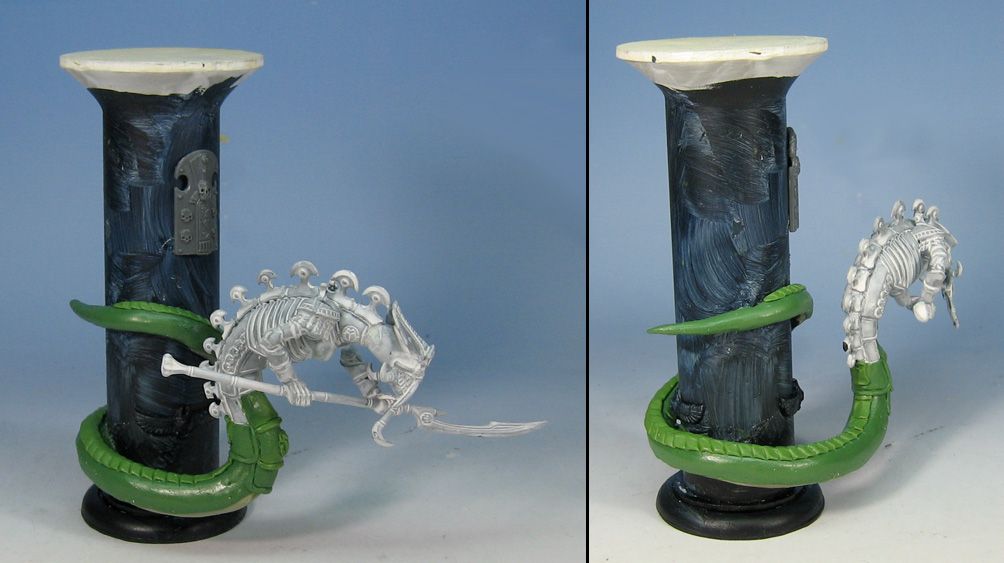
After another late night, we have some Stalkers ready for painting. As most of you have already seen in the post about painting the interior of the tomb, there are some sneaky snakes coiled around a few of the pillars. I have had to change my original idea a few times. This was the first concept:
Originally, the whole unit was supposed to fit into place underneath where the Empire guys were digging that hole. However, it became very clear when I positioned the pillars in the sketch that this may not work out. Once I went to the actual board assembly, that was the final word. I would have to have each of them out "on their own", so to speak.
Now, these are magnetized so that when I need them for a game, they will go on bases already set up for them.
The basic part of the coiled snake is made of Apoxy Scuplt, with layers of green stuff over that. I had to scale back on my original sculpting plans here, since time's a wastin'!
Subscribe to:
Posts (Atom)