
With the completion of the Ardennes summer forest board, it is time to move on to winter, and the tundra mat from TableWar!
Just as I have been doing with the Cobblestone and forest mats, the real intent is to show how to match your scatter terrain pieces to the mat itself, so that they don't seem like an afterthought.
With the cobblestone board, the primary method to match the mat was to carve in the actual cobblestone texture on the 'bases' of the buildings.
On this mat, the challenge will be to get patches of snow, as well as greenish and brownish spaces as you see on the mat.
Each of the mats from TableWar have the carrying case, which is also a great way to keep them from getting damaged when they are rolled up! I am also very glad that they are rugged, and I don't have to worry about the mat getting any kinks as I try to place it on the table.

As you saw in the last tutorial, my initial winter terrain pieces were corner sections, which not only anchor my backdrops, but are a great way to add some height to your board using scrap pieces.
You can see those here:

I had done some quick airbrushing on these pieces, using the Badger airbrush (with the Stynlrez primers and regular airbrush colors). I wanted to wait on applying foliage and snow until I had a chance to look at the mat close up, and see what approach I should take.

As you can see, I have a variety of colors and grades of flock, ranging from very coarse to very fine. I tried to pick foliage colors that matched what I saw on the mat.

Instead of using the spray adhesive as I did on the summer forest pieces, I will use some watered down glue. While covering the whole terrain piece was in order for that board, you can see that I only want to have some areas covered, leaving more rock exposed.
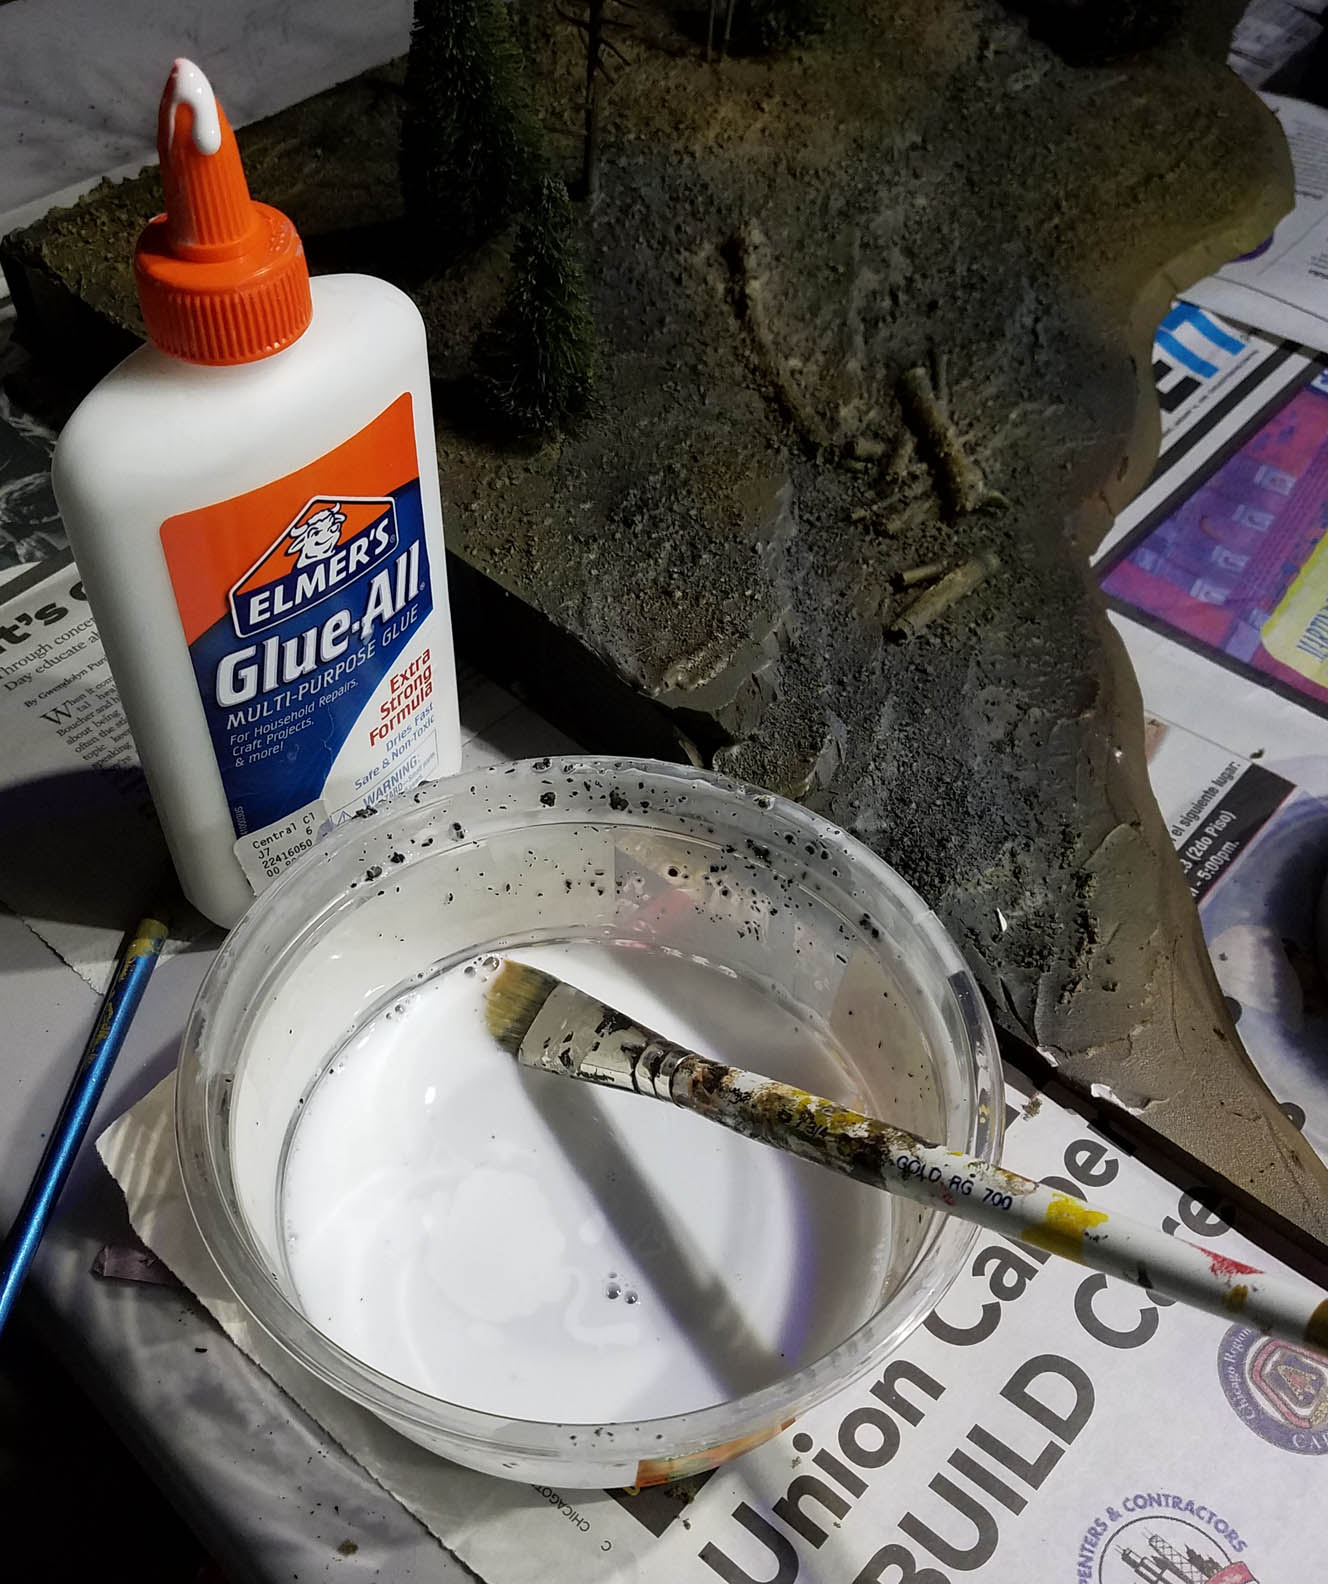
The watered down glue will get down into all the crevices, and also soak into the flock. Otherwise, the flock may just sit on top of the thicker Elmer's glue.

I started out by placing some of the heavier flock, mostly the two shades of brownish green. As I mentioned, it was important to leave exposed sections, such as my rock steps and the logs. This can't be quite as overgrown as my lush spring/summer board!

I worked my way across the entire piece, doing small sections at a time. Here and there some finer flock was added to get some variety and dimension.

The next post will showcase the addition of the snow, which is a combination of materials and techniques. Then we will see what these pieces look like on our mat!!
Stay tuned!
As always, if you want to see more tutorial articles like this, you can support the Patreon Page, which allows me to do more projects like these. Many thanks!
