A collection of images that feature my painted miniatures. It features many of my award winning figures and terrain pieces painted since 2001.
Pages
- Home
- Blood Bowl Teams
- Step By Step: Painting a Predator
- Using the 'Shaded Basecoat' Technique to paint Saurus warriors
- Step By Step armor for Tomb Kings Horsemen
- Step by Step painting of a Gamezone Cold One
- Painting a marble and tile flying base
- How I photograph my miniatures: A window into my photo booth
Saturday, August 18, 2012
Never forget the snakes!
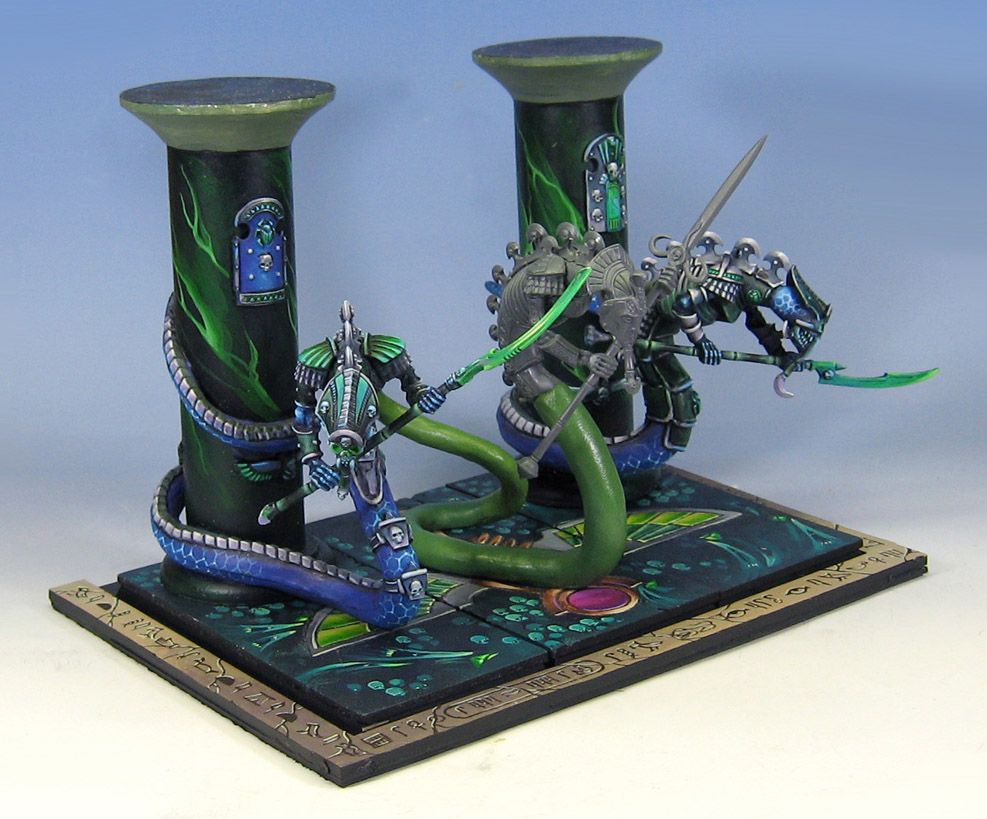
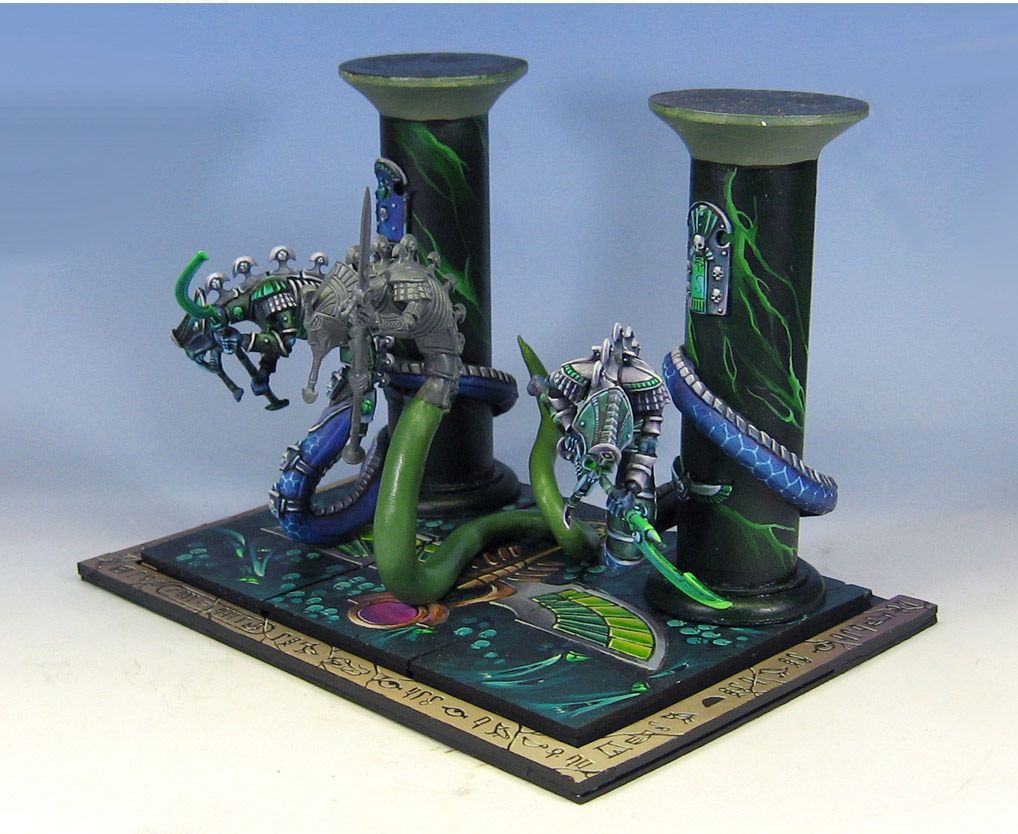
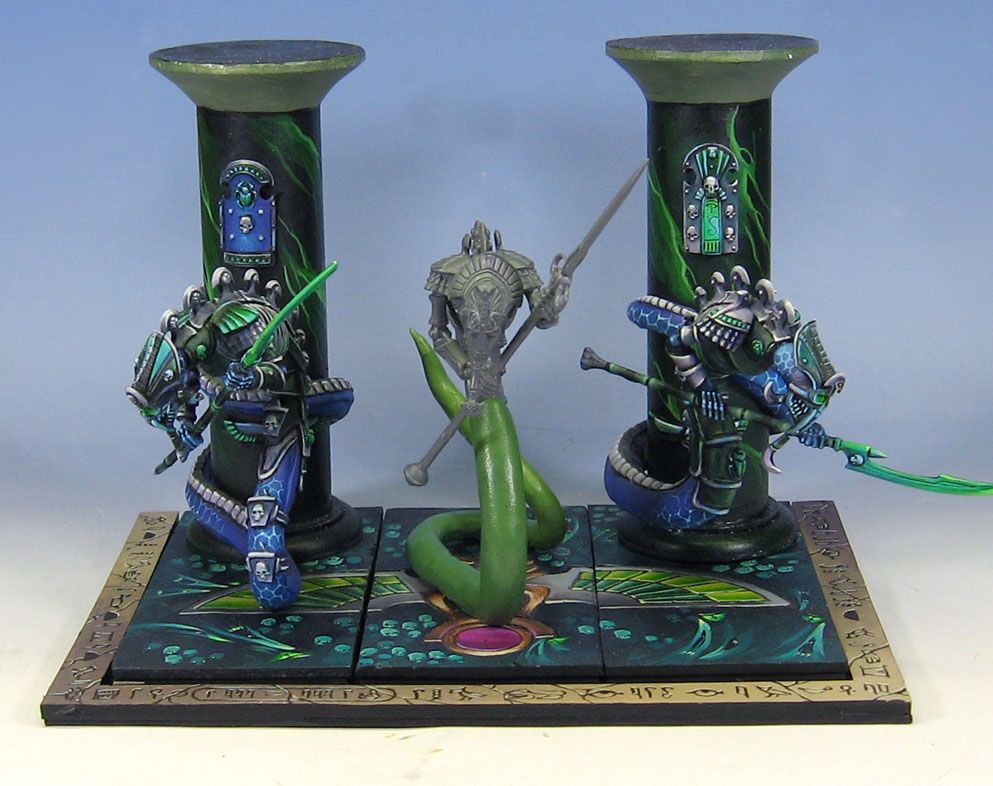
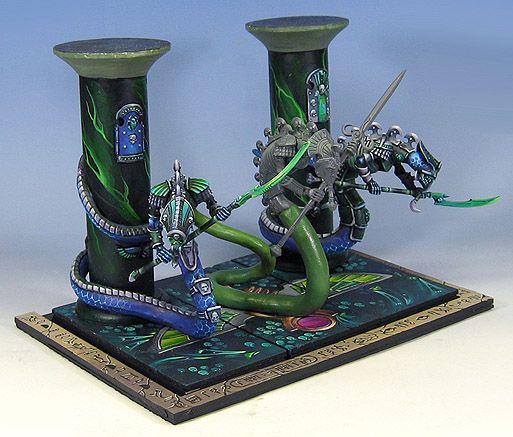
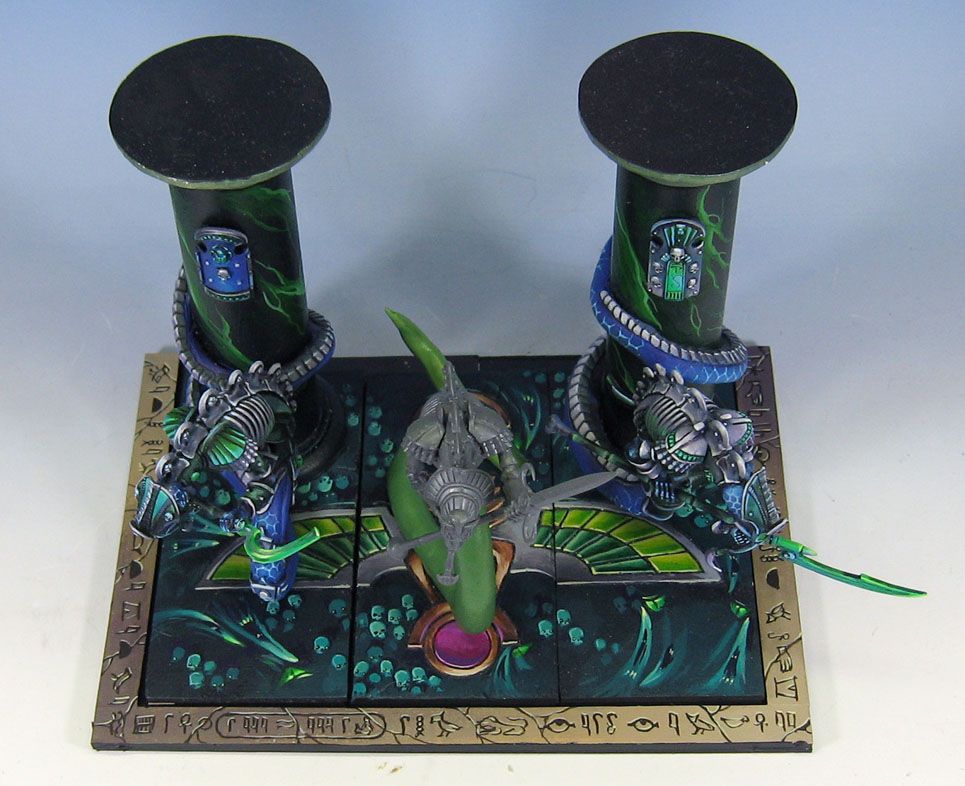
No, I have not forgotten these guys! I have been doing a little bit on these figures every so often, adding some green stuff if I have it out already, or painting the tray when I have another on on the table, etc.
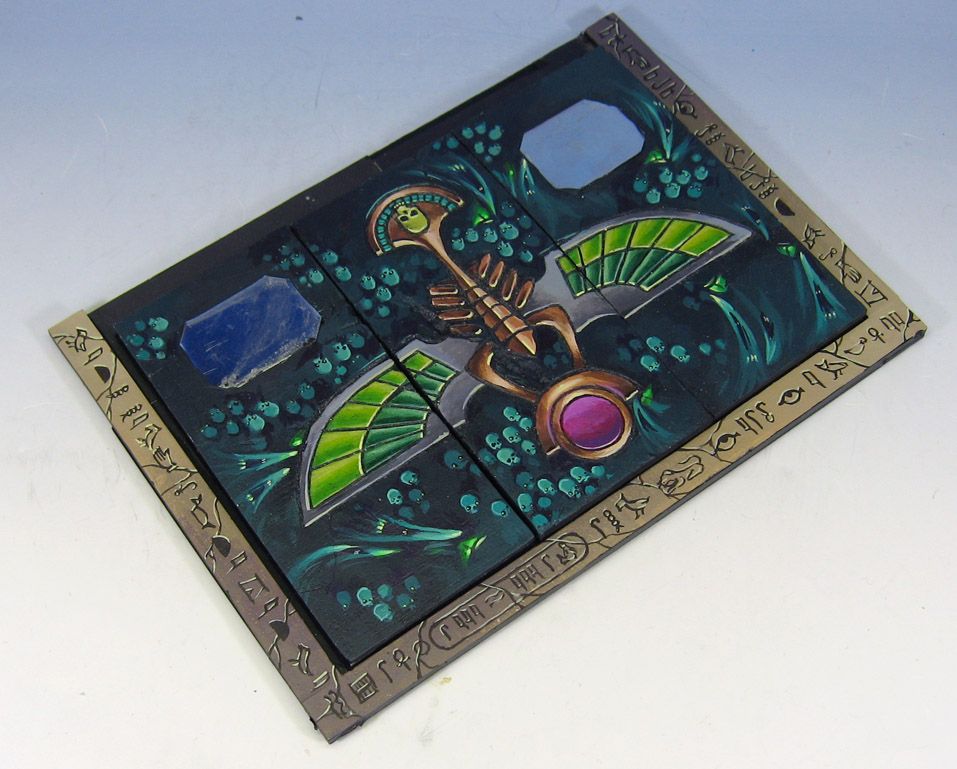
In these top views of the tray, you can see a few pieces of metal. The two magnetized stalkers stay on there very well, and can be removed easily to claim their places in the Tomb.
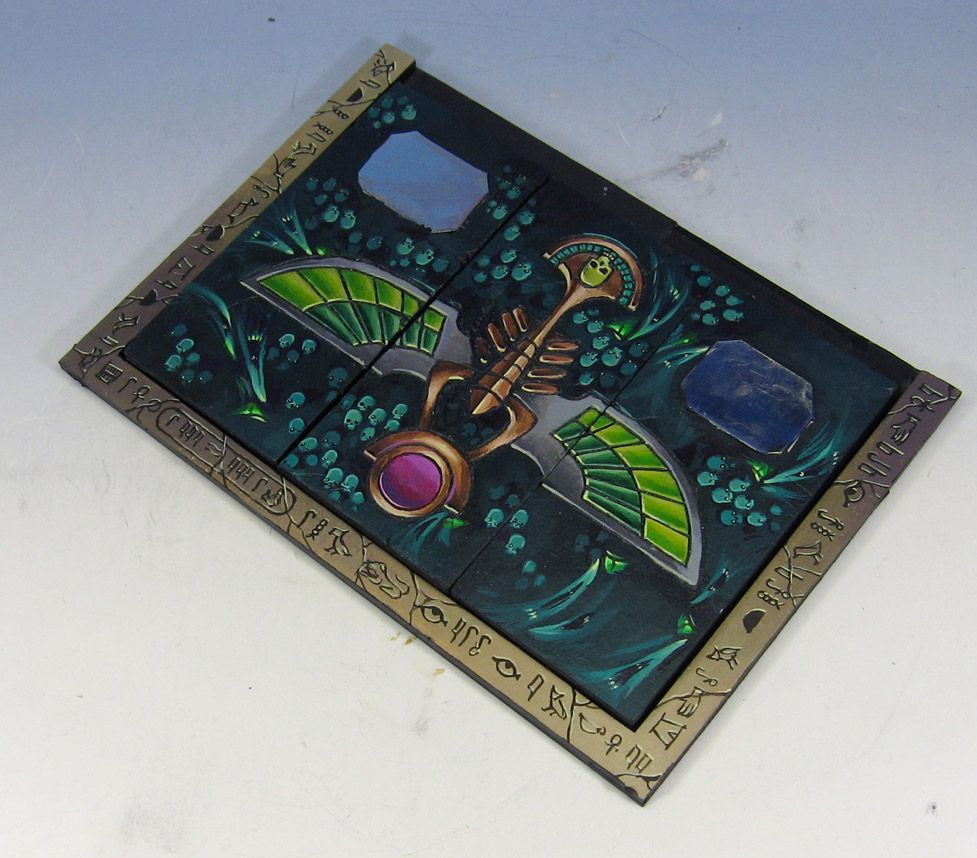
You can see some green stuff on the last stalker. He will be ready for some paint pretty soon!
Look what Babo found!!! Yummy!!

Forgeworld Zhuphor
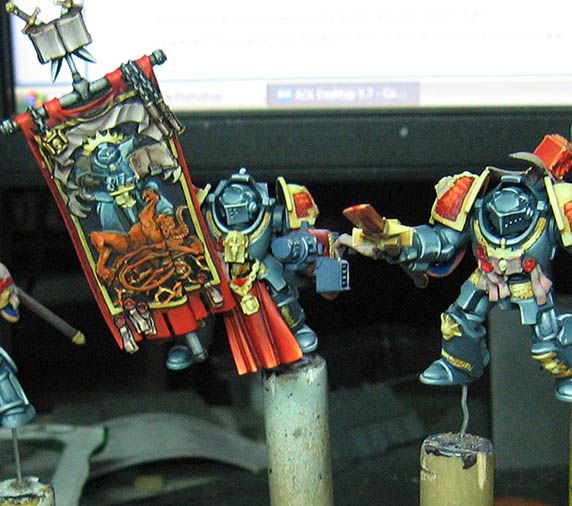
Look out, more Grey Knights...
Well, Slate Knights, perhaps. :-)
Here is a color of Grey Knights which I have not painted for years. It is the original scheme that I did for my own Demonhunters back in the day. Of course, all the available paint colors today are very different from the ones that I used in 2007!
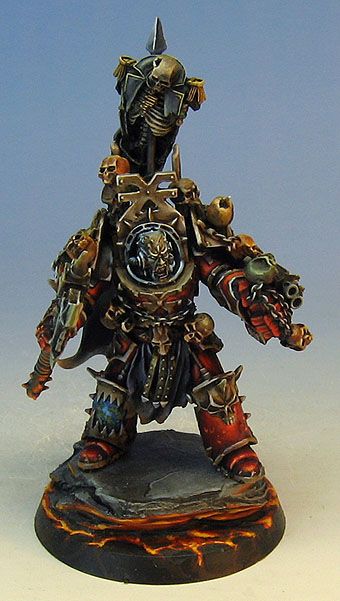
There have been a few questions lately about how the whole "Shaded basecoat" deal works on Space Marines. I thought some images here might give an idea of how that works. There is an even more controlled 'drybrushing' that is used. It is really more like wet drybrushing, if that does not sound too crazy.
These guys are just about ready for all the glazing and tinting. The darks will become darker, and the midtones will be darkened and cooled down on the golds and reds.
I will post some images after all the glazing!
Subscribe to:
Posts (Atom)