
Here's the last of the big bases.
This series has been an experiment on a few levels. First, I wanted to see if this size might be better for the instructional videos that will show you how to paint marble and tile, as it might be a lot easier to see on these huge bases!
Second, I will be putting lots of casualties like this poor lad on my Adepticon Dark Eldar bases, and I wanted to try out some things.

So, like the others, I started out dark, and then did some lighter drybrushing with a cooler and a warmer light color.

I even put some on the casualty, just to get a feel for the lights and darks on the armor...

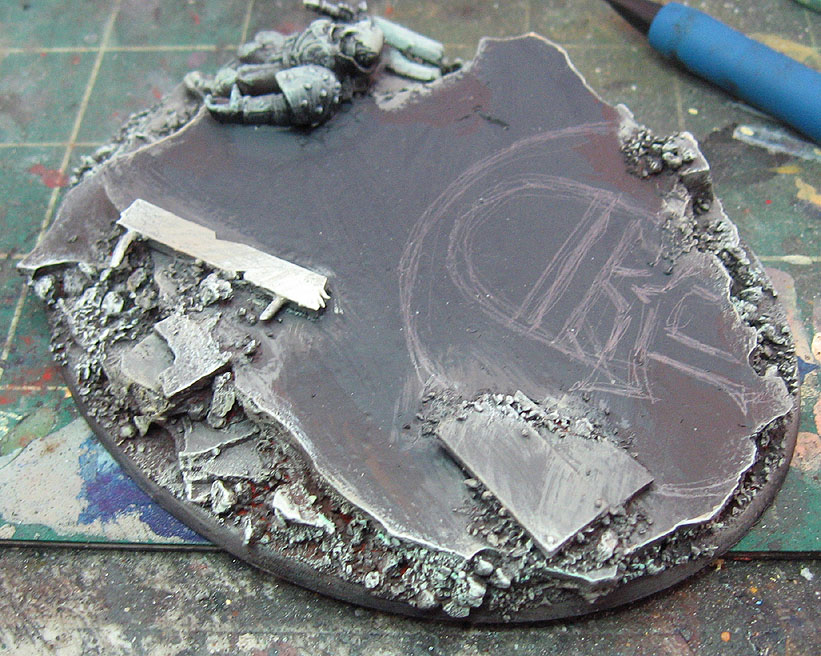
Then it was time to draw out the design...
Then painting in the black...

And taking the Intermediate blue to start putting in the marble texture.

It was lightened just like the previous bases with the USMS highlight.

And then the liner brush was brought out to get the finer and lighter veins.

Now it's time to start working on our casualty!

We will concentrate on him in the next post. Stay tuned!
I have found on several of these big bases where I have the casualties that the Sanguinary Guard legs are fantastic for that lying on the ground pose. I wish I had lots more! They would make life so much easier for my casualties on the Dark Eldar bases. I guess it is time to try to hunt some of them down on ebay...


