
Part three of the Monte Cassino display board sees it starting to take shape! Of course, it would not be much use as a display or terrain board of miniatures could not fit on it... so let's see a few on the board!

The Machine Gun and Mortar teams were based to make it look like they were taking shelter in the broken colonnade. While this was done to make them mesh with the display board, it proved to be very handy in making little shelves for them to put all their stuff on!

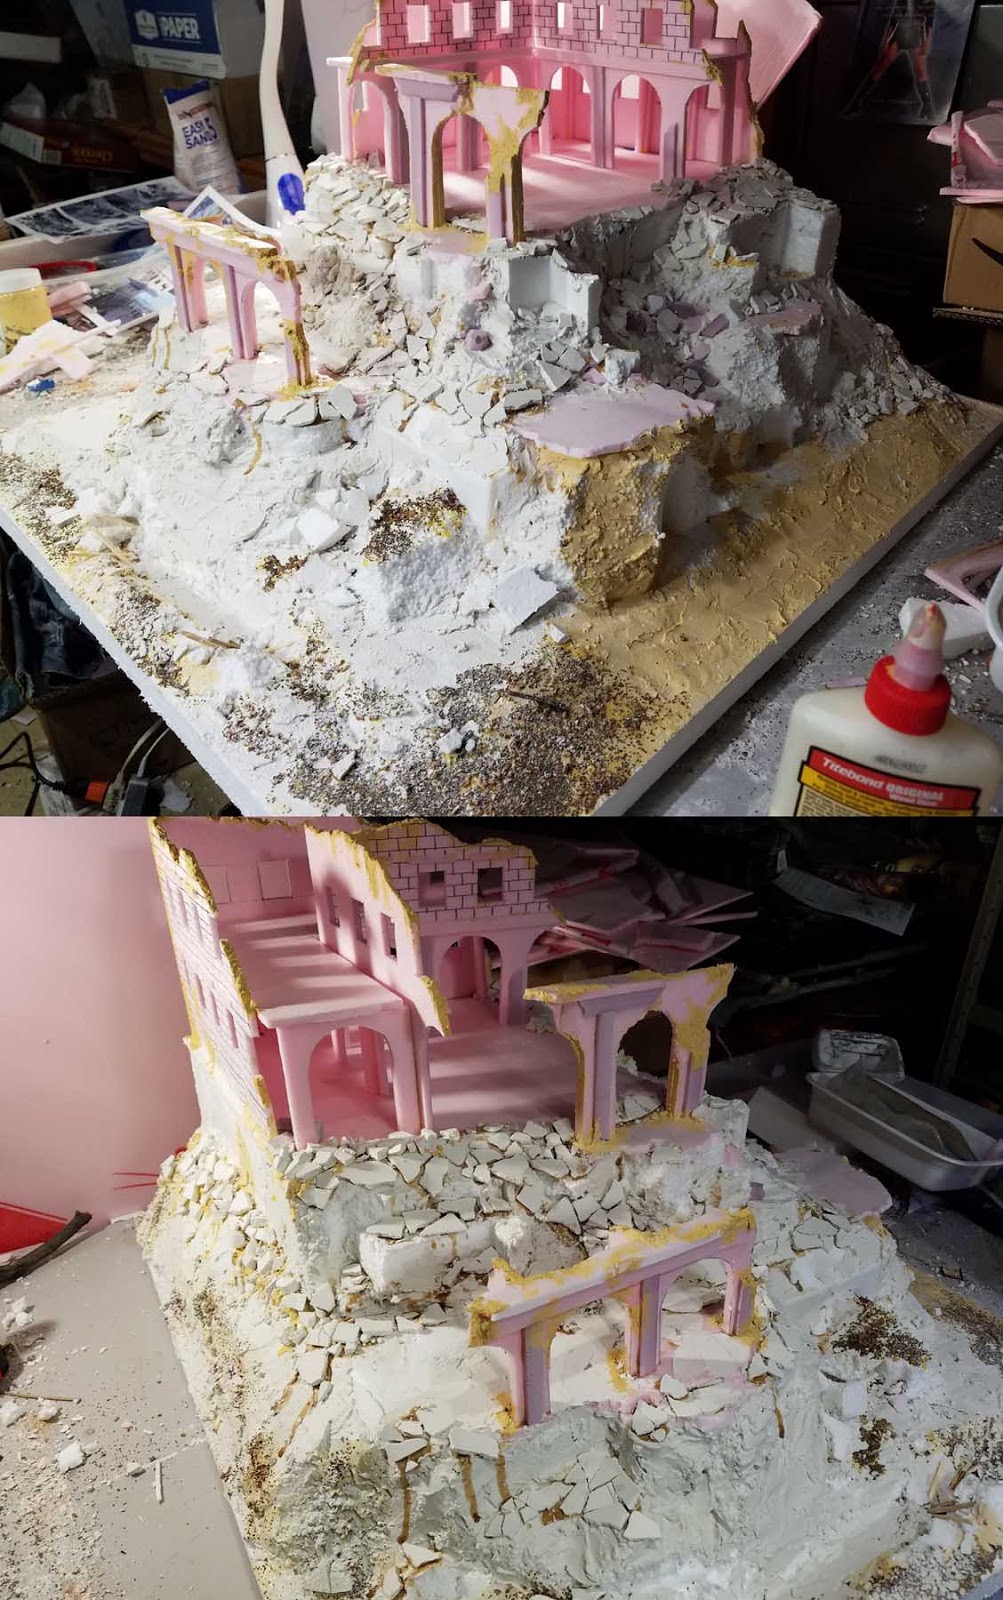
Now for the cascade of broken tiles and walls!
Just as I described in the previous episode, I pressed the pre cast pieces of plaster onto the surface, with the pressure creating natural breaks in the pieces.

This process was repeated all across the display board at various levels

I had to make 5 or six "casts" of plaster, and I varied the thickness on each. The inset really gives you a sense of what it looks like up close!

I did have to be careful to keep my 'platforms' clear, however, or there would be no place for the support weapon teams!

I also needed to add some details to the existing walls, such as the stone sills and the brick texture.

I did that very quickly with a pen, trying to extend the pattern over both walls.

I like to put some Oxide Paste on the tops of the broken walls, which makes them seem less like foam, and that the bricks may have been pulverized, etc.

I wasn't going to have lots of extra time to do my usual layering of coarse to fine gravel, so I opted for focusing on the areas which had the least broken plaster bits.
I was going to use some fine flock instead... as I have learned of previous pieces that it almost looks more like dirt/dust than painted sand!

The yellowish material that you see if wood filler. I found that it can be very good at filling wide gaps, since it is very strong and flexible. Once that is in place, a thinner layer of plaster can be added over the top.
I think you can see the plastic container in the lower left.. That had left over dried chunks of plaster in it, which made ideal smaller rocks!

I tried to keep the overhanging pieces a bit on the thicker side, and they were set into the glue/plaster mix. I worked my way all around the Abbey, proceeding down each level of the collapsing sand castle.

The gently sloped lowest level is meant to hold a vehicle or two, but also serve as an easy place to "connect" the other pieces of the terrain board.
Here it is with rubble and gravel applied!! Stay tuned for the next episode !!
