Sunday, September 14, 2014

More from the Forge


Time to paint some more bases for Mechanicum big guys!  These are also from DragonForge Designs.


If you are familiar with all the other Mechanicum bases, I have tried to keep the same set of colors working on these two.


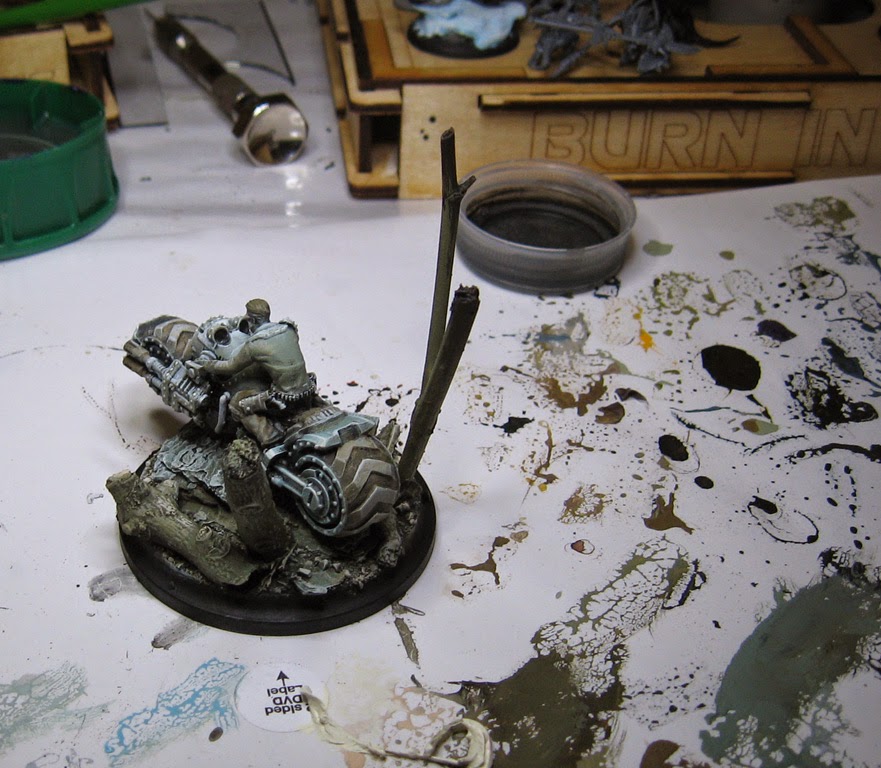
This means having a balance of reddish, green and even some yellow hues in the stone areas.


In typical Shaded Basecoat fashion, I went a little bit lighter to make 'space' for the later glazes.


To get some color contrast with the stone areas, the metal plating was immediately painted in a blue/gray.


You can see the "light to dark" transitions, especially on the right hand base.  It also contrasts a bit with the light areas on the 'warm' colored stone.  Light against dark.  Creates interest!


Still working lighter, but now putting in some 'warmer' grays... even in the metal areas.


Working lighter still...


A few colors on the wires!


At this point, the Shaded Basecoat phase is nearly complete.


Which means I can toss down some food at the workstation and actually see a play or two of Today's games.  Then it's right back to it, and the glazing/shading.  Stay tuned!!


When you fight the Law...


While working on other things that were using a similar set of colors, I thought I would get some paint on the Lawmen Light Support so that Rich and I could continue on the learning process of the WWX rules system!


This is what the vehicle and base looked like right after the Shaded Basecoat phase.  As always, the idea is to establish as quickly as possible where the lights and darks will be.  It's also supposed to set up all the subsequent glazes and shading.


Precision is not what I am after... it's about blocking in some general colors, keeping it as simple as possible!


Even though most of the values are far lighter than they will eventually be, you still get a sense of how the value pattern will play out.


Yes, they're back!  Secret Weapon Washes at the ready!


The usual suspects out on the palette, ready to shade the base.


And then to the bike itself.  Once more, I am trying to tint colors and shades as well as darken them.  To do this, I make sure that the glazes change color and tone as I move quickly across the figure.


The parts that I thought might be metal were hit with blue/black washes, while other sections got much warmer colors.  Keep in mind that doing several layers of glazing to get to your darkest dark is key.  It does not take much time to place all those translucent layers... not like many opaque layers :-)

Stay tuned as I work back into those middletones!