Showing posts with label Basing techniques. Show all posts

Thursday, June 20, 2019

Snow and Ice


Yet another episode of Painting Dark Sword is complete!  This had a few interesting twists, starting with the miniature itself.  There is an entire line of Game of Thrones figures withing the Dark Sword stable of sculpts, and this Spearwife is the very first!


I was also trying to show what it is like to match a color scheme that you have never seen before.


Finally, I wanted to present an alternative to my usual Crushed Glass method, because it can be difficult to get those materials outside of the US.  I used a combination of Woodland Scenics snow flock and Vallejo Snow texture.  

I have used this method on my Bolt Action figures, and it is a nice way to get some snow with texture and even tinted with some color!


Here's the finished result.  I think that I will have to try an replicated this on a few of my own Spearwives from the Song of Ice and Fire miniatures game!


There was also a freehand pattern which needed to be matched, which was one more challenge.  I show a quick way to figure out a pattern on a separate piece of sculpey in order to familiarize myself with that design.  It makes it MUCH easier to paint it on the figure itself.


Finally, I wanted to discuss putting some of your own personality or look on the figure, even though you are replicating a scheme done by someone else.  It can be very subtle, or very dramatic.  It is very important to think through something like that before you get too involved in painting the figure.


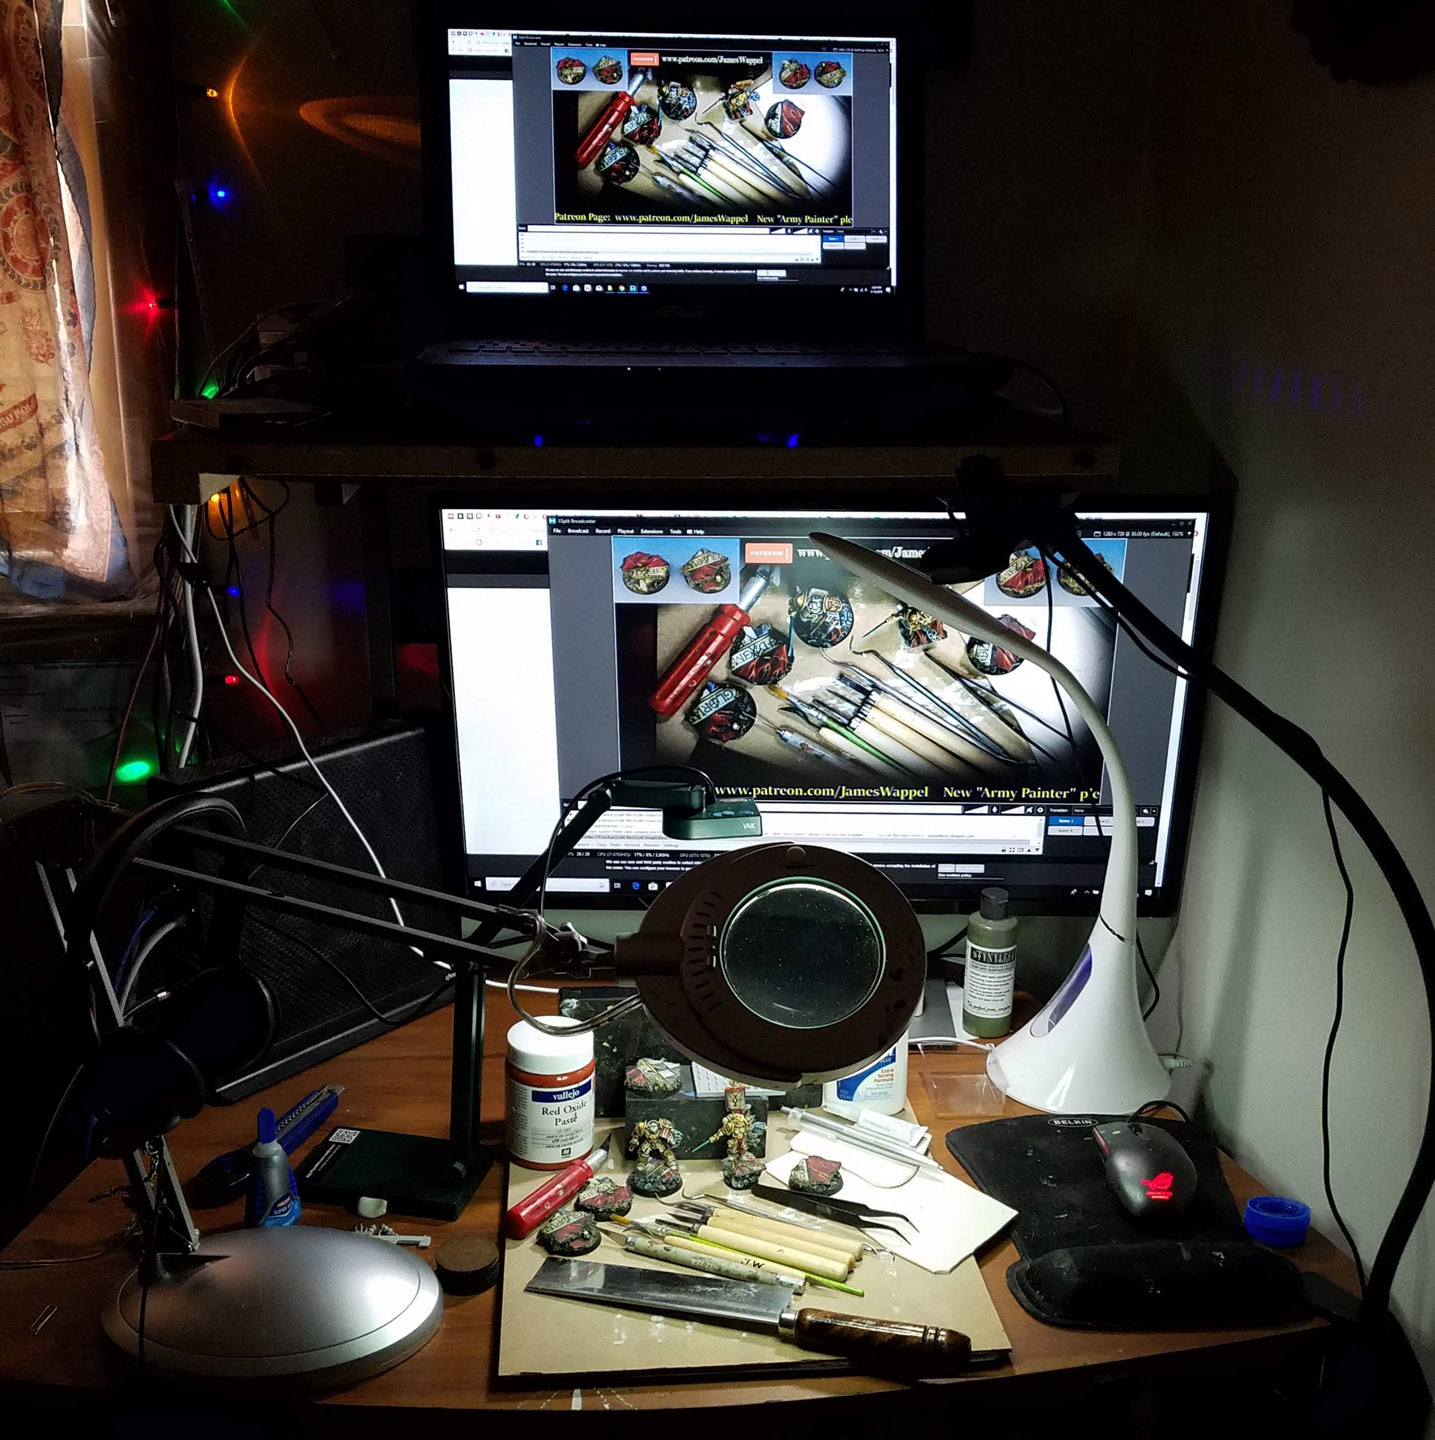
More Dark Sword videos are under way right now!  The $10 pledge will provide you with all previous episodes, as I try to make these "build" off each other.  You can find that here on the patreon page: www.patreon.com/JamesWappel


Friday, June 14, 2019

Lady of Anguish


As some of you might already know, I have been creating painting tutorials on the Creature Caster figures, which I really love!  I have 8 of them in various stages of filming right now, but the first is complete, and a few episodes are on the YouTube channel for you to see.  

This is episode 1 of 3: https://youtu.be/jyaCXWRPPdw


That first episode focused mostly on the wings, and establishing the color scheme overall, working from a few reference images of butterflies.  I was also using the Pro Acryl paints.  The basing was very important, and that is also covered in great depth.


The second episode of the 3 part series involved the rest of the body, in addition to the face and weapons.  I was also getting to know the ProAcryl paints a little better, after my first test of the paints in this video: https://youtu.be/sFsQ4VrQG44


Here is a link to that second episode:  https://youtu.be/gverWb5dj9k


I really enjoyed creating this series, and the three episode format is what I will be using for the rest as well.  The next series to be released will have the Lord of Slaughter painted as a firey demon: https://wappellious.blogspot.com/2018/07/flame-and-ash.html


Here are some more views of the basing, which included water effects, cut leaves, and even some painted moss!


The concept behind this was to show how to create a very intense color scheme with a "limited" palette.  I did not use many colors, but choosing the right set can let you create all the tones that you need.


The Pro Acryl paints can be used in a variety of ways, and I will certainly be discovering many more along the way, as the line continues to expand.  More of the newest paint colors are on the way here so that I can test them out with the original release!


All of these series will be available to the Patreon page subscribers at the $5 level, but I also have a high level pledge which includes the figure itself.  You can check that out here: www.patreon.com/JamesWappel


Tuesday, June 11, 2019

The peacock and the skull


Here are a few bases that I created in very little time utilizing some Green Stuff World basing products.  First, we have the Mandala texture roller... here's a link for you: http://www.greenstuffworld.com/en/textured-rolling-pins/868-rolling-pin-mandala.html


In combination with a few layers of cork and placing some Sandy Paste in the gaps, this Dark Sword figure is all set for painting!


Cathy will be painting this on her live stream in association with More Than Dice a Podcast.  She streams every Tuesday through Friday from 3pm Central to 5pm.


I think she will be going with a peacock motif, using the wonderful Jade color from the Pro Acryl series!


Cathy will also be painting this Reaper figure, which was based with the help of the Green Stuff World Crunch Times skeleton sheet and some additional skulls.


Once again, in combination with the cork and paste, those could be merged together quite seamlessly!  I have a tutorial video showing how those are used here:  https://youtu.be/ECA4rXwSAjU


Be sure to check out Cathy's live stream, where she will be working on a few different figures during the week.  Be sure to say something in the chat, because she loves the company while she paints!!!


Wednesday, May 29, 2019

Savage Blood


I have been having a great deal of fun basing my Song of Ice and Fire miniatures using a variety of Green Stuff World products... the latest of which are the "Crunch Times" texture sheets.  I have been using the skull piles and skull and bones sheets to base my Free Folk units.


It is possible to break those up, and then use them for bot the bases and the movement tray!  In effect, you are creating a moving diorama.


In my latest basing video, I demonstrate how this process works: https://youtu.be/nnAX658rMd8


I also take you through some steps to magnetize the figures to the tray, which I have been doing for all my units.  This makes them so much easier to deal with as far as transport, but even on the table when you have to constantly move a tray around some obstacles or rotate them.  I have seen "explosions" in every battle report so far where a batch of figures go flying.


The priming process is just like this tutorial using the Badger Stynlrez primers: https://youtu.be/5pfwjapw98A


This "Pre Shading" process can make things much easier and faster when it comes time to paint the rest of the unit!


Here are a few of the "Color Test" figures.  This is an important part of the unit or army painting process, and something that is always covered in the second episode of every 5 part Army Painting series on the Patreon Page.  It is here where you can determine how long a given effect might take, and then you can multiply that by the number of figures.  

This way, you know in advance how much extra time that could add to your project, and you can either eliminate that effect, or save it for select figures such as champions.


I have a number of videos showing how I do the snow and blood effects, such as this one on Shaggy Dog: https://youtu.be/W8MCJm14IYs


I am almost finished filming Series 9 of the Army Painter Patreon sets.  As I mentioned earlier, each one is usually 5 episodes long, and takes you through each step of the process from initial basing to finishing touches!  By signing up for the Army Painting level (which is $15 per month), you also have access to all the other tutorials done for that month, and that means about 20 hours of video tutorials!!

You can sign up for the Army Painting pledge here, so you don't miss out on dozens of unit and army painting content!:  www.patreon.com/JamesWappel


Sunday, May 26, 2019

Rohan Begins!


The latest Army Painting series is well under way, with episode 3 nearly complete!  This time around we have Rohan, and that means an exercise in painting various greens.  However, every series begins with basing, and I chose to create some tree bark and cork style bases for the army.


While the materials are quite inexpensive and relatively simple, the results that you can get are second to none, and make each individual infantry figure a tiny diorama!


In each series I try to toss in something new and different.  Instead of using an airbrush to spray on my shading layers of Badger Stynlrez primer, I chose to go back to a time before we had an airbrush.  This means brushing on the primer by hand!  For years, we brushed on the Stynlrez  primer, and it always worked very well.


I used 3 different colors of primer to achieve the same sort of "pre shaded" look that I normally get with the airbrush.  It may take a little longer, but if you don't happen to have an airbrush, this is certainly a viable solution for you.


With the unit based and primed, it was time to move on to the Color Test figure episode.  It is at this time when you can assess how much time a given effect will take on a figure, which allows you to do some quick calculations on how an entire unit or army might require to complete.


I discuss this in every series, often timing myself to see how long it takes, and then multiplying that by the number of figures needed.  It can start to add up quickly, and it is best to find that out as early in the process as possible!


I don't know how many times I have heard people that I know giving up on an army project because they had ambitious goals, but no real idea oh how long that was going to take.  That lead to frustration and boredom.  After all, this is supposed to be your FUN thing, and not be an additional burden to endure each day.


With each series and "one off" tutorial, I try to show you how to break down that much longer, complex process into more attainable goals.  These let you see some progress each time, and also help you to decide what effects might be neat to do, but would ad too much overall time to get that project out of the way.


Even on this color test figure, there were a few occasions where I timed myself , such as the freehand on the shield and on the tunic.  If I decide that it too much to do on every figure, I might decide to save something special like that for champions or characters.  By making that choice before going on to the rest of the unit, I have made the goals more reasonable, and I am less likely to be upset later on when I realize that the original vision is just not possible.


The Army Painting pledge is $15 per month, and you get links to all the previous series when you sign up!  In addition, all the other tutorials on basing, Dark Sword minis, Creature Caster, Nocturna, Big Child Creatives minis will be yours to view as well.  It is important for you to see those, since I try to show more individual techniques and ideas that can be applied to army and unit painting.


As I mentioned before, the Army Painting Pledge level will provide access to all of the tutorials each month, not just the Army Painting episodes!  You can check out that pledge level on the page here:  www.patreon.com/JamesWappel


Thursday, May 16, 2019

Not so Grim Dark


As many of you already know, I have been spending many months try to acquire the additional equipment needed to create a second filming station.  It became clear a while ago that I would need something different to handle large scale figures, dioramas and terrain.


As I made more basing tutorials (especially those included in the Army Painter pledge levels), I realized that each session created such a mess that it would severely delay the creation of subsequent painting tutorials.  Between getting the tools laid out, the raw materials and so on, it would take longer to set up and clean up the area than it did to film the tutorial in the first place!

So, I slowly tried to bring in more cameras, lights, backup drives, and so on.  The hope was to be able to get one more high powered machine so that I could keep the current editing/rendering suite where it was, but that has not happened yet.


After a solid week of moving things around, I tried to create a second station that could at least be used as a basing tutorial station.  While all the physical pieces were now in place, hooking those up and turning them on was going to be a very different matter!  For the first attempt, I tried to make a new version of my Grey Knight bases.  This would be the "control" mechanism that would let me know how close I was to the original tutorial.


I thought it might be fun to go back to the past, before the Green Stuff World texture rollers.  This meant using some of my old method of carving texture into baked Sculpey sheets, which I had not done in quite a while!


This method is really easy, but gives you a ton of options.  Also, it set up an opportunity to demonstrate how to paint marble effects, which really are not possible with the texture rollers.


As it turns out, I had to go back to the primary painting station to film that part of the video, which turned out to be handy.  Now I can set up basing tutorials in advance, and not get in the way of the next painting video!  There will be some variation in how things sound, since I am using a different headset and the settings can be really difficult to match up on a different device.


When I started to film the sculpting part of the tutorial, everything acted very differently than it had during extensive testing.  I eventually had to switch more devices around, and that will require more tests.


Despite all the craziness, I will still able to get a decent tutorial created for the Basing level pledge on the Patreon Page.  I was particularly happy to be able to get in a significant amount of freehand on the bases, which has never been recorded in video form before!


That tutorial is uploading now, and I have set up the next 3 tutorials, one of which will be Episode One of Army Painting Series 9.  Rohan will be the subject, and it should be a lot of fun to do some grassland style bases, along with some rivers!!

You can check out the Patreon Page here: www.patreon.com/JamesWappel