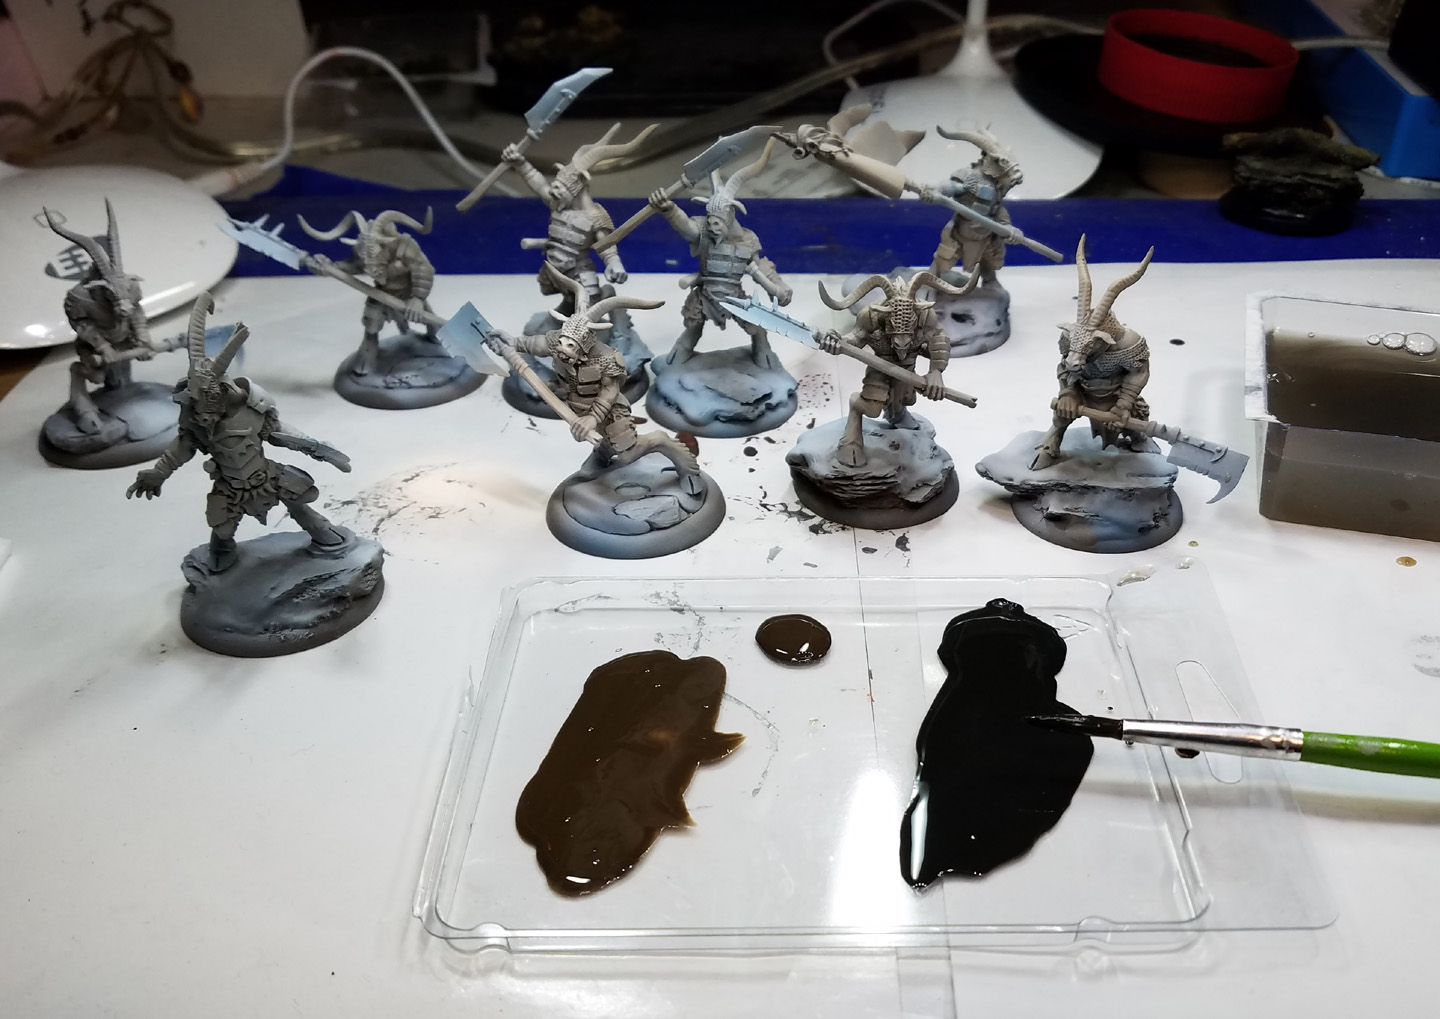
While I have done a few episodes on how to use the Badger Airbrush and Stynlrez primers for my "Primer Painting" technique, you have not seen as much of what happens after that process! So, here's the first series which demonstrates what is done with all those nicely pre shaded figures!
Here's a link to that original Primer Painting post:
I began with putting some darker glazes on the bases, using a few simple colors. The Reaper Umber brown and Brown liners make fantastic deep glazing tones.
I worked my way around the snow piles, using the watercolor "negative painting" technique. The brown liner gets down into the deepest crevices, making them nice and dark but not black, which is a dead, uninteresting color. The 'warmth' of the umber and brown liner will also help to make the cooler blues of the snow seem that much colder and icier!
As you can see, I am using the same green handled #8 round craft brush as I always do!
Once I have a decent coverage on all the rocky areas, I grabbed one of the makeup sponges and dabbed away at the sections which are supposed to be lighter. All of the crevices remain dark, but now I have tinted the rest more of a warm brown. By wiping away the paint, I am taking better advantage of all the pre shading that was done in the orginal "Primer Painting" phase.
Each base is a little bit different, so found that I had to use a few different types of makeup sponges... some were eye liners, other for lipstick, etc. You too can be a master of the beauty products domain.
I used a Secret Weapon Miniatures weathering paint to get some deeper tones on the weapon handles, just the same as I put the dark glazes on the bases.
I also wiped away excess paint on some spots to reveal the lighter pre shading underneath.
Now for the most important bit, and that is all the skin and fur. This is going to require several layers of glazing (both darker and lighter glazes), but for now I just want to establish some mid range tones... nothing very dark.
Mixing a Reaper flesh type color with the Secret Weapon weathering paint turned it into a semi-opaque glaze. Yes, not all glazes have to be super transparent! I also had a mix of the umber and that flesh color, so that I could vary the tones that I was placing on the fur, etc.
Finally, I had some of the brown liner on hand, which was used to glaze the bottom of each leg and the hooves.
You can see that process taking place here. Just as I did with the previous sets of glazes, I used a variety of sponges to remove the excess and bring back some of my original lighter shades.
I was very glad to discover the larger triangle shaped sponges, because those can be cut up into different shapes, or even to remove dirty sections which are no longer useful!
I think you can see in this view how the lighter glazes blended into the deeper brown liner glazes at the bottom of the legs. By starting at the waist and working my way down, gravity worked naturally in my favor as I glazed down towards the hooves.
So we are now at the end of stage one! I will be doing a few more episodes to show how these "Primer Painted" figures go from pre shaded primer to completion!
I have corrected some of the crazy linking issues to the Patreon page, which only revealed themselves once the page went live (of course!) So hopefully this one works as it should! Stay tuned for the next episode, where I work on the snow, the banner, horns and more...


