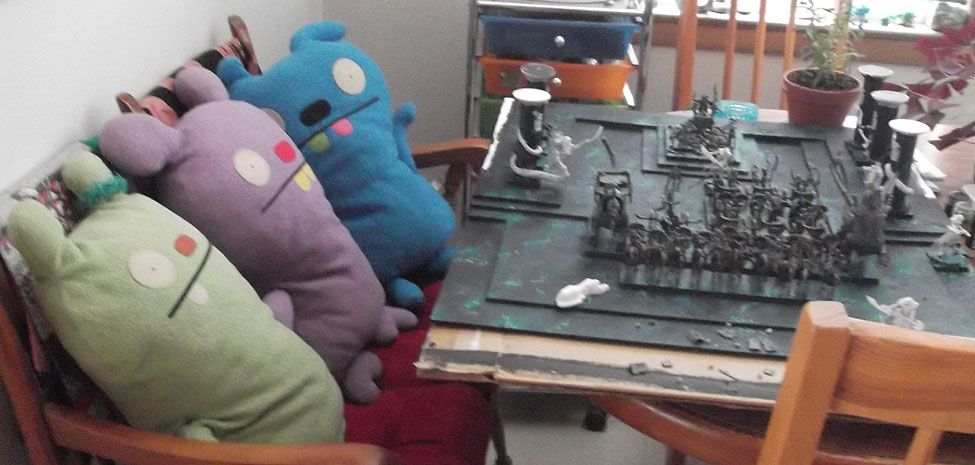
When you last saw your intrepid painter, he was slaving away (ha!) on the upper level of the Tomb Complex. Here are some views as that evening drew to a close, and I set out some of the figures that will reside up there.


Since I had more light to deal with during the day, I mixed in some interior painting with the rest of my work.
I started by getting most everything black:


Once I got things one color, I glued on some pastel paper to indicate where my rows of shields will go. I also started painting some of the icons I had glued to the board.

I wish I could have painted them before gluing them, but that was just not possible. I also started to add some color to the walls, similar to what is on the floor...

I also began to paint the image that was saved specifically for the back wall, using my fluorescent paints.

More definition on the icons and the back wall design...

There will be more details added to these walls in July. Lots of glyphs and other neat stuff!

There seems to be wuite the planning meeting going on here. Now you know where I get all my ideas!

No comments:
Post a Comment