Monday, June 25, 2012

How's the weather? Making paper look more like stone!

Photobucket
Today was yet another test in the Great Experiment.  There have been numerous "firsts" for me in this endeavor, and here's another one.

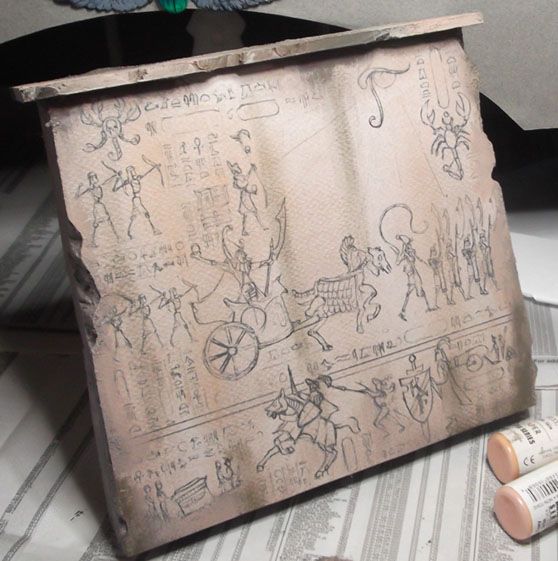
The last post showed how I had built the obelisk and the back wall, using Plan C.  That is gluing the heavy pastel paper directly to the foam.  Today I had to make that paper match the rest of the board!

First, I began by getting paint to cover the oxide paste I had used on the edges:
Photobucket
I did the same on the obelisk:
Photobucket


Since paint tends to dry darker on the paper, I had to take that into account as I tried to "feather" the colors onto the paper.
Photobucket

As I worked around the edges, I started to carry some paint out onto the paper designs...
Photobucket
Here's how it started to look overall:
Photobucket
This is about as dark as I got with the weathering:
Photobucket


Here is a sequence on the other side of the back wall...
Photobucket

Photobucket
At this point, I began to think about putting some hints of faded color on the wall, and preparing to do the cracks and such.

Photobucket
Tomorrow I will be posting the rest of the images on the second part of the weathering process!

Hieroglyphs in a hurry: changing on the fly again...

Photobucket

This project has undergone many twists and turns, which is pretty typical, but the complexity of this one has meant a lot more than usual!

You saw the drawings that were done for the back wall, etc.  The original plan was to carve those out of sculpey.  Weight concerns and lack of time meant that would not happen.  My next thought was to trace the patterns onto the pink foam directly.  It became abundantly clear right away that the second idea would not work.

In desperation, I thought that I might be able to print out the designs to scale.  I have several sheets of pastel paper that were good colors and a nice texture.  That lead to a new plan.

I would print out the drawings on the pastel paper, and then use a glue stick to attach it to the foam.  If I could get it to stay flat and look normal, that would be great!

Here are some views of the back wall designs:
Photobucket

Photobucket

Here's the Obelisk, showing a few steps as it was cut and glued into place.

Photobucket

I took the two large drawings into photoshop and and reworked them into a multi sided obelisk, keeping the story of the Tainted Pharaoh running the whole way...Photobucket

Photobucket

Photobucket

Once they were all in place, I needed to fix all the edges and corners.  That meant it was oxide paste to the rescue!
Photobucket

Photobucket

It did not warp the paper at all, which was great.  It wnet a long way to securing the edges as well, so I don't think I have to worry about them peeling away over time.
Photobucket

Photobucket

Once all this dries and sets, I will paint the edges, put some faded colors on the glyphs, and do lots of weathering to make the colors match the board.
Photobucket

Sunday, June 24, 2012

It's what's on the inside that counts... Armies on Parade

Photobucket

When you last saw your intrepid painter, he was slaving away (ha!) on the upper level of the Tomb Complex.  Here are some views as that evening drew to a close, and I set out some of the figures that will reside up there.

Photobucket

Photobucket

Since I had more light to deal with during the day, I mixed in some interior painting with the rest of my work.

I started by getting most everything black:
Photobucket

Photobucket

Once I got things one color, I glued on some pastel paper to indicate where my rows of shields will go.  I also started painting some of the icons I had glued to the board.

Photobucket

I wish I could have painted them before gluing them, but that was just not possible.  I also started to add some color to the walls, similar to what is on the floor...
Photobucket

I also began to paint the image that was saved specifically for the back wall, using my fluorescent paints.Photobucket

More definition on the icons and the back wall design...
Photobucket

There will be more details added to these walls in July.  Lots of glyphs and other neat stuff!
Photobucket

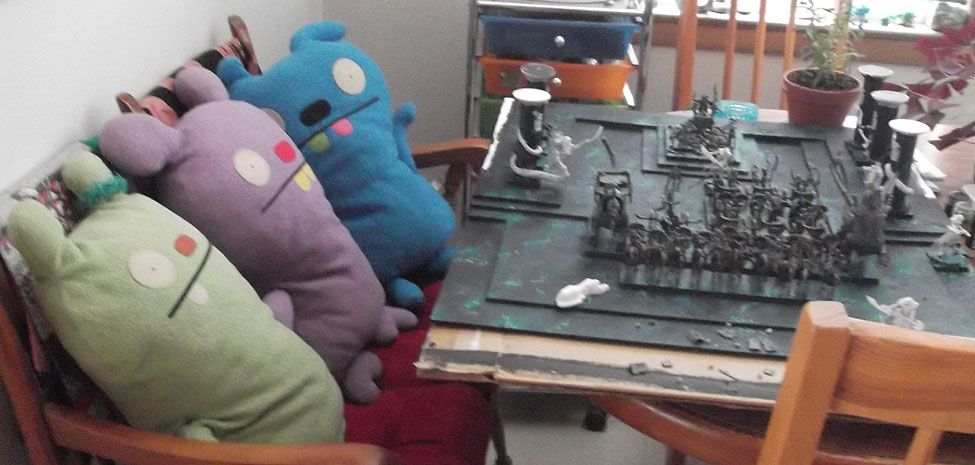
There seems to be wuite the planning meeting going on here.  Now you know where I get all my ideas!
Photobucket

Ground War: painting the upper level above ground

Photobucket

Yesterday saw the painting of all the landscape work, as well as some of the structure.  Here is the set up, with the 4 basic colors out on the palette:

Photobucket

I worked using the Screaming skull catapult and the carrion bases as a color guide.  I had a black, and ochre, a pink, and a terracotta shade ready to go.  I worked rapidly once again, moving across the surface as quickly as possible to make sure there was enough variety in the colors, but keeping it cohesive as well.

Photobucket

Once most of the basic surface was covered, I worked on the little details.. the piles of bones, the Dais, etc.

Photobucket

I tried to bring out more and more forms with each layer of paint.  I was working quickly enough that I was still able to do some wet into wet blending...

Photobucket

Here you can see the dais included.  I also began getting some paint on the rest of the structure at this time:
Photobucket

The colors on the back wall will have to match the pastel paper I am using with all my drawings, so I needed to go even lighter on those sections...

Photobucket

This was the last of what was done yesterday, as it was getting very late!  Today I am doing a lot of work on the interior side of the upper level!

Photobucket

Turning sketches into Tomb Art: Armies on Parade

Photobucket

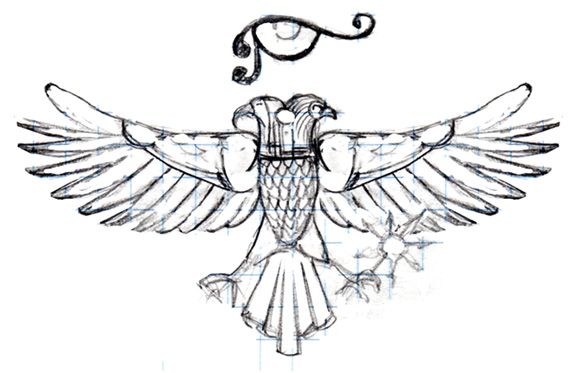
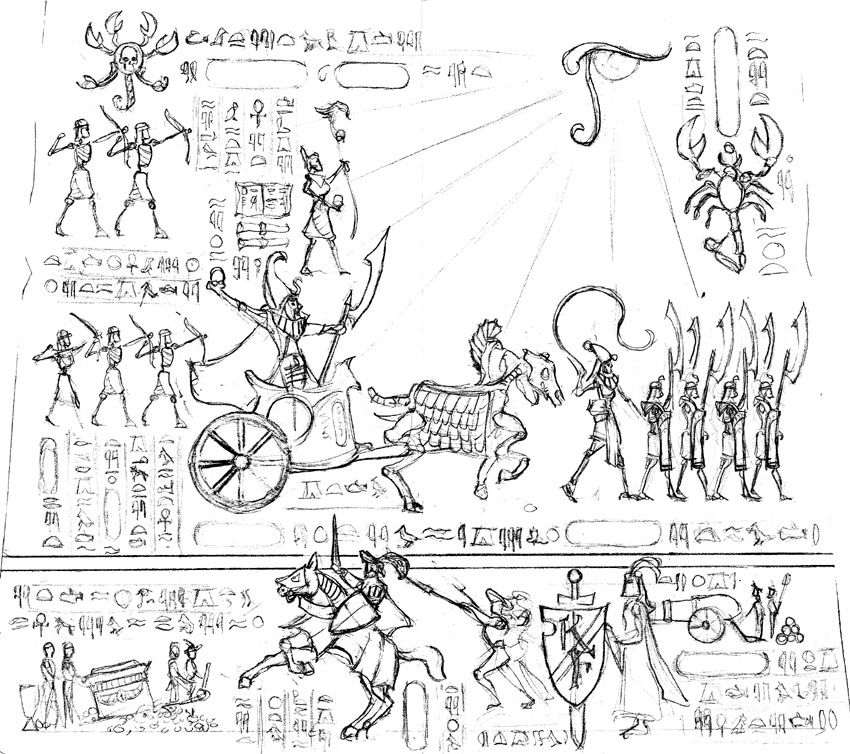
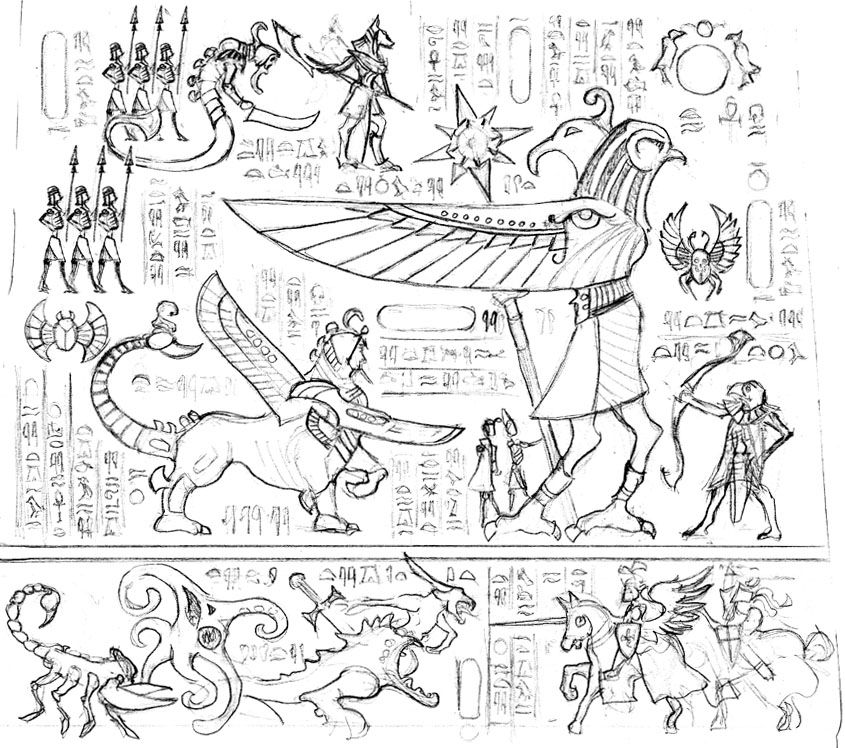
As the upper level of the display board moved on, it was time to turn the rough sketches I had made for the back wall into something usable.  At first, I thought it would not take very long to make finished. to scale drawings at full size.  I realized this was not the case!  It took much longer to make drawings that had enough detail to cover the two sections of the back wall.

I wanted to give the viewers at least a general idea of the story behind the Tainted Pharaoh and his new patron.  Lots of research was done using my 900 page reference book on Egyptian Tomb Art.  I knew that size matters, and that the most important characters had to be bigger, and so on down the line.  I tried to reflect this in how I drew the main protagonists. 

I also wanted to see some of the Tomb King units represented in pictorial form, so that it would not simply be a mimic of ordinary Egyptian art. :-)  Here is waht I came up with...

Photobucket

Photobucket

Saturday, June 23, 2012

Making holes look like holes: Tomb Kings Armies on Parade

Photobucket

Photobucket

Now it is time to do the landscaping on the "ground" level of the Tomb complex.  First, I had to see if I could make the hole which our sneaky grave robbers made look anything like a real hole!

Photobucket

You can see how I started, using the miracle blue tape in thin strips to connect the hole on the outer layer to the smaller on the ceiling of the Tomb.  I then used my new miracle substance, red oxide paste.Actually, the color does not mean anything, it is the paste itself.  It is just like flex paste, except it already has sand included.  This meant that all I had to do was take a brush and layer it onto my tape lattice!

Photobucket

Now you can see the sprinkling of light sand and gravel to make it look a bit more real...
Photobucket

These  next pictures show me applying this to the rest of the board, trying to leave some flat areas for miniatures.  I love the way I can take my bitz and sink them into the wet paste, rather than having to glue them and smash my sand and gravel in there later!  I can even brush a tiny bit of the paste over the top, to make it look like it is even more sand covered.
Photobucket

Photobucket

Photobucket

I had to work somewhat rapidly, making sure that all my bitz were secure in their sandy beds.
Photobucket

Here is an unfortunate casualty, a victim of a Bretonnian arrow?
Photobucket

Photobucket

Now you get a peek at the next stage... the images on the obelisk and back wall!
Photobucket

More to come...