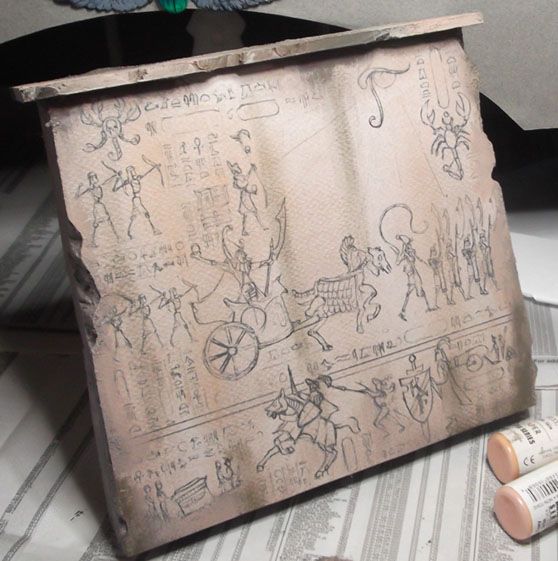
Today was yet another test in the Great Experiment. There have been numerous "firsts" for me in this endeavor, and here's another one.
The last post showed how I had built the obelisk and the back wall, using Plan C. That is gluing the heavy pastel paper directly to the foam. Today I had to make that paper match the rest of the board!
First, I began by getting paint to cover the oxide paste I had used on the edges:

I did the same on the obelisk:

Since paint tends to dry darker on the paper, I had to take that into account as I tried to "feather" the colors onto the paper.

As I worked around the edges, I started to carry some paint out onto the paper designs...

Here's how it started to look overall:

This is about as dark as I got with the weathering:

Here is a sequence on the other side of the back wall...


At this point, I began to think about putting some hints of faded color on the wall, and preparing to do the cracks and such.

Tomorrow I will be posting the rest of the images on the second part of the weathering process!
The designs on these walls are magnificent.
ReplyDeleteThe building work is pretty great too.
Thanks! This was really a labor of love!
Delete