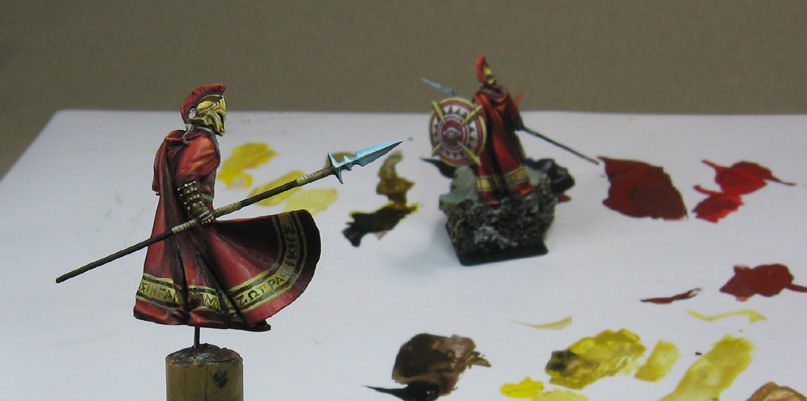
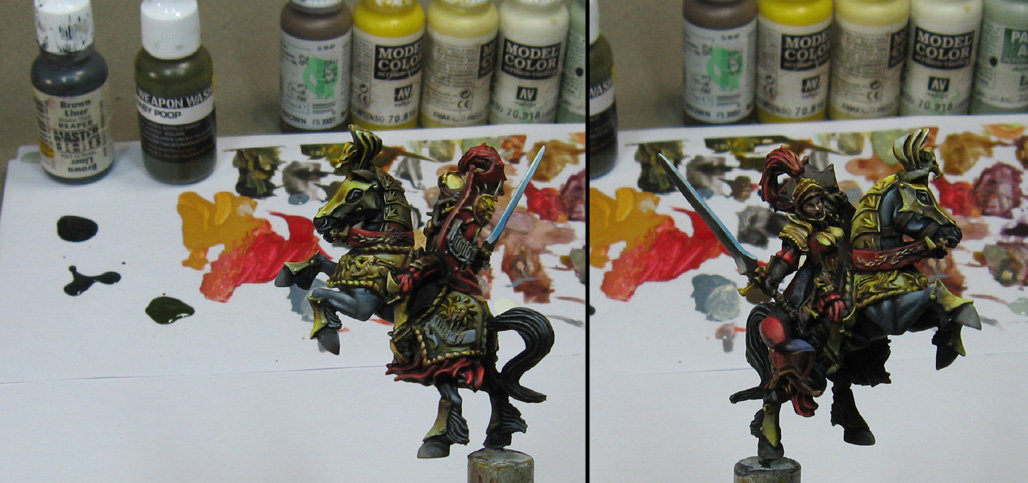
Friday, August 30, 2013

Those terrible terradons


With the new Lizard book and a batch of new Terradon/Rippers in hand (as well as some new totems for them to use as aeries), I resurrected the scratch building program of Terradons that was under way years ago.

The painted version on the left was the first completed sculpt.  I used a majority of Apoxy sculpt, with green stuff and brown stuff for details.

In these next few images, you see that I am just getting to that final detail phase.


Showing the underside of the sculpt...


From the side.  I will be adding many more details to the faces with green stuff, such as a tongue, teeth and some eyes.


This next batch never even got that far.  That is good news, since I have 3 sets of Terradon bits that I can use to complete them!  Heads, legs with rocks hanging from them... flaming bolas... you name it!


Here are some more views of the painted scratch sculpt.


I will probably use regular skinks again, but substitute the flaming bola arms for the javelin.
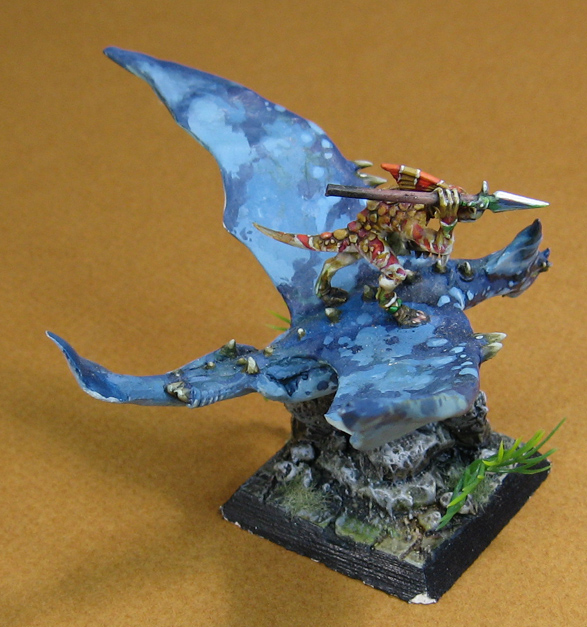

I loved the base on this one!  I think the subsequent bases will reflect the new terrain that I have been building.  I might even have some pieces of the top of a temple pyramid, etc.


These pictures of that first sculpt in its last stages shows you what is to come for the 3 WIP Terradons in progress.


At long last... last bike


Last of the bikes!


As I have mentioned before, the odd phenomena of getting the routine of these down pact just in time for the squad to be finished strikes again. :-)


With each bike, I was able to 'cut to the chase' more and more.  You really learn to break down each piece, no matter how small, and learn the best and most efficient way to reduce it.


Since I had never painted any sort of space marine bike at all, or hardly even seen a finished one in person, it was yet another challenge.


There have been lots of challenges over the last many months, and I have had to adapt and learn very new concepts on the fly day after day.  It has fried my brain a bit, since I managed to lose a half dozen things in the last 24 hours. 

They were all ultimately found, but it was driving me berserk!  Ask Cathy :-)


Thursday, August 29, 2013

Lending a free hand...


Everybody's favorite... freehand cloaks!  Oh, and a shield, and some tattoos for good measure :-)


I tried to spend as much time as I could on all the 'preliminary' work, such as the design sketches and such things.

By the way, that is Greek for The Painting Pyramid.


Time to see what this will look like in color!


So, a color sketch to better work out the design, and plan ahead.


It is really handy to have a guide like this right next to the piece you will be working on.  Cathy gave me the idea for that!


Time to lay out the design on the cloak...


And the back as well.


Lettering!  My favorite, since I am a 'closet calligrapher'.  At least that is what I have been told.


The design quickly shaded...


And then placed on the base.


Don't forget the shield!


I got your back!


A box from Germany made the Taters think that a new spaceship had arrived.


Powdering one's nose...


I am pretty sure the one qualifies as the most 'exotic' of the videos.  Essentially, it is a very extreme version of painting with the weathering powders (these were Secret Weapon pigments).  I did this to show how far you could take them, even though most people will use them for something far more basic.

While you can simply 'dust' on the pigments like pastels, I discovered that you can actually 'paint' with them, due to the new Pigment Fixer developed by Secret Weapon.


This means that you can secure the powders quickly as you paint, and not have to spray between layers, etc.  That had been an impediment to me trying this sooner.


I painted the base as the first example.  Doing this reminded me of just how much I enjoyed painting bases with the powders.  I think I will be doing a LOT more of that in the future!


It is very tricky doing this on a miniature.  My primary thought was to use this technique on bigger figures, where it might be more difficult to blend colors, etc.


When you use rubbing alcohol to turn the powders into liquid paints, you can blend the colors on the figure, since they are not sealed yet.


That makes it a little like oil painting, except you have complete control over the drying process!


Again, this is not something for beginners, or even intermediate painters.


Still, for those that want to try this out, I think you will find some useful things that you can adapt to your painting style.


Wednesday, August 28, 2013

Harnessing the power of the Sun (almost)


One of the many things I have learned during the process of filming these videos would be the incredible capabilities of LED daylight bulbs.

I experimented with a few of these as I was looking to get more overall light in the filming area when I did things that were bigger than my LED magnifier lights could handle.

I tried out a few of these... not cheap at $23 each!


However, the results were AMAZING right off the bat.  It was just like having miniature suns.  The first time I turned them on, the dark dungeon of the basement studio was brilliantly illuminated!

These bulbs come in all sorts of bizarre shapes and sizes...


But the daylight bulbs are the masterstroke.  They are more than twice as expensive as the other two types of LED bulbs, but you get every penny back.


I have gotten 40 and 60 watt equivalents.  I may try some 75 watt bulbs, but now you are talking about $35 or more.


This was the first time I tried one of the bulbs... in an ancient, beat up swing lamp (the one with the clip on it).  I could not believe the results.


This was a 40 watt equivalent from Walgreens, at about $14.  It was perfect in one of my photography lights.  Far superior than the photography light, which was very odd.

The LED lights don't cycle the way all other bulbs do (even the CFC bulbs), which makes them usable for video!

I wish I knew this months ago, but then they were not as prevalent as they are now.  My new hop is that the long tube versions for the old style fluorescent lamps drop in price.  That would reclaim a half dozen lamps for me!!!


Tuesday, August 27, 2013

Raging Brunhilde


This represented the last of the 'standard' painting videos.  After this one, it was about more 'exotic' materials such as the powdered pigments and so on.

One last time... a row of paint jars!


This was one of the larger arrays of colors on the palette.


Another color sketch!  Trying to illustrate how gold is the most reflective of the non-chrome NMM's.


The much more complicated Shaded Basecoat.


And then many rounds of glazing.


And tinting, and shading.


Colors back out onto the palette.  Sometimes I really like this stage, because it is the time that I mix regular paint with my glaze colors.


Just about there!


Here she is... Miss Konisgmark


I will continue to do some more 'finish' work on this figure, since that is going to take at least another 3 hours...


Then she will really match the standard bearer version!