Sunday, September 16, 2012

New Hydross minis for Wrath of kings

Photobucket

OK!  The first batch of Hydross miniatures are done!  Here was the concept art I was working from:
Photobucket

These are produced and available from Coolminiornot.com.

And now for the minis.  This is a Deepcaller:

Photobucket

Here is Torvosh:
Photobucket

And the Infantry, which I believe come in a blister of three miniatures.

Photobucket

Photobucket

Photobucket

And now for some group shots!

Photobucket

Photobucket

Steampunk base set, work in progress

Photobucket

Here is the most elaborate type of bases I have ever done!  Steampunk theme. ;-)

Photobucket

This set was made with sculpey, plasticard, brass etched deck plating, polystyrene tubing, and watch parts.

Photobucket

Photobucket

These were modular, with lots of interchangeable parts.  They could even be used on additional bases.

Photobucket

Photobucket

Photobucket

Saturday, September 15, 2012

Up on the hilltops: terrain building part THREE

Photobucket

Once the big board was painted, I could get down to the business of painting the hills and rock outcroppings.

It was nothing terribly fancy.  I had some black, some white, and some green/yellow mixes ready.

Photobucket

I allowed some of the green to get into my grey mixture, since rocks have a tendency to be mossy!  I  didn't use any pure black, even on my first layers.  I mixed black with the dark green, or put a little white into my mix.  When painting the initial layers on the rocky outcroppings, I watered down the mix to allow better coverage.

Photobucket

The tops of the hills got the same treatment as the board.  I mixed plenty of yellows and tans with my green mix.

Photobucket

I balanced all the pieces to make sure they would not dry and stick to the newspapers, which would have been annoying.  I didn't wait for the darkest mixes to dry.  Instead, I started to do my lighter layers...

Photobucket

So, the board and the hills are now ready for flock!  That will happen early next week, so look for pictures of that soon!!

Photobucket

I love hills and rocks that can be mixed and matched!  We have some of these pieces at our own gaming table at home, and it is really cool to set a watchtower on top of one of the freestanding hills, combining the terrain pieces.  There is something about a nice table that really enhances the gaming experience.  If you are going to invest all those hours into playing the game, why not have a nice setup?

I hope these have been helpful!!

Rome wasn't built in a day, but this was! Part TWO


OK!  Here is part two of our terrain building!  We are just about done with that building process, so that we can slap some paint on it!

While we waited for all the sand and gravel to dry, Cathy was hard at work gluing clumping flock onto trees and inhaling super glue fumes...
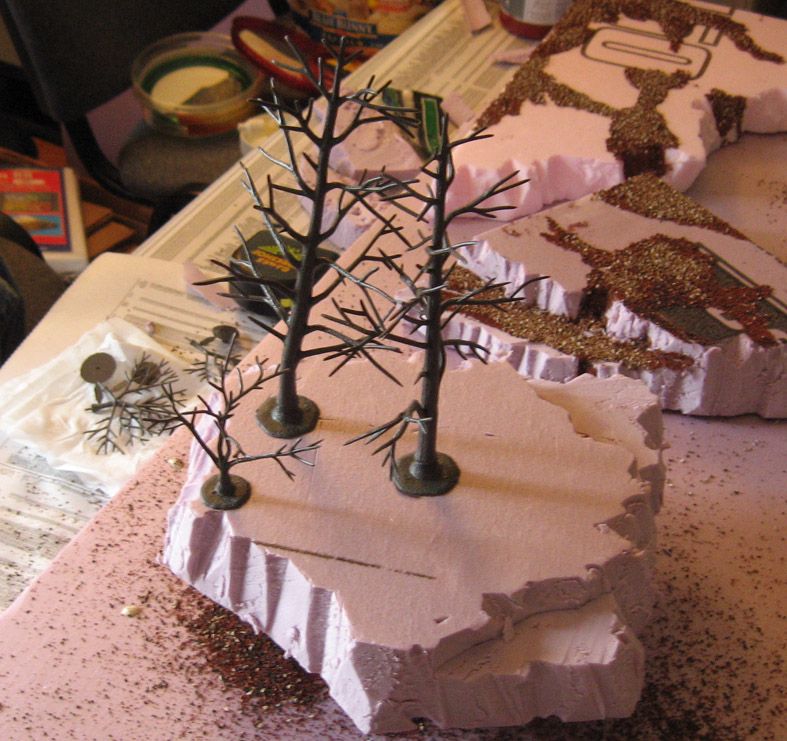
Here are some of the trees (from Woodland Scenics) with the branches all bent carefully into place.

The flock added successfully thanks to Cathy's clever system!

Here you can see all the fills and rock outcropping drying, waiting for paint!
Gotta get all that gravel and foam cleaned off the board!  And the floor... That makes it really important to have a handy supply of newspapers!


The painting begins with some very big brushes, working quickly with large swatches of color.  You can see that I got some grey paint on the shale rocks.  Cathy painted the roads, while I did all the "grassy" areas.  We each mixed in some black latex house paint with our colors, so that acted as a sort of de facto primer.


The painting continues as I get all the open space covered in a variety of shades.  Since I was working very rapidly with such a big brush, I could practically mix my colors right there on the board!


Once I had all the surface areas covered, it was time to start "scumbling" paint into those large flat (boring) spaces.  I used a variety of tans, yellows, light greens, and even some of Cathy's road mixture.


I tried to 'frame' Cathy's roads with this scumbling (a bit like stippling) technique with the large brush...
The roads never got dry enough to do the lighter drybrush on them, but that will wait for next week!  In the meantime, I painted the edge black...

So stay tuned for the next adventure, when I paint all the hills and rocks as the Bears get whacked on Thursday night football!


Friday, September 14, 2012

The only game in town? Impact Hockey Kickstarter

Photobucket

OK, here they are!  With a possible NHL lockout looming, this might be the best way to get your hockey fix :-)

Photobucket

The detail is very nice, and they are sculpted with minimal folds in the key areas where you need to put numbers and team logos.

Photobucket

Photobucket

Photobucket

Photobucket

So, head on over to Impact Miniatures to get in on the Kickstarter!!

NOW it's terrain week :-)

Photobucket

Yes, I promised you an article on terrain building this week.  Here it is!

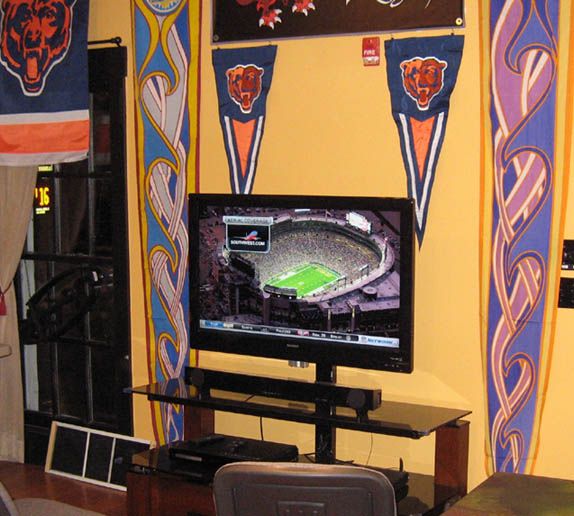
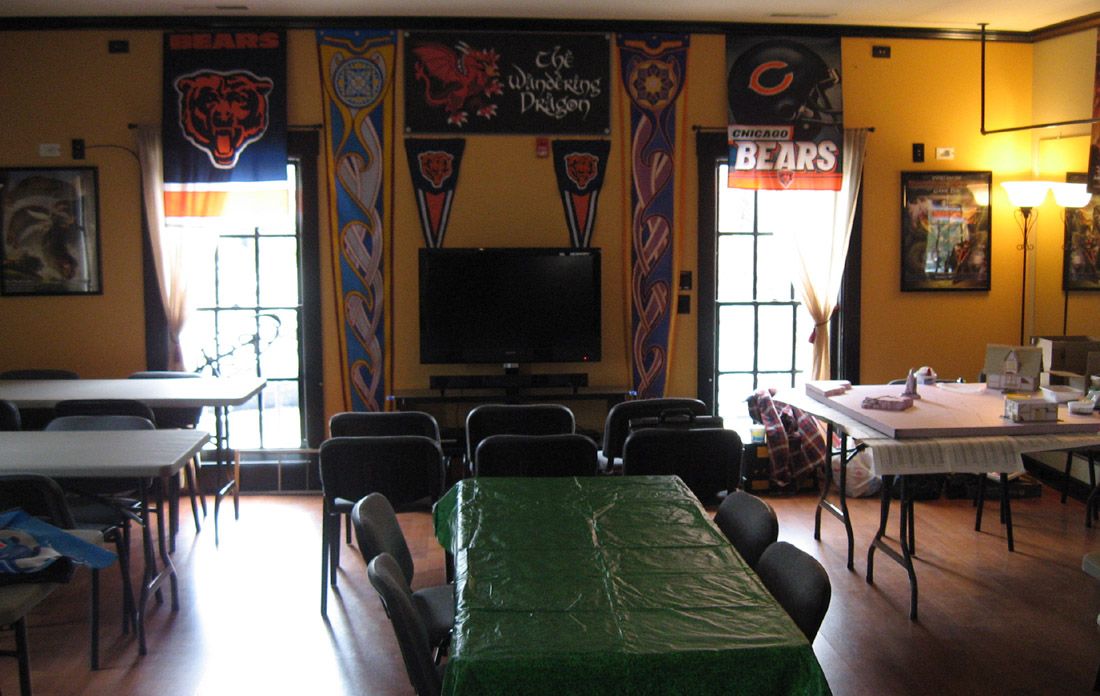
We were at the Wandering Dragon Shoppe again, and we came there loaded with supplies.  Little did we know that they had planned a fun viewing party for the Bears game...
Photobucket

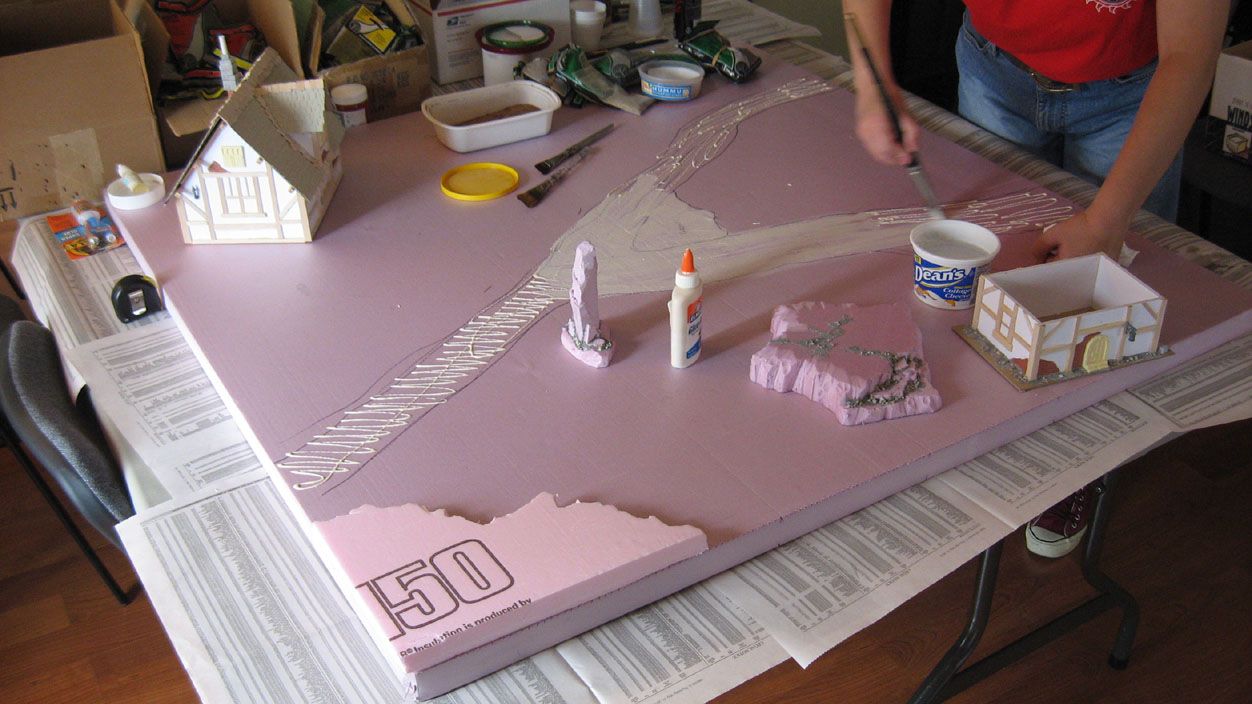
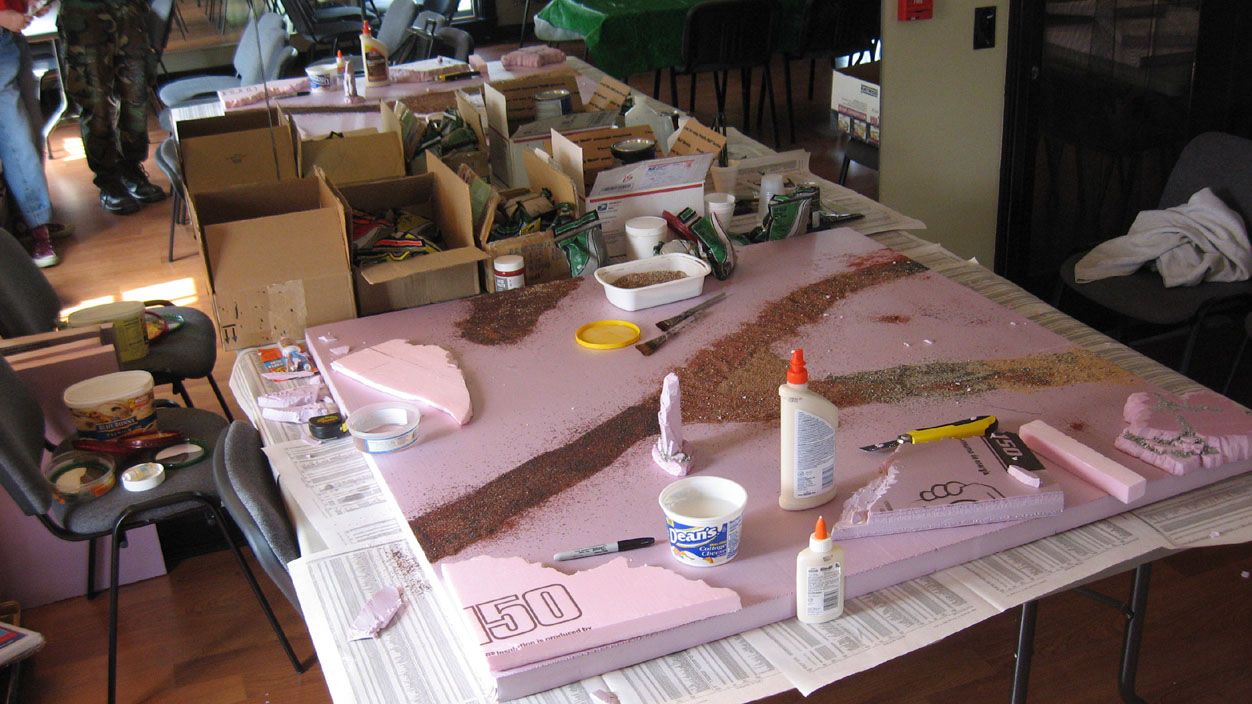
Among the tons of supplies we brought, the main element was the 4 x 4 sheet of pink foam.
Photobucket

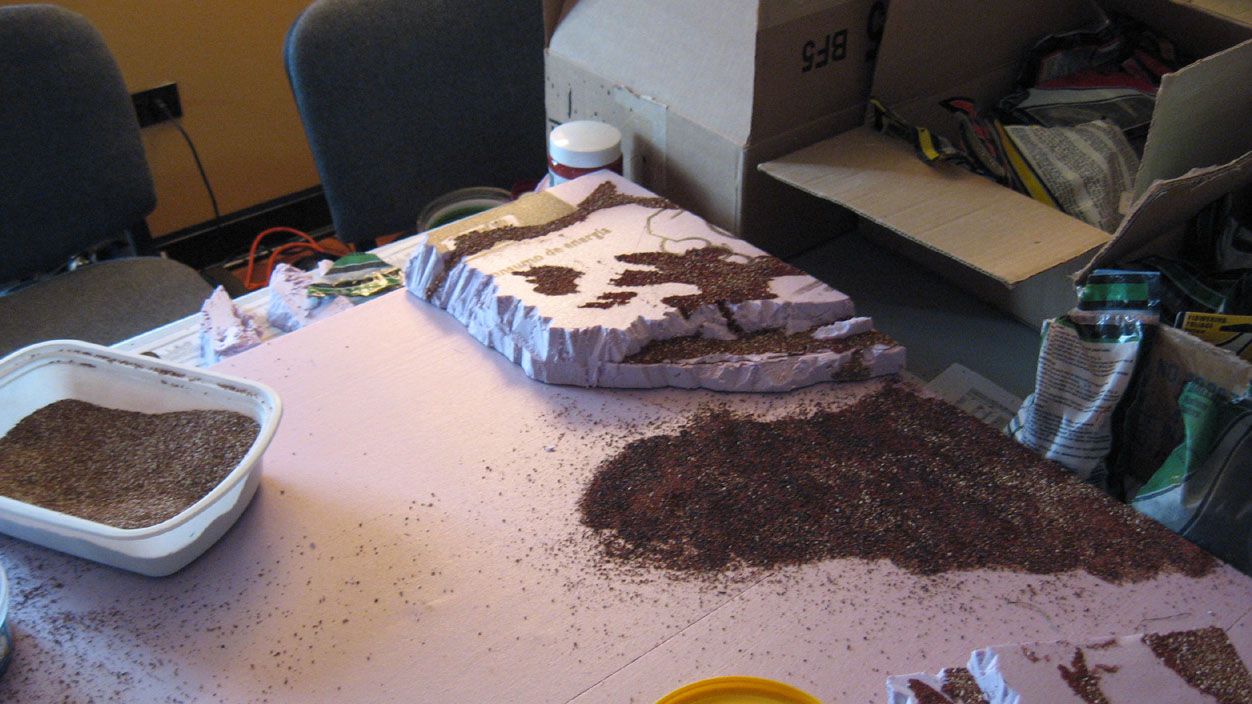
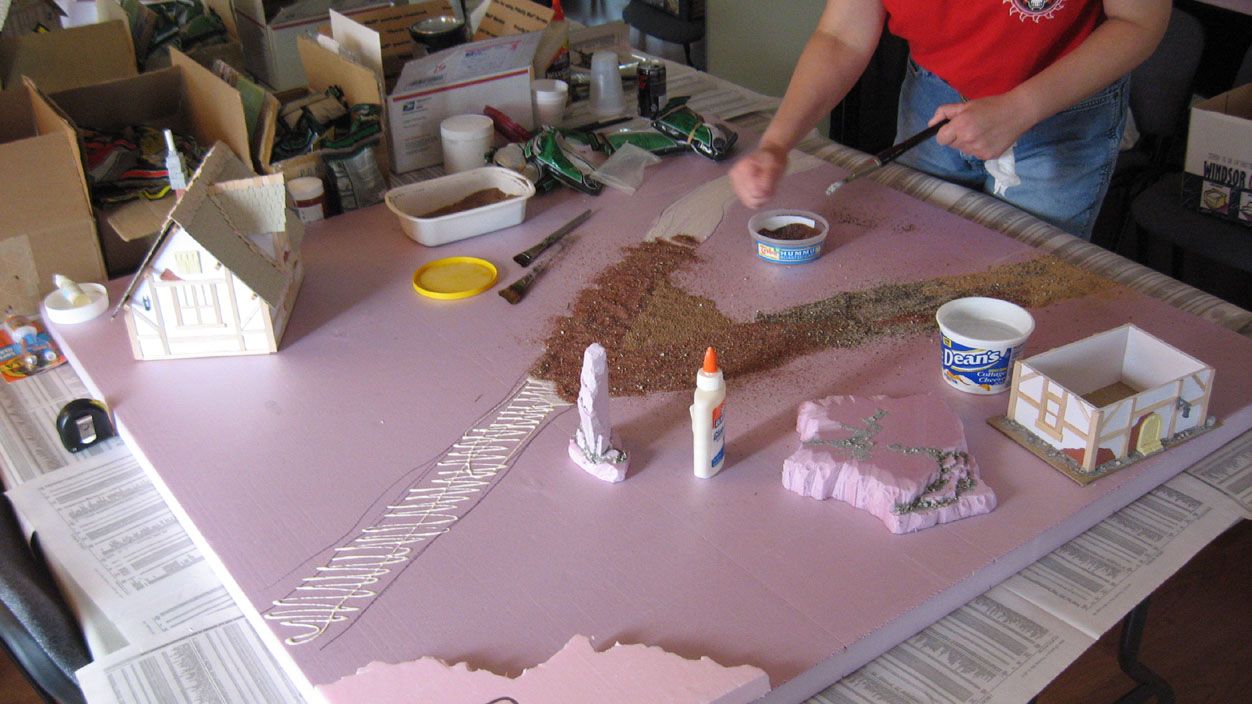
Step one was to lay out where the road was going to go, and then begin to add rocks and gravel.
Photobucket

Once all the gravel was added, we could move on to other things...
Photobucket

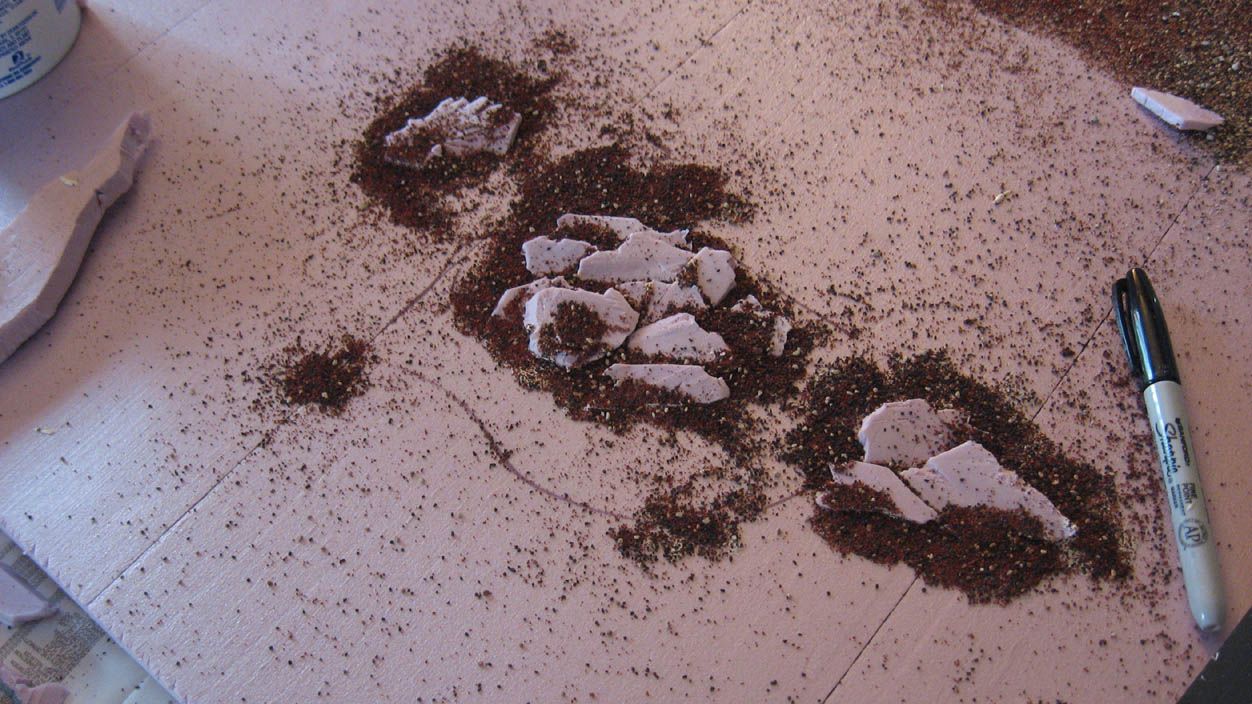
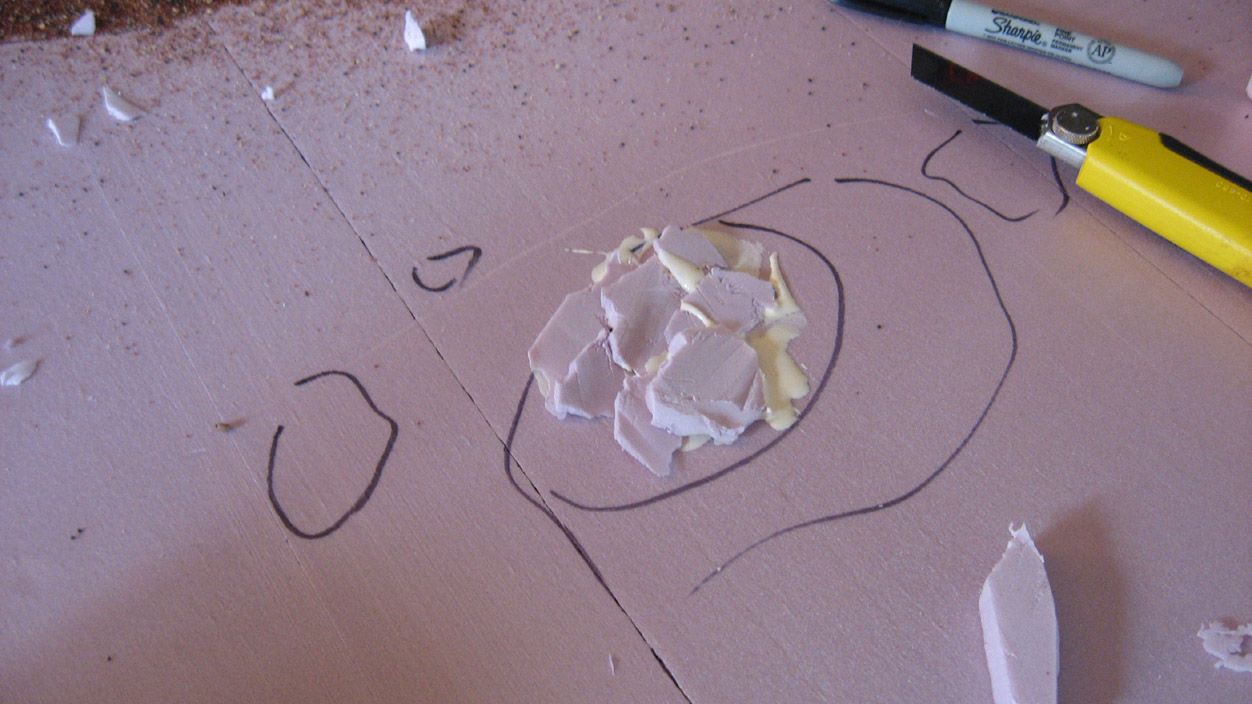
This was something I have never tired before.  I had a lot of little shavings from cutting out the hills, and one piece in particular reminded me of shale.  So, I found a bunch of pieces, and glued them onto the board to see what would happen...
Photobucket

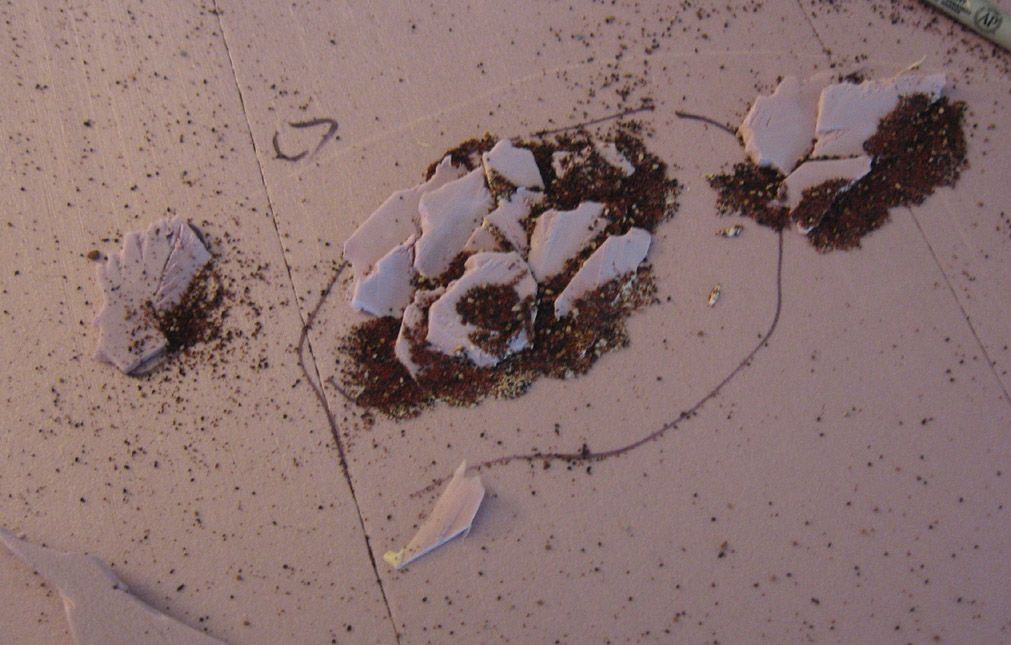
Once you start putting all the gravel in place, they really do the trick!
Photobucket

Photobucket

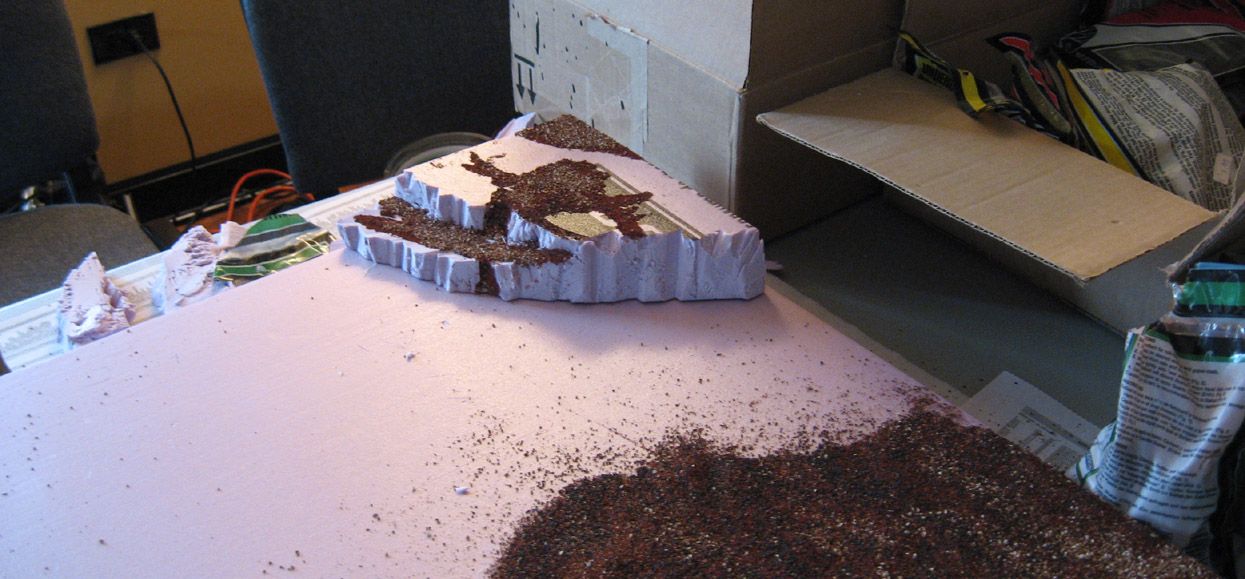
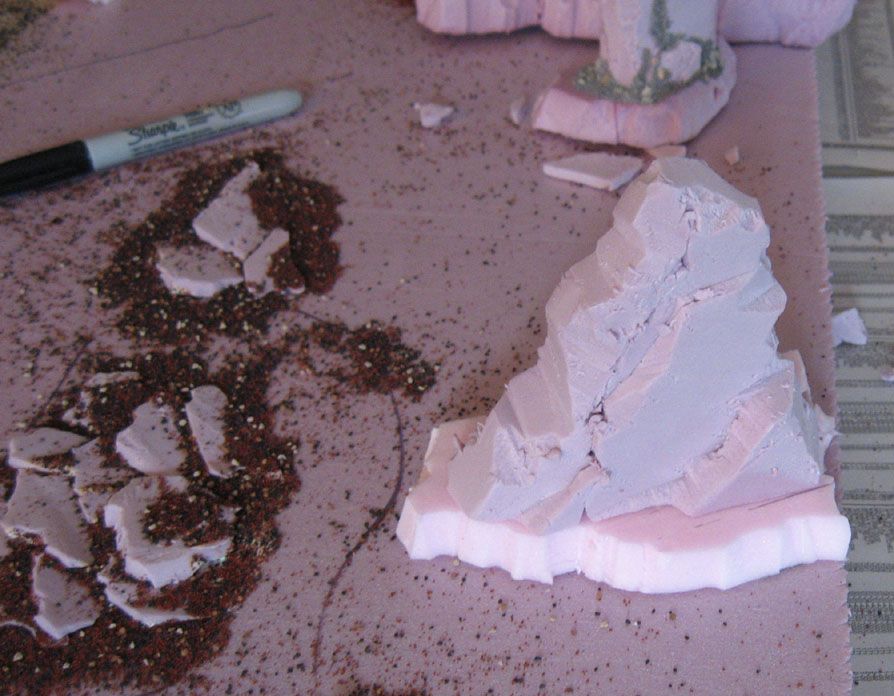
Here are some of the hills being landscaped..
Photobucket

Photobucket

Photobucket

As Cathy waited for glue to dry, she started bending out the branches on the Woodland Scenic trees.
Photobucket

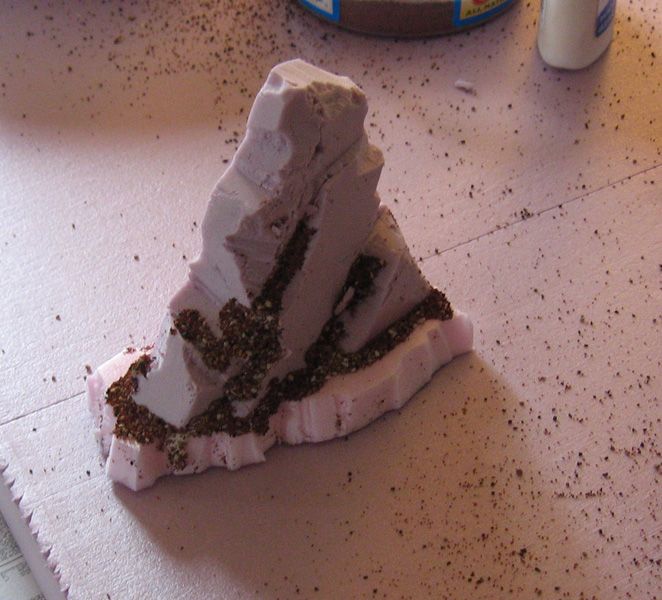
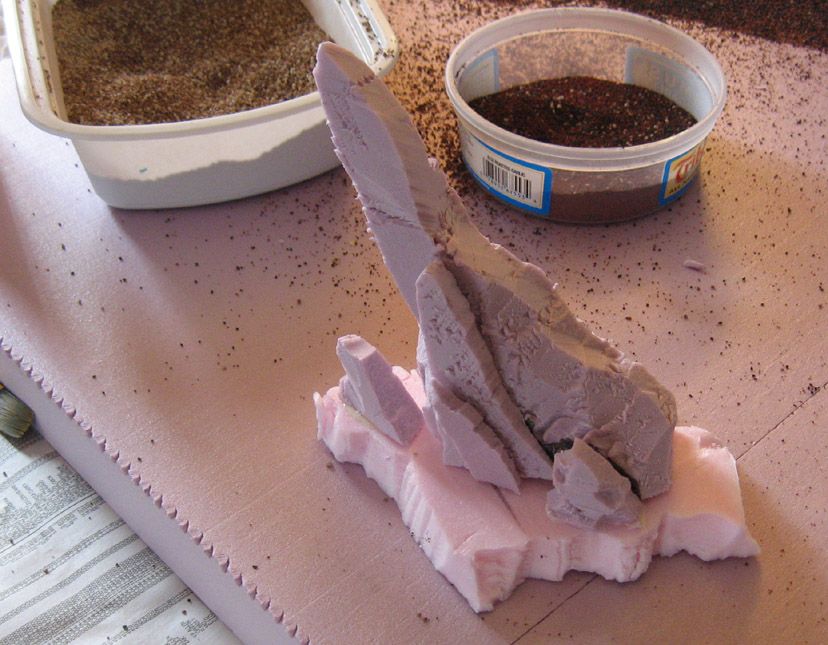
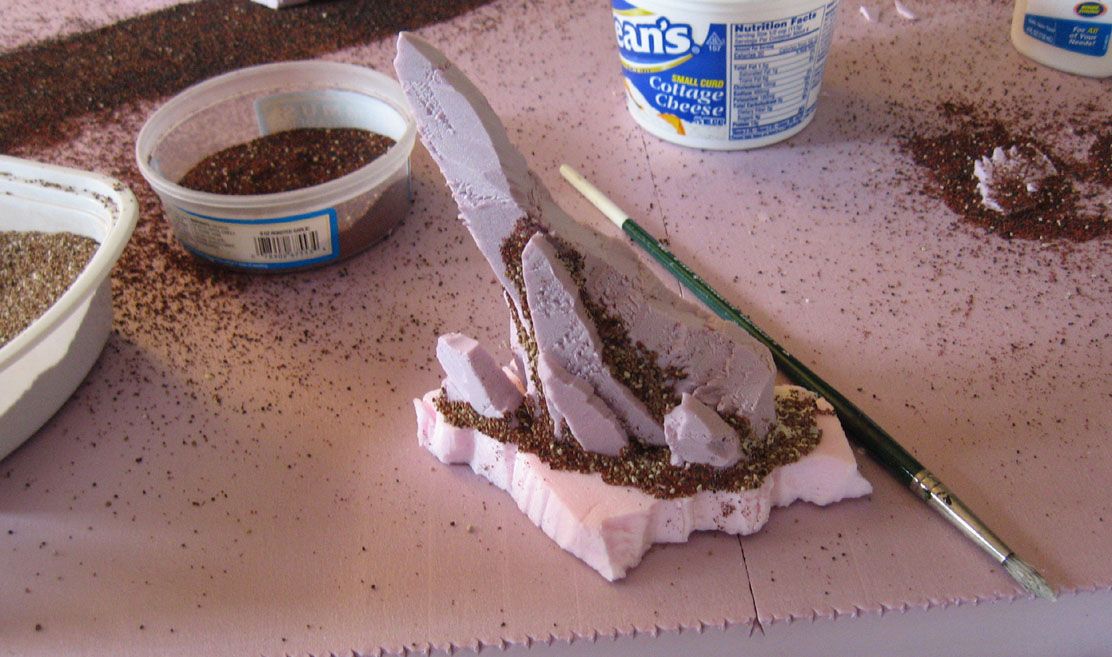
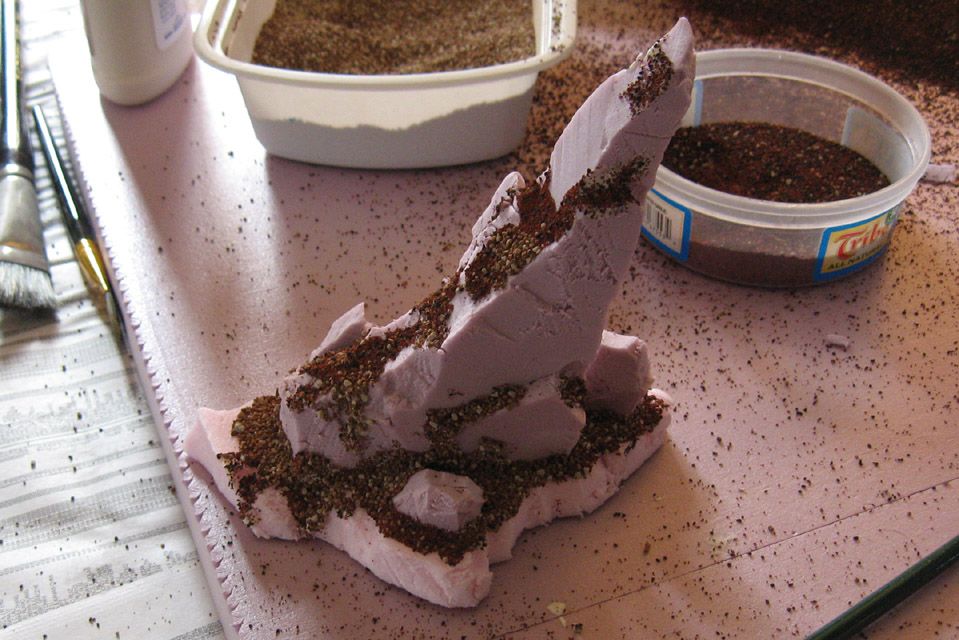
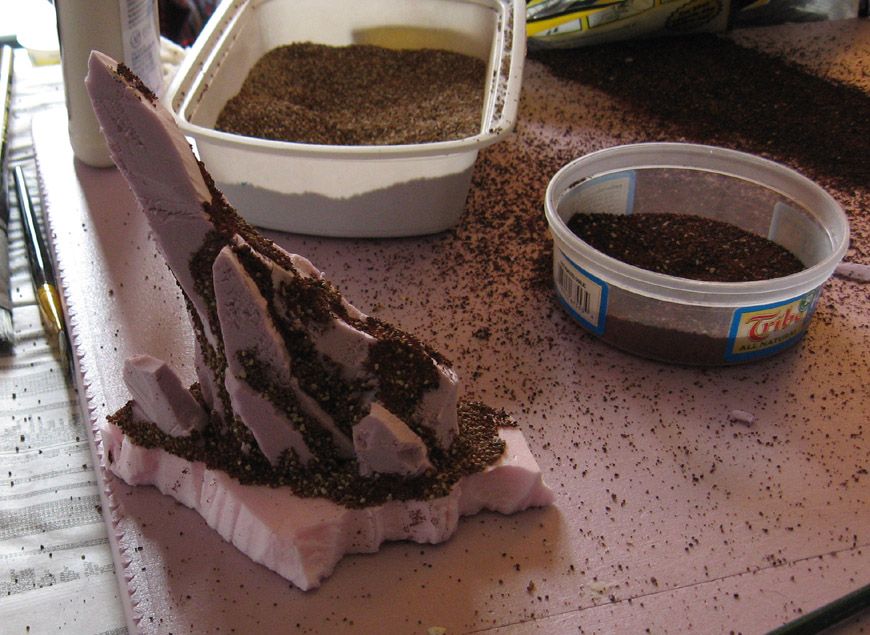
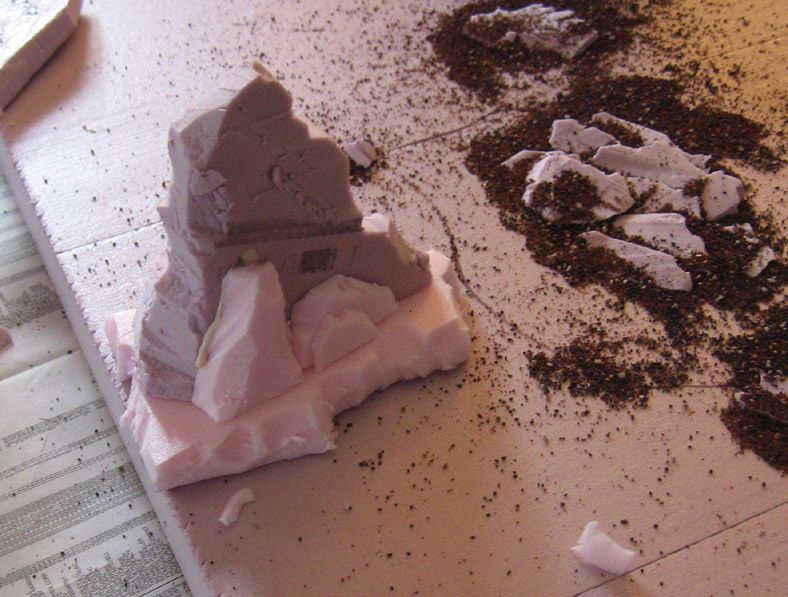
These rock outcroppings are something relatively new as well.  I use mostly scraps to make them, which is very efficient, economical, and visually very fun!
Photobucket

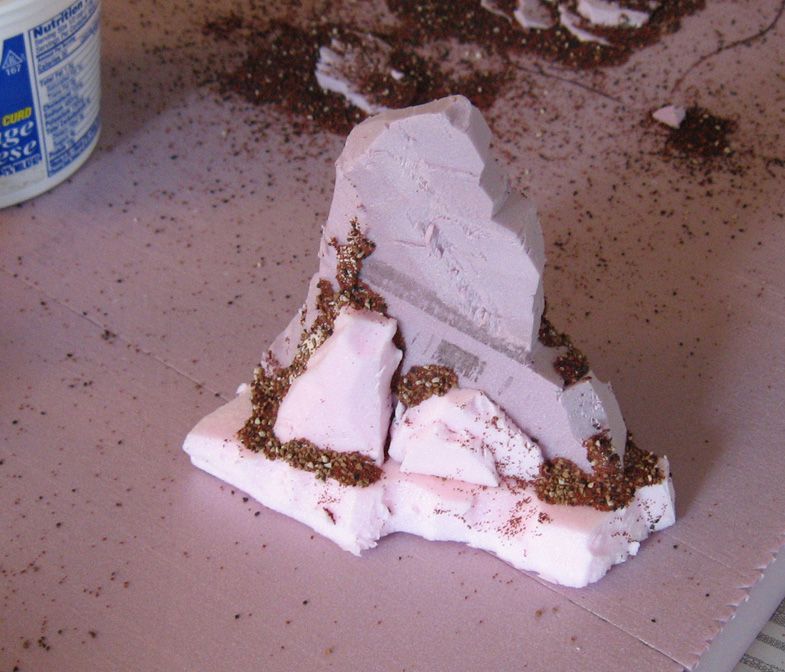
Once all the pieces are glued together, you can cover all the seams with your gravel mixes.
Photobucket

Photobucket

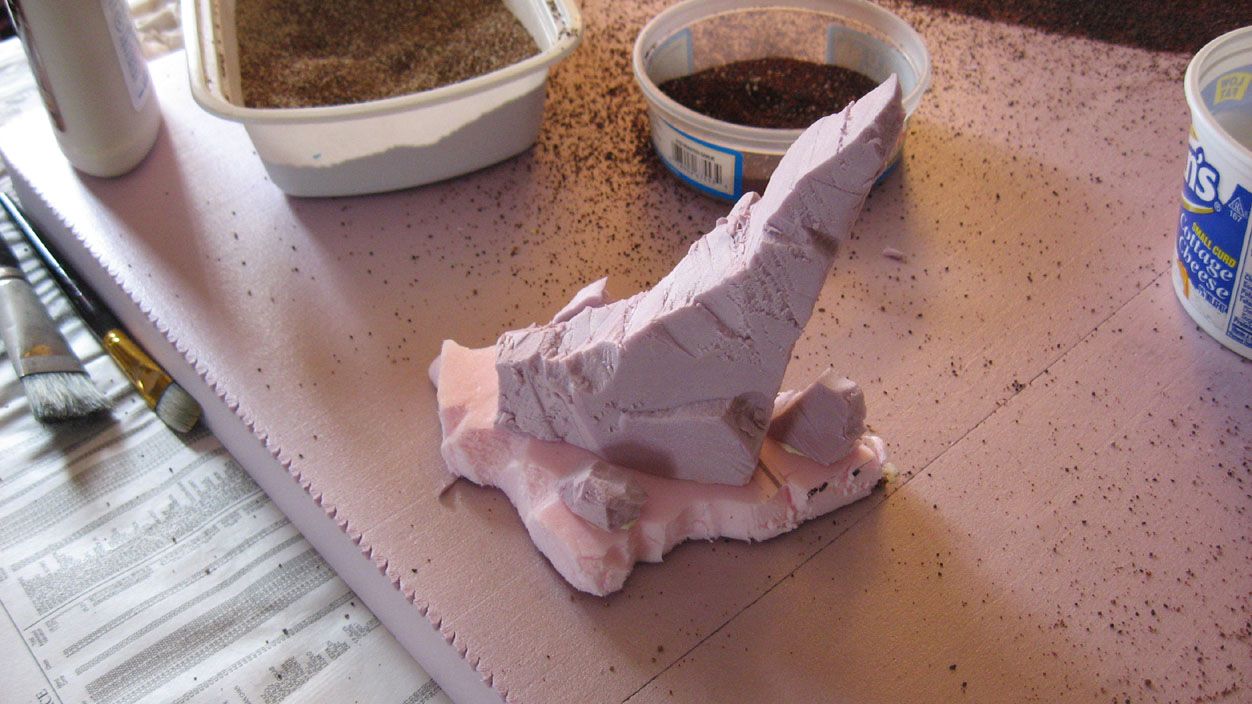
You can make the same type of object have a very different geologic category by aktering the formations...
Photobucket

Photobucket

Photobucket

Photobucket

Photobucket

While all this was going on, you had a bunch of folks playing Malifaux!  Cathy got her first demo game, and she played for hours.  Next week, however, they will be playing on the new terrain board!  Part two of the terrain building is coming up.  Lots of painting pictures!!  Then we have to put all the flock on the board! :-)

Stay tuned!!!