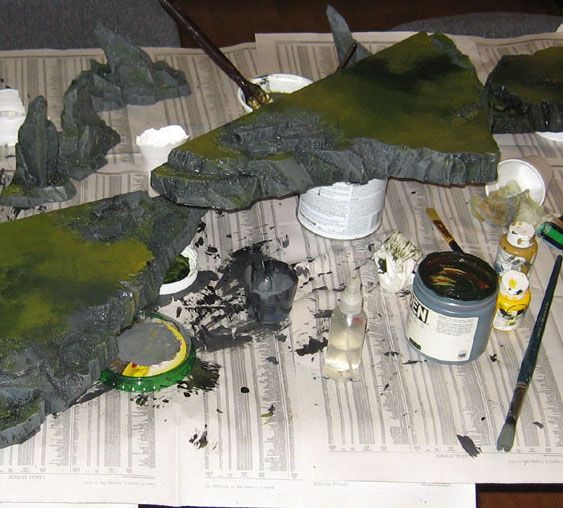
Once the big board was painted, I could get down to the business of painting the hills and rock outcroppings.
It was nothing terribly fancy. I had some black, some white, and some green/yellow mixes ready.

I allowed some of the green to get into my grey mixture, since rocks have a tendency to be mossy! I didn't use any pure black, even on my first layers. I mixed black with the dark green, or put a little white into my mix. When painting the initial layers on the rocky outcroppings, I watered down the mix to allow better coverage.

The tops of the hills got the same treatment as the board. I mixed plenty of yellows and tans with my green mix.

I balanced all the pieces to make sure they would not dry and stick to the newspapers, which would have been annoying. I didn't wait for the darkest mixes to dry. Instead, I started to do my lighter layers...

So, the board and the hills are now ready for flock! That will happen early next week, so look for pictures of that soon!!

I love hills and rocks that can be mixed and matched! We have some of these pieces at our own gaming table at home, and it is really cool to set a watchtower on top of one of the freestanding hills, combining the terrain pieces. There is something about a nice table that really enhances the gaming experience. If you are going to invest all those hours into playing the game, why not have a nice setup?
I hope these have been helpful!!
No comments:
Post a Comment