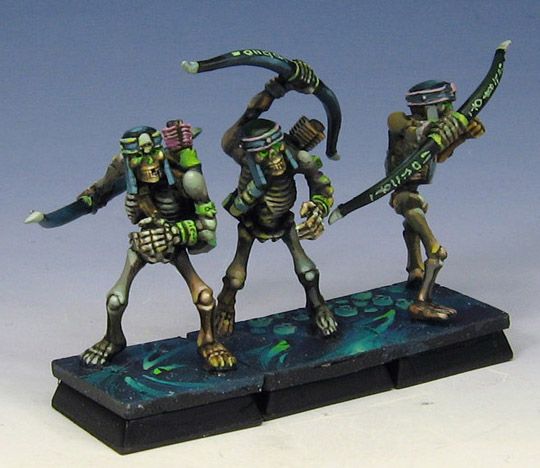
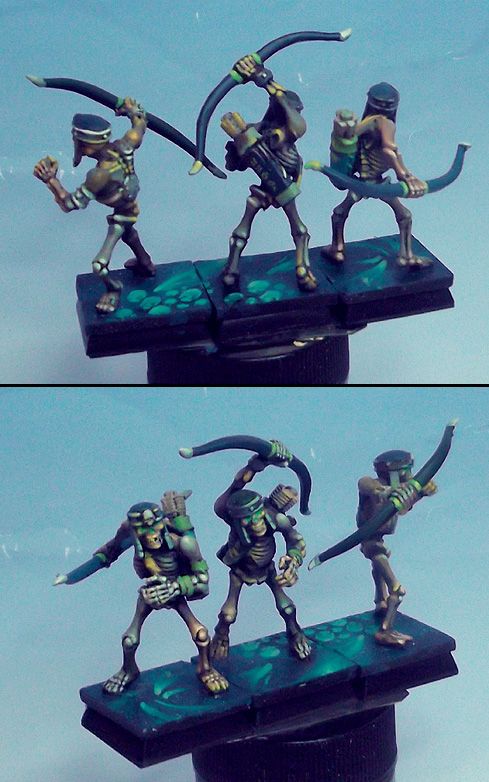
Today we have a rough step by step on how I have been painting the skeletons. I don't have any earlier shots than the brownish state of the first image, but I think this gets the point across. :-)
Everything is a bit uniform right now with the colors. The idea is to create a whole range of colors on each figure...
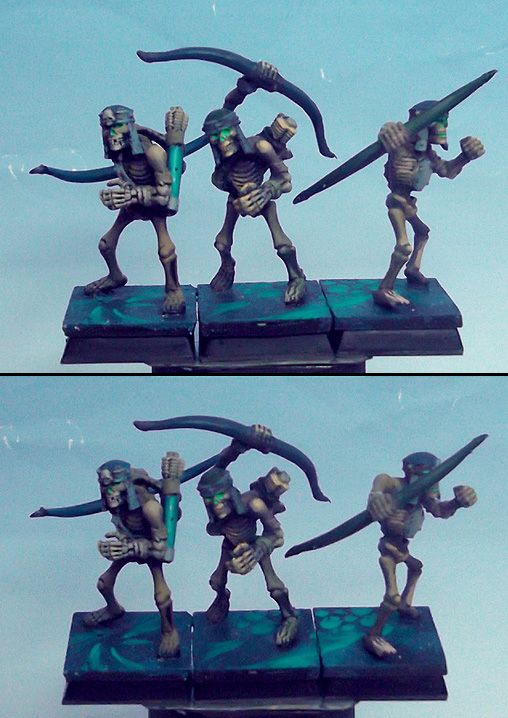
Here I am finishing off the bases, and really starting to determine where the reddish, yellowish or greenish colors will play out on the bone sections:
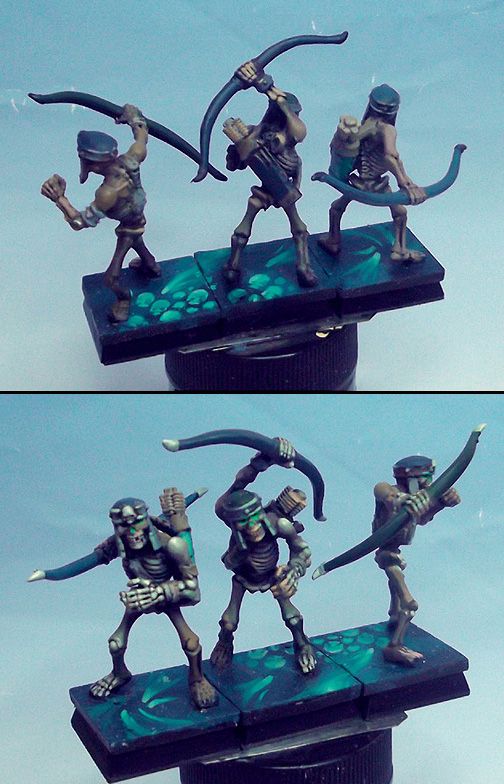
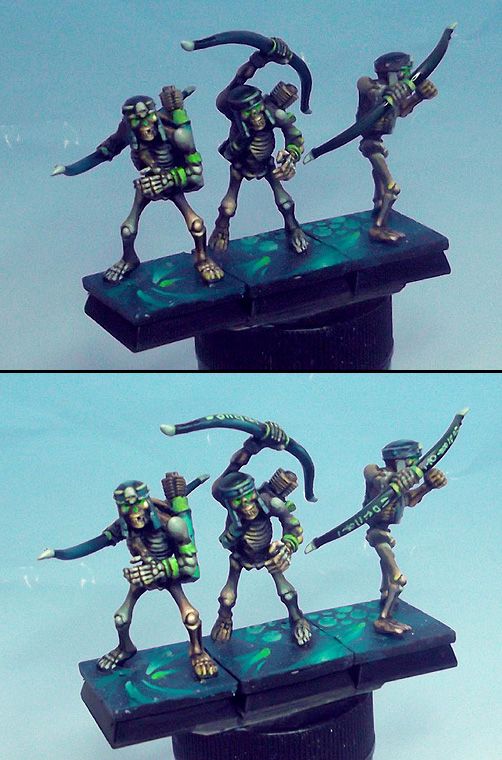
Now I start to work on the armor and bows:
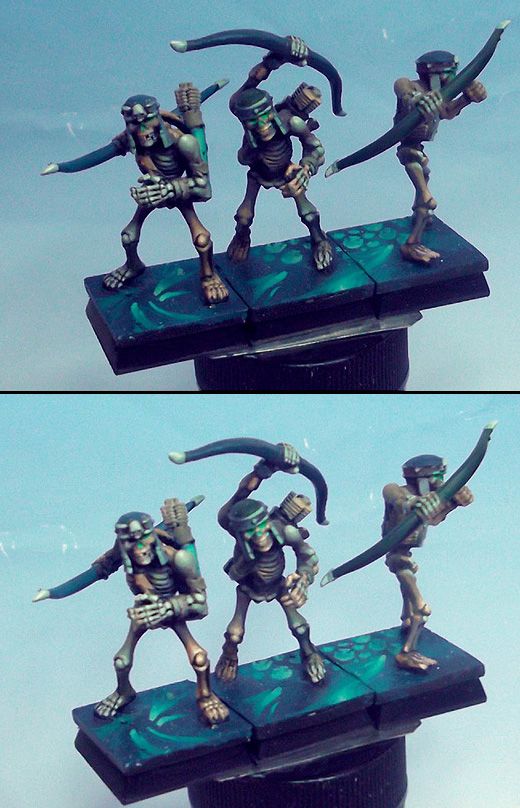
By now I have really settled in on what kinds of colors I am building. I get lighter and lighter with each of the colors. To keep things from getting too disjointed, I use the same yellowish white to lighten the greens, reds, and yellows.
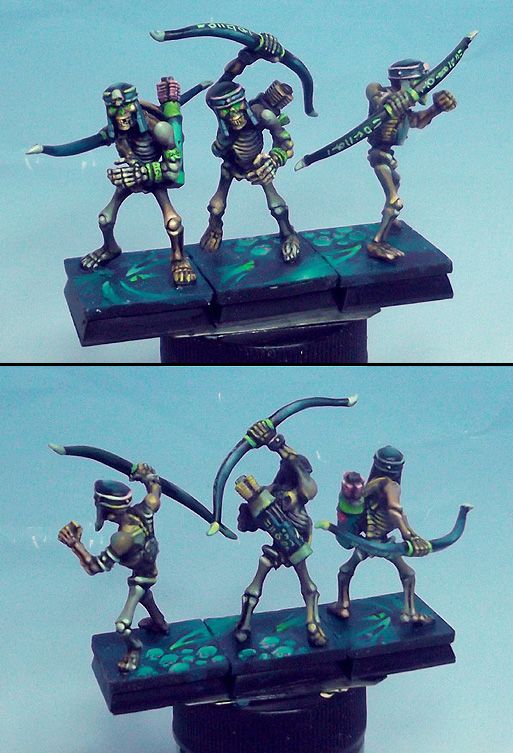
By now I have the bows completed enough to do the freehand on them:
I now enhance the darks, and complete the armor. I also will use a complimentary color in my darks... for instance, I will used a dark green to darken an area where the light colors are more of a red shade.
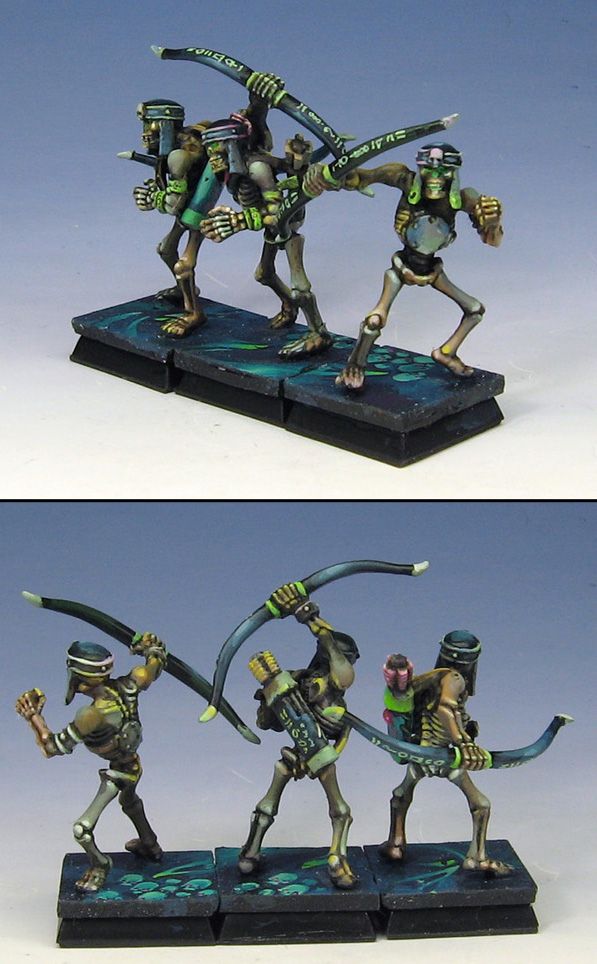
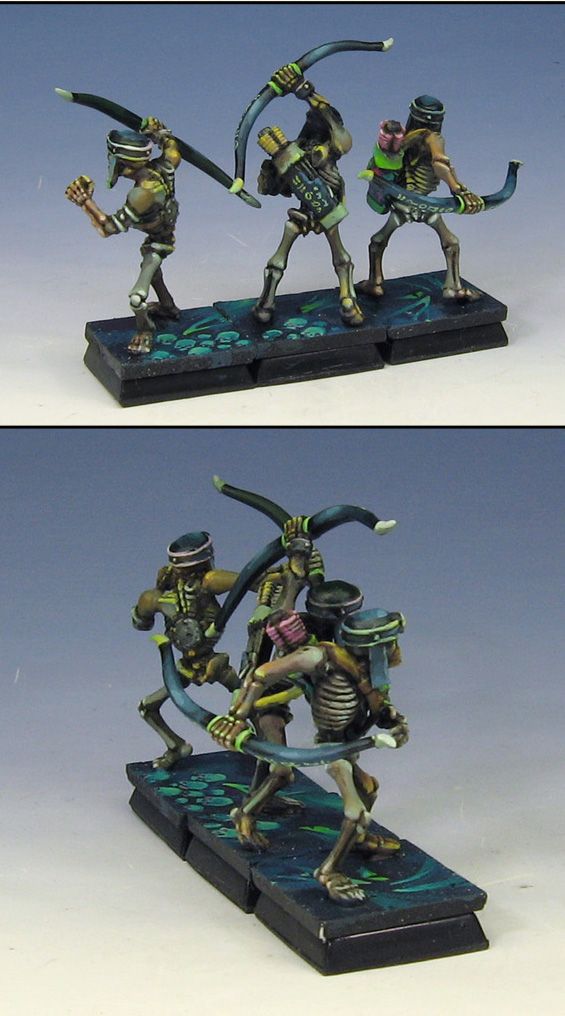
Here are some views of this group painted:
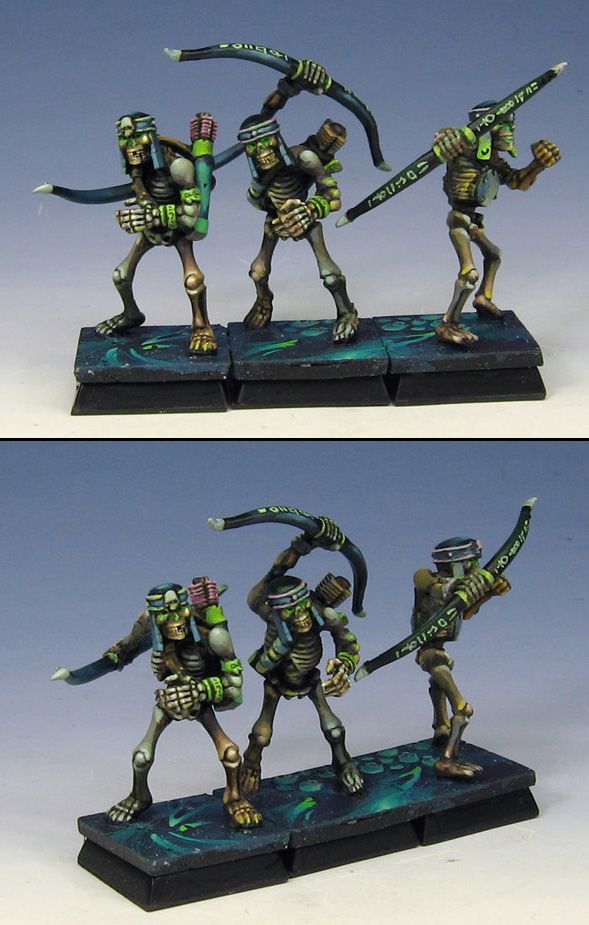
I hope this proves to be helpful!
No comments:
Post a Comment