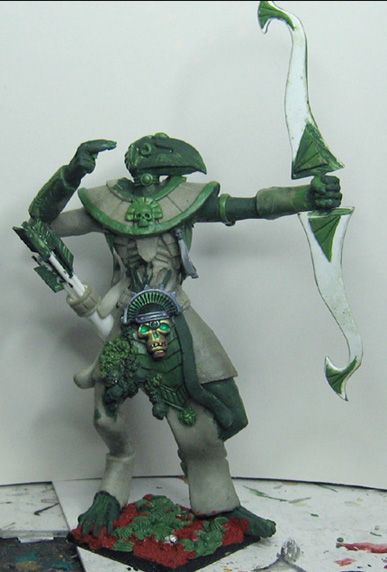
Today saw the final stages of the sculpting process on the Colossus. As usual, there were all new challenges that had to be overcome with this project.
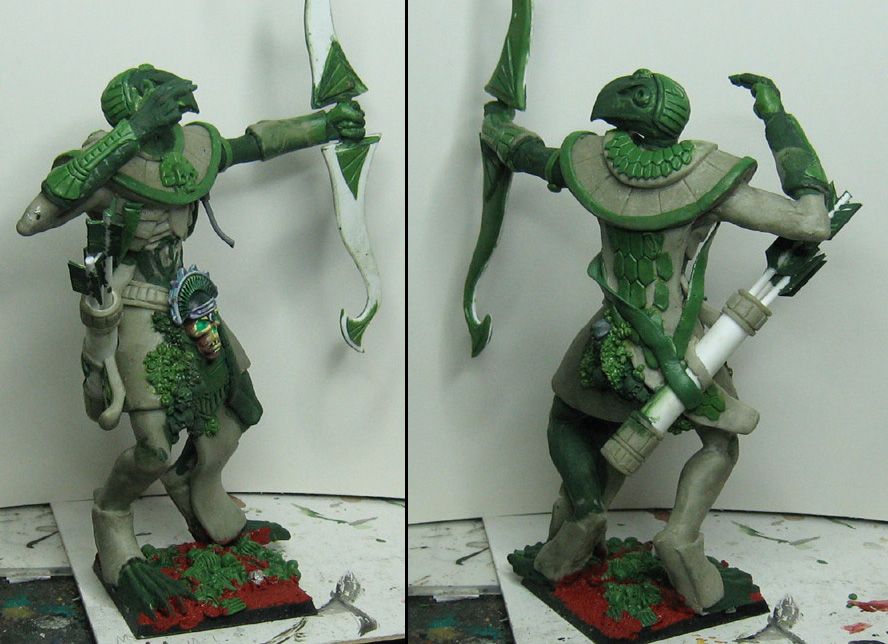
For those who saw the previous post, you know I was lamenting the fact that all the skulls and scarabs were located on the back of this piece where it was unlikely for anyone to see them! So, I added a bunch of scarabs and skulls to the front...
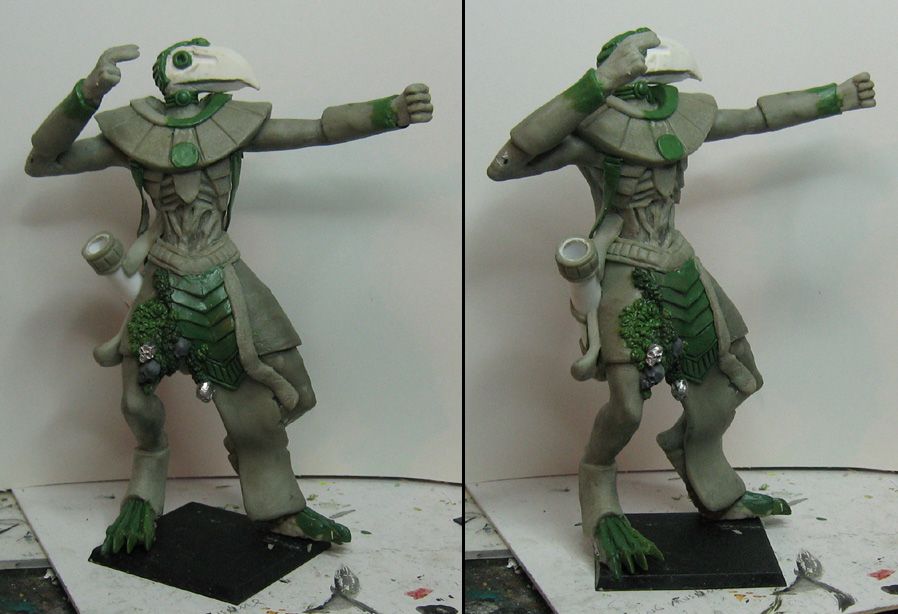
The next new thing was the quiver of giant arrows. I used polystyrene tubing, attaching some plasticard fins. It was difficult to know just how much space there was going to be for these things! I also had to be able to get a brush into all the crevices of the arrow bunch and the quiver!
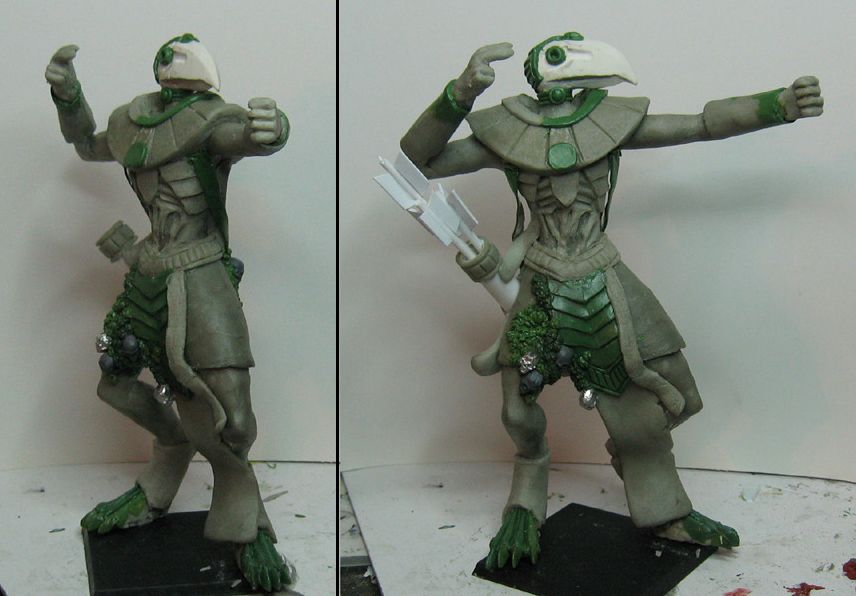
Once that was done, it was time to break out the liquid green stuff. I use this to smooth areas quickly, but also for sculpting purposes. For instance, the feather texture on the plasticard fins went a lot faster by dry brushing some liquid green stuff on them!
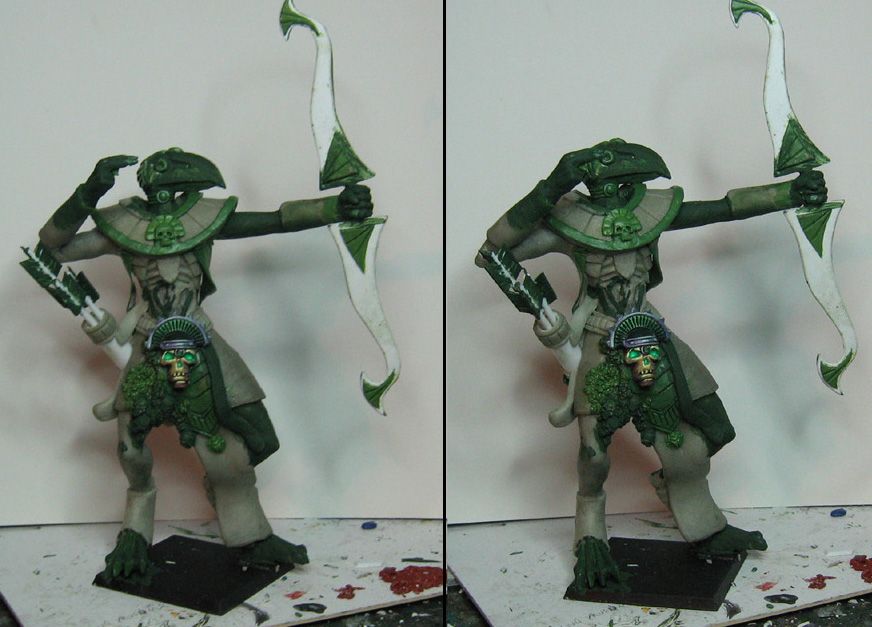
Here I was finalizing the work on the giant bow. For structural purposes, it is much less "flexed", instead appearing as if it has just been fired. Yea 5+ to hit... maybe. We shall see.
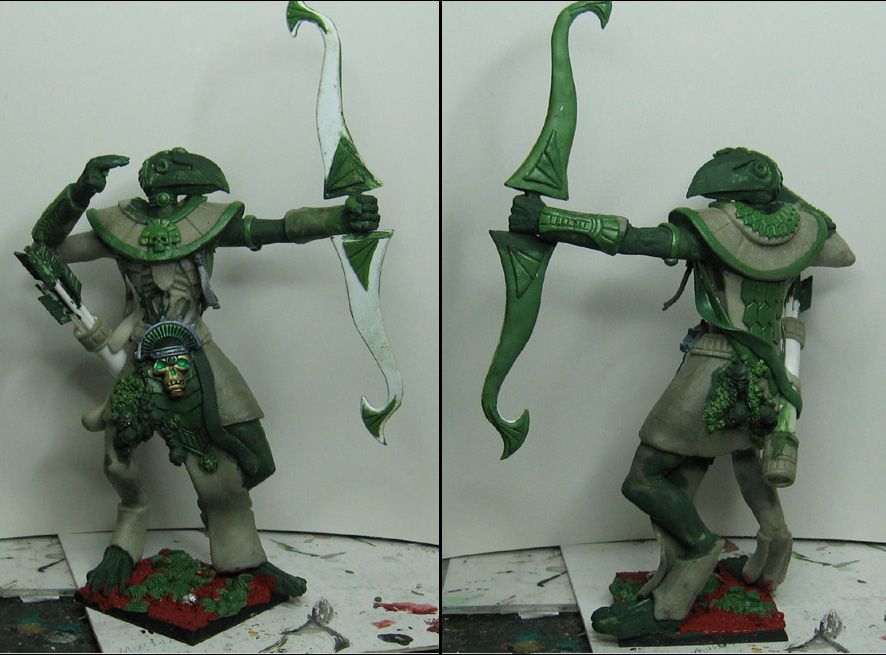
I tried to tie up all the loose ends, like putting designs on the gauntlets, working on the base, etc. Now all I have to do is paint it! That's all...
No comments:
Post a Comment